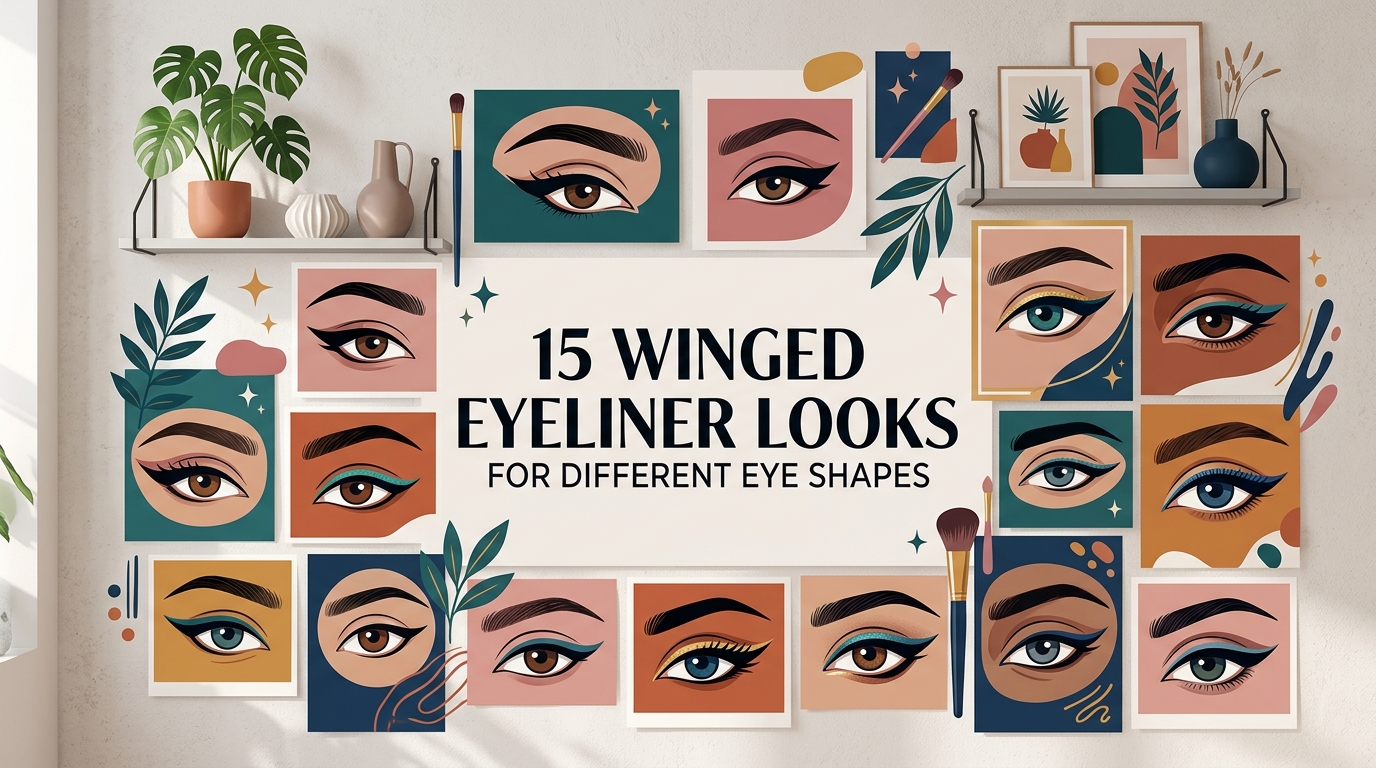
15 Winged Eyeliner Looks for Different Eye Shapes
Winged eyeliner can look simple until you try to match the shape to your own eyes. A flick that looks sharp on one person may disappear into a fold on someone else, point downward on round eyes, or feel too heavy on smaller lids. The problem is often not your technique. It is the placement.
These 15 winged eyeliner looks for different eye shapes show how small changes in angle, thickness, and length can make liner easier to wear. You will find ideas for hooded, almond, round, monolid, deep set, downturned, upturned, small, large, close set, and wide set eyes, along with a few versatile styles that work across several shapes.
You do not need an expensive liner collection to experiment. One dependable pen, a small mirror, cotton swabs, and patience are enough for most of these looks. Start with the shape closest to your natural eye structure, keep the first line thin, and build slowly. The goal is not to force every eye into the same wing. It is to work with the shape you already have.
1. Winged Eyeliner for Hooded Eyes With an Open Eye Flick
Hooded eyes often hide part of the lid when the eyes are open, so a traditional wing can fold or disappear. A short open eye flick works better because you create the shape while looking straight ahead. The result feels clean and lifted without using a thick band of black across the lid.
Keep your eye relaxed and mark the wing tip where it remains visible above the fold. Draw a short line back toward the lash line, then fill only the outer section. In my experience, the biggest mistake is closing the eye while drawing the entire shape, then discovering that the fold changes it completely. Keep checking the liner with your eyes open. A fine brush tip or felt tip liner may cost between $8 and $22. Cotton swabs and micellar water are useful for small corrections.
2. Soft Kitten Wing for Almond Eyes
Almond eyes already have a naturally tapered shape, so a short kitten wing can follow the existing line without becoming too dramatic. The effect is polished and light, especially with beige shadow, soft mascara, satin fabrics, and understated jewelry.
Begin with a very thin line along the upper lashes. At the outer corner, extend the liner just a few millimeters in the same direction as the lower lash line. What I personally love about this style is that it adds definition without changing the eye shape too much. Avoid making the wing very thick through the center of the lid, which can cover the natural almond curve. A fine liner pen usually costs between $8 and $20. If you prefer gel, a small angled brush and pot may cost around $15 to $35 together.
3. Winged Eyeliner Looks for Round Eyes With an Elongated Flick
Round eyes can look longer when the liner stays thin near the inner corner and extends outward rather than sharply upward. The extra length creates a more horizontal shape while still keeping the eye open and bright.
Start the liner around the middle of the upper lash line instead of the very inner corner. Gradually thicken it toward the outside and extend the wing outward with a slight lift. A lot of people draw a steep upward flick on round eyes, which can make the liner feel disconnected from the natural shape. Keep the angle softer. Pair the wing with mascara concentrated on the outer lashes for added length. A liquid liner may cost between $8 and $22, while an optional lash comb or mascara adds around $8 to $25.
4. Bat Wing Liner for Hooded or Creased Lids
Bat wing liner looks unusual with the eye closed, but when the eye opens, the shape appears smooth and sharp. It is especially useful when a crease cuts through a traditional wing. The small stepped shape works with the fold instead of fighting it.
Look straight into the mirror and draw the visible outer wing first. Then close the eye and connect the line around the fold, creating a small angular shape that fills in neatly when open. In my experience, the biggest mistake is trying to make the closed eye outline look like a classic triangle. Focus on how it appears with your eyes open. A precise waterproof liner may cost between $10 and $25. Keep pointed cotton swabs nearby for cleanup, since this technique usually needs small adjustments.
5. Straight Wing for Monolid Eyes
A straighter wing can complement monolid eyes by extending the lash line outward instead of relying on a crease that is not visible. The result feels modern and graphic while still working as everyday makeup when the line stays slim.
Draw a thin line along the upper lashes and continue it almost horizontally beyond the outer corner, with only a small upward tilt. Keep the outer third slightly thicker so the wing remains visible. What I personally love about this look is how clean it feels with minimal eyeshadow. Avoid drawing the line too thin across the entire lid if it disappears when the eye is open. Test the thickness as you go. A waterproof liquid or gel liner may cost between $8 and $25.
6. Lifted Wing for Downturned Eyes
Downturned eyes can look more lifted when the wing starts before the natural outer corner and angles upward. The key is to avoid following the lash line downward too far, which can emphasize the drop.
Stop the liner slightly before the outermost corner, then draw the flick toward the tail of the brow. Connect it back to the upper lash line and keep the lower edge clean. A common mistake is extending the liner along the downward curve first and trying to correct it afterward. Begin the lift earlier instead. Soft brown or deep plum can make the effect gentler for daytime. A liner may cost between $8 and $22, while a small cleanup brush adds around $5 to $12.
7. Follow the Natural Angle for Upturned Eyes
Upturned eyes already rise slightly at the outer corners, so the most flattering wing often follows that natural direction. A thin extension can sharpen the shape without making the eye look overly slanted.
Draw a fine line along the upper lashes and continue the wing in the same direction as the outer corner. Keep the flick short if you want a balanced daytime result. In my experience, the biggest mistake is adding a very steep wing on top of an already lifted eye shape. That can make the liner feel exaggerated. A soft black, espresso, or burgundy liner all work well. Most quality liners cost between $8 and $24, depending on the formula.
8. Thin Wing for Small Eyes
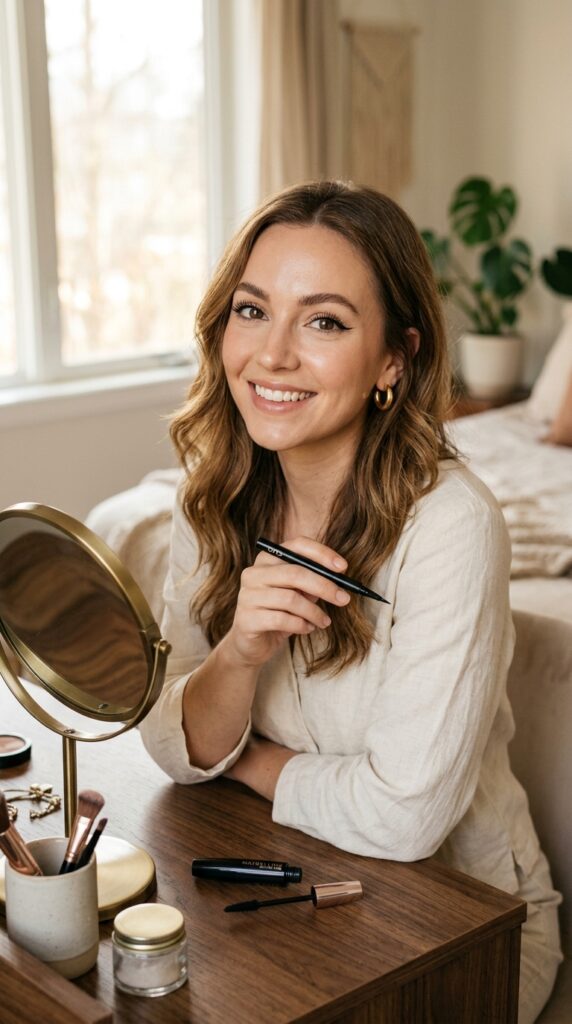
Small eyes can feel overwhelmed by thick liner because dark color takes up visible lid space. A very thin wing gives definition while keeping the eye open. Soft brown, charcoal, or black can all work depending on how much contrast you want.
Keep the line tight against the upper lashes and begin around the middle of the eye. Extend a short flick outward rather than building height. What I personally love about this approach is that it adds shape without covering the lid. Avoid lining the entire lower lash line in a dark color if you want the eyes to appear more open. A fine tip eyeliner may cost between $8 and $20. A nude or beige waterline pencil, if you already like using one, may cost another $8 to $18.

9. Winged Eyeliner for Large Eyes With Balanced Thickness
Large eyes can handle a little more liner without losing their shape. A medium thickness wing creates definition while still allowing the natural eye to remain the main feature. Black feels classic, while navy or deep brown gives a softer finish.
Draw the line from the inner third of the upper lashes and gradually thicken it toward the outer corner. Extend a moderate wing that follows the lower lash line. A lot of people assume larger eyes always need a dramatic wing, but the best result often comes from balance rather than size. Keep the line smooth and let the eye shape do most of the work. A gel or liquid eyeliner may cost between $8 and $25, and a good angled brush can cost $5 to $15.
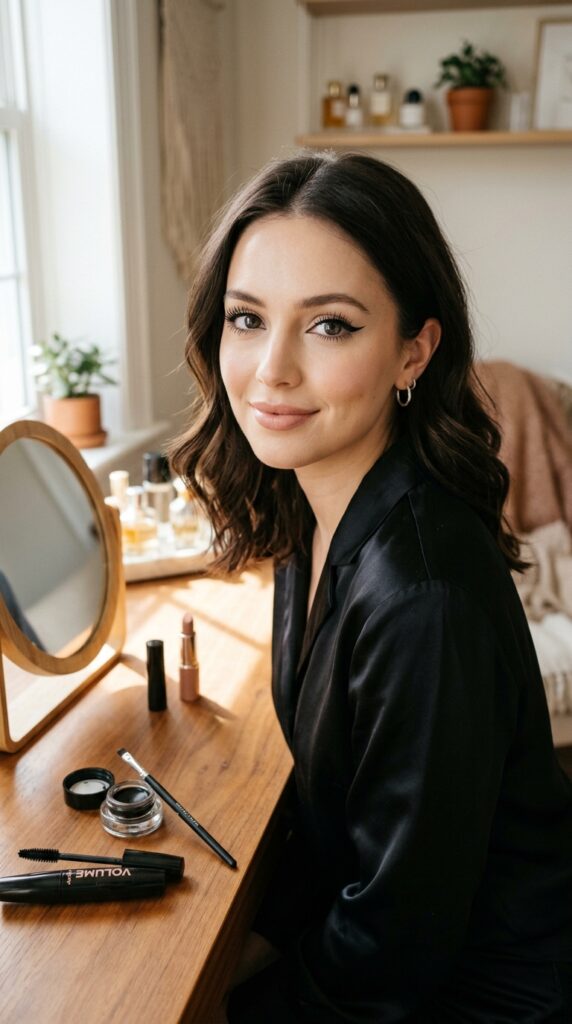
10. Inner Corner Wing for Close Set Eyes
Close set eyes can look more open when most of the liner emphasis stays on the outer half. A small outward wing draws attention away from the inner corners and creates more visual width.
Skip heavy black liner near the tear duct. Begin with a thin line around the middle of the lid and gradually thicken it toward the outside. Extend the wing outward rather than steeply upward. In my experience, the biggest mistake is adding a strong pointed inner corner, which can make the space between the eyes feel even smaller. Keep that area clean or use a light shimmer instead. A liner and subtle inner corner shadow may cost between $15 and $35 together.
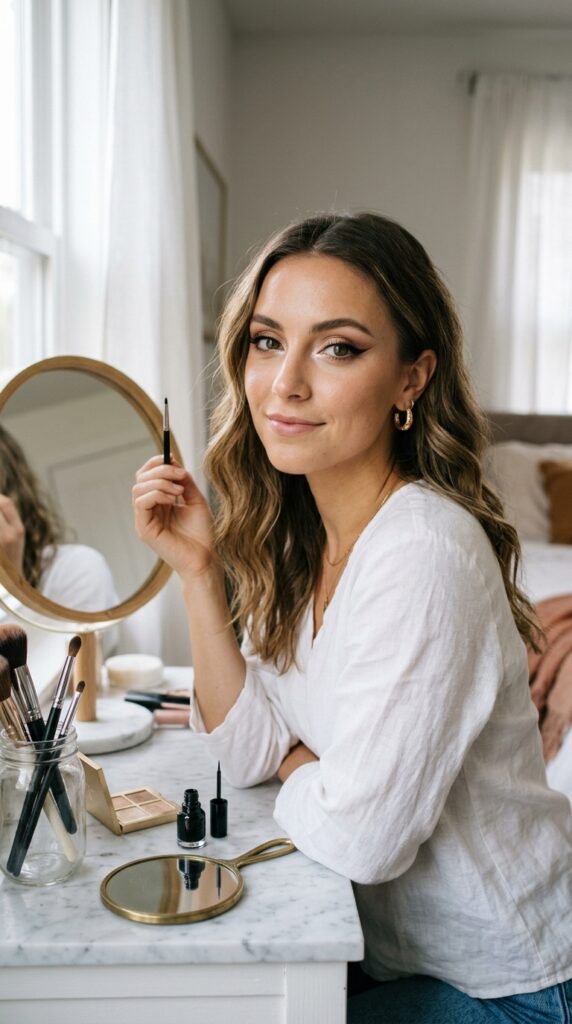
11. Soft Inner Definition for Wide Set Eyes
Wide set eyes can carry a little more definition near the inner lash line because it visually brings the focus toward the center. The wing can still extend outward, but keeping the inner section visible helps balance the overall shape.
Start the liner close to the inner corner and keep it thin through the center. Build slightly more thickness at the outer edge and add a short wing rather than a very long one. What I personally love about this adjustment is how subtle the difference can be. Avoid using a bright inner corner highlight with a very long outward wing if you want a more balanced look. A precise liner usually costs between $8 and $22. Brown or charcoal can create softer definition than black.
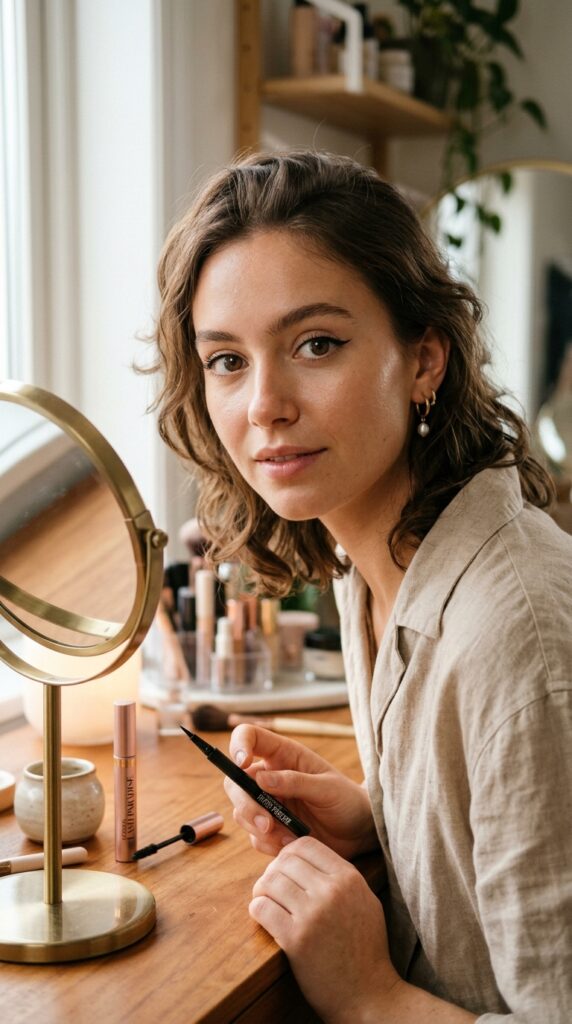
12. Soft Smudged Wing for Deep Set Eyes
Deep set eyes often have a more prominent brow bone, so very sharp liner can sometimes look heavier than expected. A softly smudged wing creates definition without adding another hard line to the eye area.
Use a creamy brown, charcoal, or black pencil along the outer half of the upper lash line. Smudge it outward with a small brush, then add a tiny amount of matching shadow over the top to set it. A common mistake is carrying dark liner too high into the crease, where it can make the eye look deeper. Keep the color close to the lashes. A creamy pencil and smudge brush may cost between $15 and $35 together.
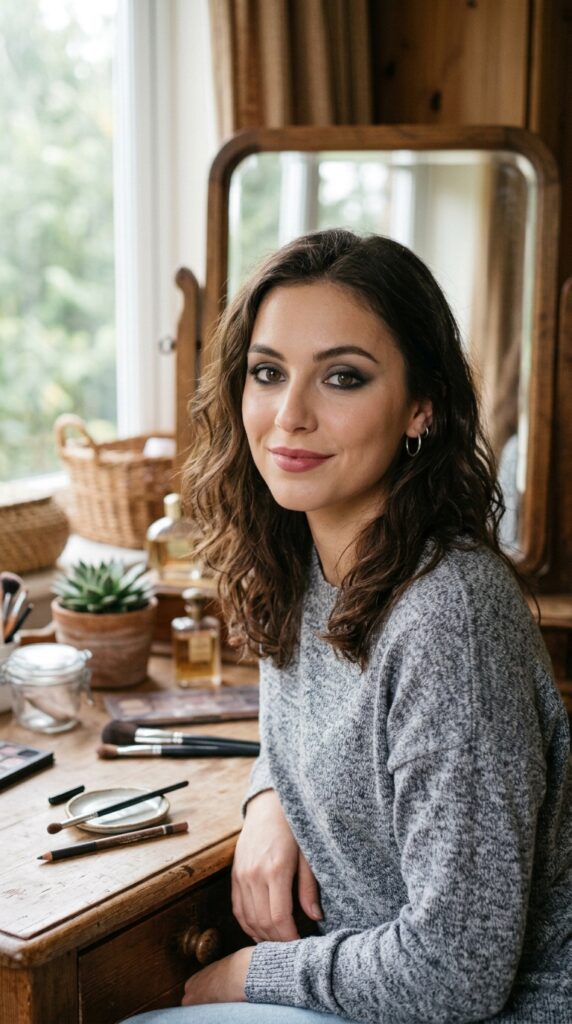
13. Winged Eyeliner Looks for Slightly Uneven Eye Shapes
Most people have some natural difference between their two eyes. One lid may fold more, one brow may sit higher, or one outer corner may point in a slightly different direction. Matching the liner visually matters more than forcing identical measurements.
Draw both wing tips first while looking straight into the mirror. Adjust the angle of each wing so they appear balanced from the front, even if the exact lines differ when your eyes are closed. In my experience, the biggest mistake is making one wing progressively longer while trying to match the other. Keep both short until the basic placement works. A fine liner may cost between $8 and $22. Cotton swabs and makeup remover can help refine the edges without starting over.
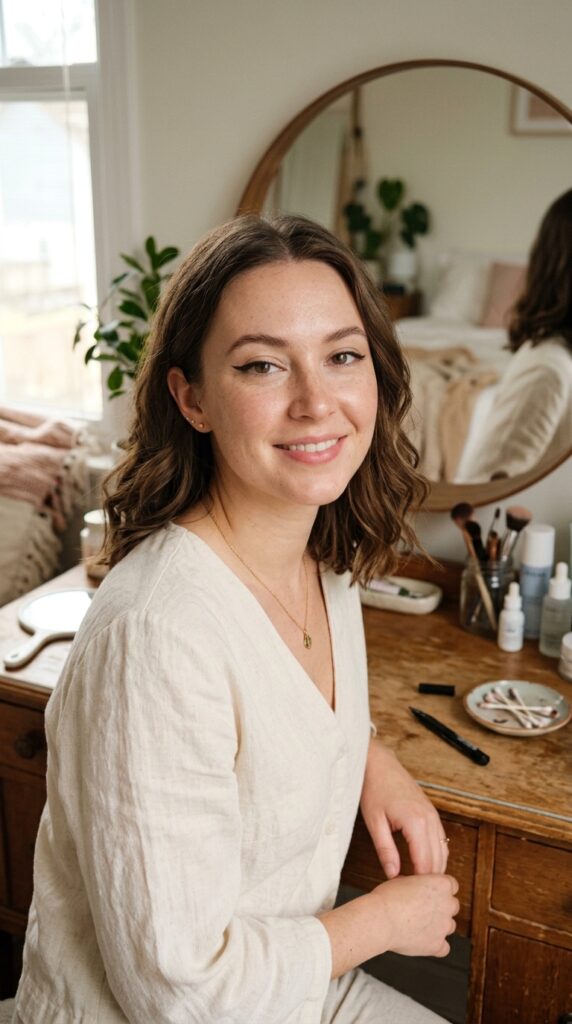
14. Brown Winged Eyeliner for a Softer Everyday Look
Brown winged liner works across many eye shapes because it creates definition with less contrast than black. Espresso gives depth, while medium chocolate feels especially soft beside neutral eyeshadow, cream clothing, soft denim, and gold jewelry.
Follow the same angle that works for your eye shape but keep the line thin. If you have hooded eyes, check it open. If your eyes are round, extend outward. If they are downturned, lift the tip slightly earlier. What I personally love about brown liner is how forgiving it can be while you practice placement. Avoid choosing a shade so pale that it disappears against your lashes. A brown liquid or pencil liner may cost between $8 and $22.

15. Adaptable Classic Wing for Different Eye Shapes
A classic wing can work on nearly every eye shape when you adjust the angle and thickness instead of copying one standard template. The clean black flick feels timeless with a satin blouse, denim, evening dresses, or a simple everyday outfit.
Start with the thinnest possible line along the lashes. Look straight into the mirror and place the wing tip where it suits your eye structure. Hooded eyes may need a shorter visible wing, round eyes may benefit from more outward length, and downturned eyes often suit an earlier lift. I always recommend this when someone wants a change without starting over with complicated graphic liner. Avoid completing one eye entirely before starting the other. Build both in stages. A dependable black liner may cost between $8 and $25.
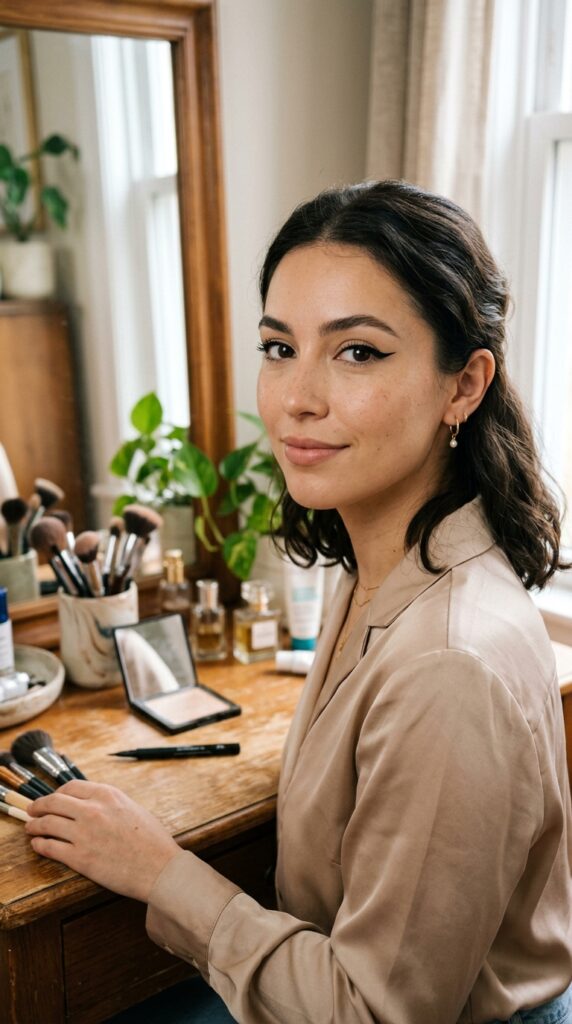
The Best Wing Works With Your Natural Eye Shape
Winged liner becomes much easier when you stop trying to recreate the exact same flick on every eye. Hooded lids need different placement than monolids, round eyes often benefit from more outward length, and downturned eyes may look more lifted when the wing begins before the outer corner.
These 15 winged eyeliner looks for different eye shapes give you practical starting points rather than rigid rules. Begin with one or two ideas that match your natural structure. Use a thin line, look straight into the mirror often, and adjust the wing before adding more thickness.
A polished eye look does not require an expensive makeup collection. One good liner, a small brush, and cotton swabs can take you a long way. The most useful technique is learning how your own eyelid moves when your eyes open and close.
Which winged eyeliner look would you try first? I’d love to hear what you’re planning.
Frequently Asked Questions
How do I know what eye shape I have?
Look straight into a mirror with your face relaxed. Notice whether your lid crease is visible, whether the outer corners rise or fall, and whether the eye looks more round or elongated. You can also compare the spacing between your eyes to roughly one eye width.
What winged eyeliner is easiest for beginners?
A short kitten wing or soft brown wing is usually easier to control than a long dramatic flick. Start with a thin line and mark the wing tip before connecting it. Build both eyes in small stages.
What eyeliner works best for hooded eyes?
A fine waterproof pen or gel liner can work well because it allows precise placement. Draw the wing while looking straight ahead so it remains visible above the fold. Keep the first version short.
How can I make both eyeliner wings look even?
Mark both wing tips before drawing the full shape. Compare them while looking straight into the mirror rather than judging one eye at a time. Natural facial differences mean the lines may not be mathematically identical even when they look balanced.
Should winged eyeliner always point toward the eyebrow?
Not necessarily. The best angle depends on your eye shape. Some eyes suit an outward wing, while others look balanced with more lift. Use the direction of your lower lash line as a starting reference and adjust from there.