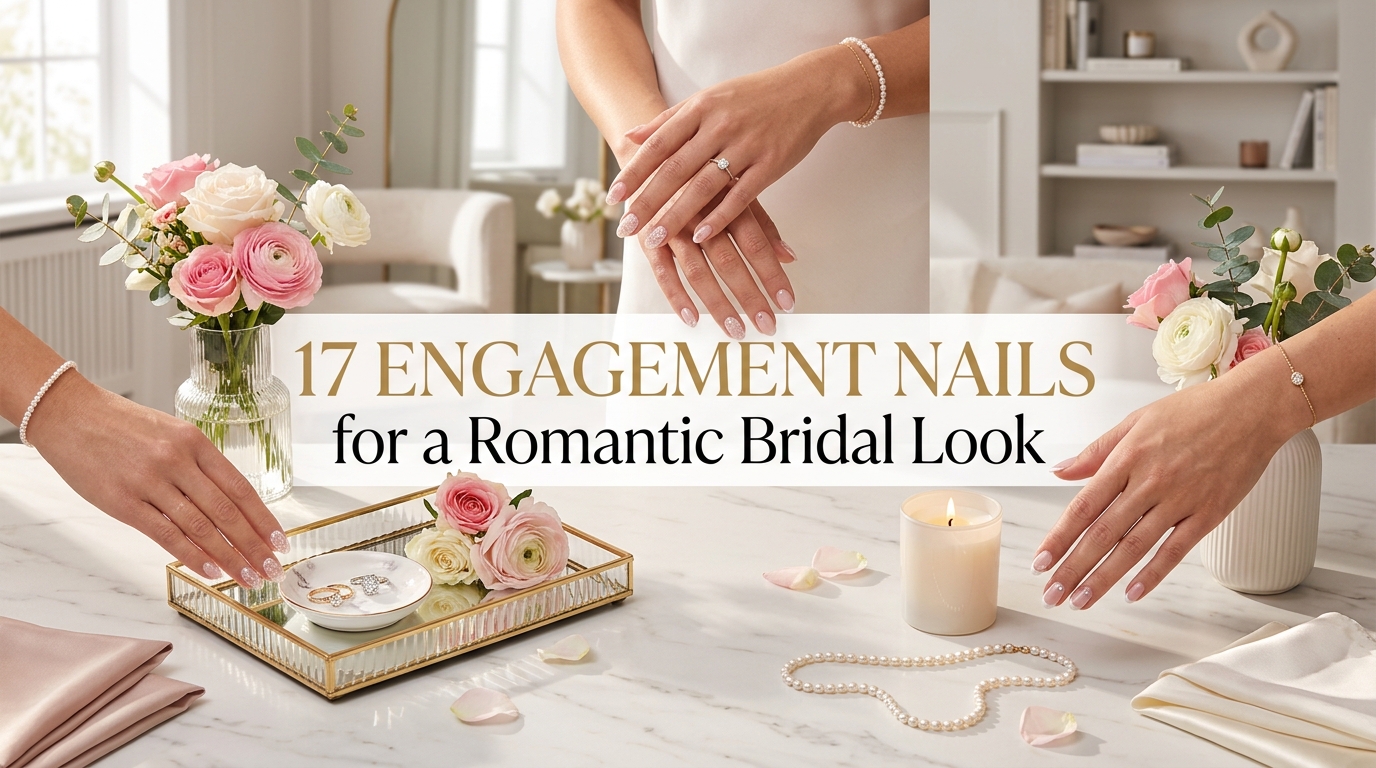
17 Engagement Nails for a Romantic Bridal Look
Choosing your engagement manicure can feel surprisingly stressful. Your hands may appear in ring photos, close-up videos, celebration pictures, and countless messages to friends and family. You want the nails to look polished beside your ring, but you may not want a design that feels too formal, too sparkly, or unlike your usual style.
These 17 engagement nails for a romantic bridal look include soft pinks, sheer neutrals, delicate French tips, pearl details, subtle shimmer, and graceful floral art. There are options for short natural nails, almond shapes, square tips, and longer extensions.
Each idea includes practical color guidance, salon instructions, one mistake to avoid, and a realistic price range. You will also find simpler designs that can be recreated at home with a few basic products. Try to choose a manicure that makes your hands feel comfortable and cared for rather than following every bridal trend at once. Your ring should remain the focus, while your nails create a clean and romantic frame around it.
1. Sheer Blush Engagement Nails
Sheer blush nails create a soft wash of color that lets the natural nail remain visible. The finish looks fresh, clean, and romantic beside white gold, yellow gold, rose gold, or platinum rings. It is an especially lovely choice when you want your hands to look polished without drawing attention away from the stone.
Ask for a translucent pink with a warm or neutral undertone. Two thin coats usually create enough color while keeping the finish light. A glossy top coat will help the nails catch natural light in ring photos. In my experience, the biggest mistake here is choosing an opaque pink that hides the natural softness of the look. Test the shade on one nail before completing the full manicure. A DIY version may cost $12 to $30, while a salon gel manicure generally ranges from $35 to $60.
2. Engagement Nails With Micro French Tips
Micro French tips give a classic bridal manicure a lighter, more modern shape. The white edge is slim and follows the natural curve of the nail, while the sheer pink base keeps the hands looking soft. This design works beautifully on short nails because the narrow tip does not visually reduce the length.
Choose a milky pink or beige base, then ask for a very fine white line across each tip. Almond, oval, and short square shapes all suit the look. Keep the white line consistent from nail to nail, especially on the thumbs. A lot of people skip this step, but checking the manicure from the palm side helps reveal uneven tip widths. Avoid using a bright opaque base because it can make the thin French line disappear. A DIY set may cost $15 to $35. Salon pricing usually ranges from $45 to $75.
3. Milky White Nails With a Soft Glow
Milky white nails have a gentle, clouded finish that feels graceful and bridal without looking stark. The semi-sheer color brightens the hands and creates a smooth backdrop for a diamond or colored gemstone ring. In warm light, the polish appears creamy rather than flat.
Apply two or three very thin coats of milky white polish, allowing each layer to dry before adding the next. Choose a formula with a slight pink or beige undertone if pure white looks harsh against your skin. What I personally love about this style is how clean it looks in both professional photos and casual phone pictures. Avoid thick coats, which can become streaky or bubble as they dry. A ridge-filling base can improve the finish on natural nails. DIY products may cost $12 to $30, while a salon gel manicure costs around $35 to $65.
4. Pearl Dotted Bridal Manicure
Tiny pearl details create a delicate texture that feels romantic without covering the entire nail. The small raised accents catch the light softly and look especially pretty over sheer nude, pale pink, or milky white polish. A few pearls near the cuticle can echo the glow of bridal jewelry.
Start with a smooth neutral base, then place one to three miniature pearls on selected nails using nail adhesive or builder gel. Keep most nails plain so the design remains balanced. A lot of people skip this step, but sealing around the base of each pearl helps prevent it from lifting. Avoid placing large pearls near the tips because they can catch on clothing and hair. If you need a practical version, use flat pearl decals instead. DIY supplies may cost $15 to $40. Salon pearl nail art usually ranges from $50 to $85.
5. Romantic Engagement Nails With Rose Gold Foil
Rose gold foil adds warm metallic detail without overpowering a bridal manicure. The irregular flecks look delicate over blush, nude, or translucent pink polish and pair beautifully with rose gold rings. The foil catches light in small flashes rather than creating a full glitter effect.
Apply a sheer base, then place tiny foil pieces on one or two accent nails while the polish or gel remains slightly tacky. Keep the foil close to one edge or near the cuticle for a softer arrangement. In my experience, the biggest mistake here is using large pieces that wrinkle beneath the top coat. Tear the foil into very small fragments before application. Seal the edges carefully to prevent lifting. A DIY foil kit and polish may cost $15 to $35. A salon manicure with foil detail often ranges from $45 to $75.
6. Soft Ombré Bridal Nails
Soft ombré nails fade from a natural pink base into a creamy white tip. The blended color has no hard line, which creates a graceful and lengthening effect. It suits romantic bridal styling while remaining subtle enough for everyday wear after the proposal celebration.
Ask your nail artist for a gentle baby boomer ombré with a translucent pink base and soft white edge. The transition should begin around the middle of the nail rather than forming a sharp block. At home, use a small makeup sponge to press thin layers of the two colors together. Avoid adding too much white near the tip because the gradient can look heavy. What I personally love about this design is how smoothly it photographs from different angles. DIY supplies may cost $15 to $40. A salon ombré manicure generally ranges from $50 to $85.
7. Nude Nails With Fine Gold Lines
Fine gold lines add a small decorative detail to a simple nude manicure. The metallic strokes can follow the curve of the tip, cross one accent nail, or frame the side of the nail. The look feels romantic and polished while allowing the engagement ring to remain the main feature.
Choose a sheer nude that complements your undertone. Once the base has dried, use a striping brush or thin metallic tape to create narrow gold lines on two or three nails. Keep the remaining fingers plain. Avoid making the lines too thick, since heavy metallic sections may compete with the ring. A lot of people skip this step, but checking the lines in natural light helps reveal uneven edges before the top coat is applied. DIY materials cost around $12 to $35. Salon nail art usually ranges from $45 to $75.
8. Blush Chrome Nails
Blush chrome nails create a soft reflective glow that shifts between pink, pearl, and champagne. The finish looks luminous beside a diamond without feeling as bold as silver mirror chrome. It is a lovely option for someone who wants a little shine while keeping the color gentle.
Start with a pale pink gel base, then rub a fine pearl or blush chrome powder over a cured no-wipe top coat. Seal the free edge carefully with another glossy layer. Ask for a translucent chrome effect rather than an opaque metallic finish. In my experience, the biggest mistake here is using too much powder, which can make the manicure look icy instead of romantic. A light application gives a softer glow. A home gel and chrome kit may cost $25 to $60. Salon chrome nails usually range from $50 to $85.
9. Tiny White Floral Nail Art
Tiny white flowers bring a gentle botanical detail to a bridal manicure. The petals look delicate over sheer pink or nude polish, especially when placed on only two accent nails. The design feels romantic and personal without becoming too detailed for ring photos.
Use a fine dotting tool to create five small white petals around a pale gold or pearl center. Keep the flowers close to the side of the nail or near the cuticle, leaving plenty of open space. What I personally love about this look is how well it pairs with lace, embroidered dresses, and fresh bouquets. Avoid painting large flowers on every nail because the design can distract from the ring. Practice the shape on paper before applying it at home. DIY tools may cost $12 to $35. Salon floral art usually ranges from $50 to $85.
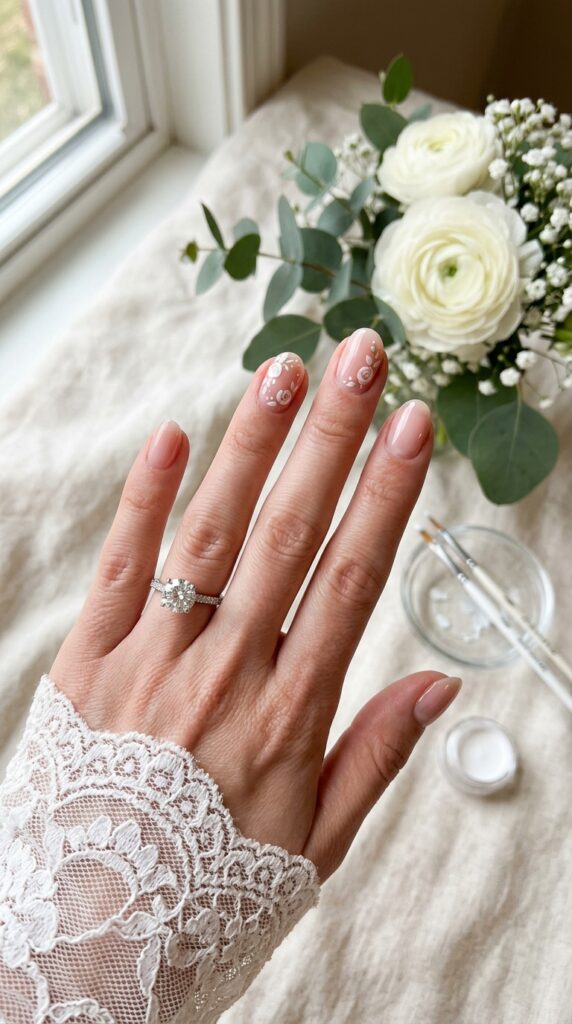
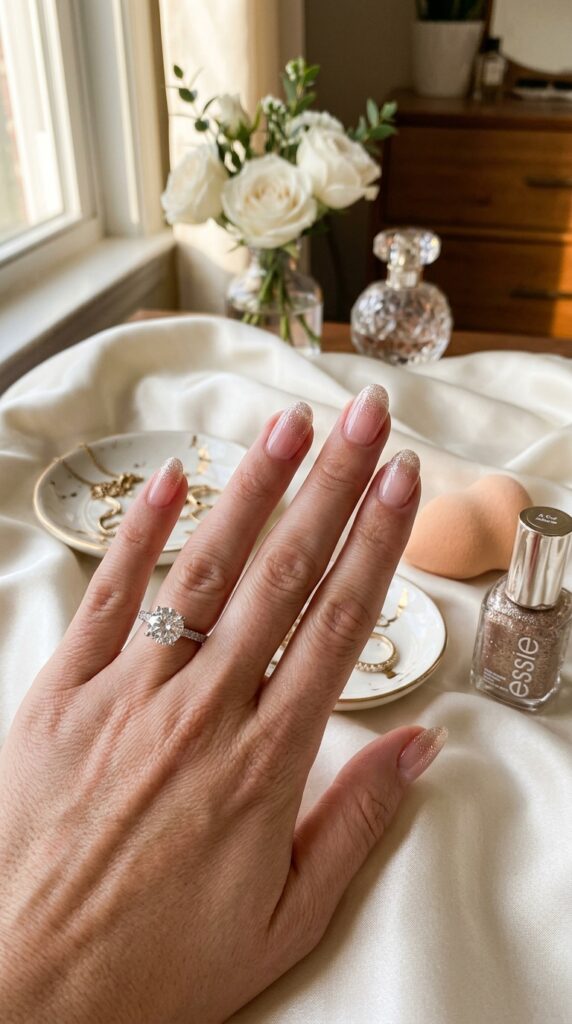
10. Champagne Glitter Fade
A champagne glitter fade adds soft sparkle near the tips while leaving the base clean and natural. The fine particles reflect warm gold and pale silver, making the manicure feel celebratory without covering the nails in heavy glitter.
Apply a nude or translucent pink base. Use a makeup sponge to dab fine champagne glitter onto the tips, fading it gently toward the center. Keep the glitter light around the cuticle so the nails appear longer. A lot of people skip this step, but using a sponge gives better control than painting glitter directly from the bottle. Avoid chunky pieces that can look uneven in close-up photos. Seal the surface with a smooth top coat. DIY supplies may cost $12 to $30. Salon glitter fades usually range from $45 to $75.
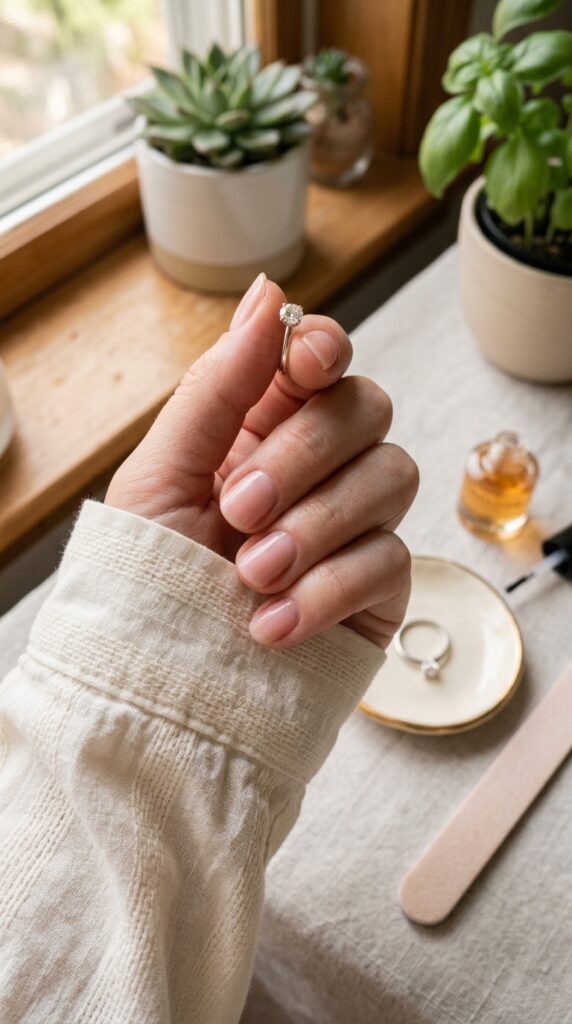
11. Short Engagement Nails With Rounded Tips
Short rounded nails can look just as romantic as longer extensions. Their neat shape feels natural and comfortable, while a sheer blush, milky nude, or pale pink polish keeps the hands looking cared for. This option is practical for anyone who works with their hands or rarely wears long nails.
File each nail into a softly rounded shape, keeping the lengths consistent. Apply a smoothing base coat, two thin layers of translucent color, and a glossy top coat. Gently clean the cuticle area before polishing because small imperfections are more noticeable on short nails. I always recommend this style when someone wants a bridal manicure that still feels like their usual self. Avoid filing too deeply into the sides, which can weaken the nails. DIY care may cost $10 to $30. A salon manicure usually ranges from $30 to $55.
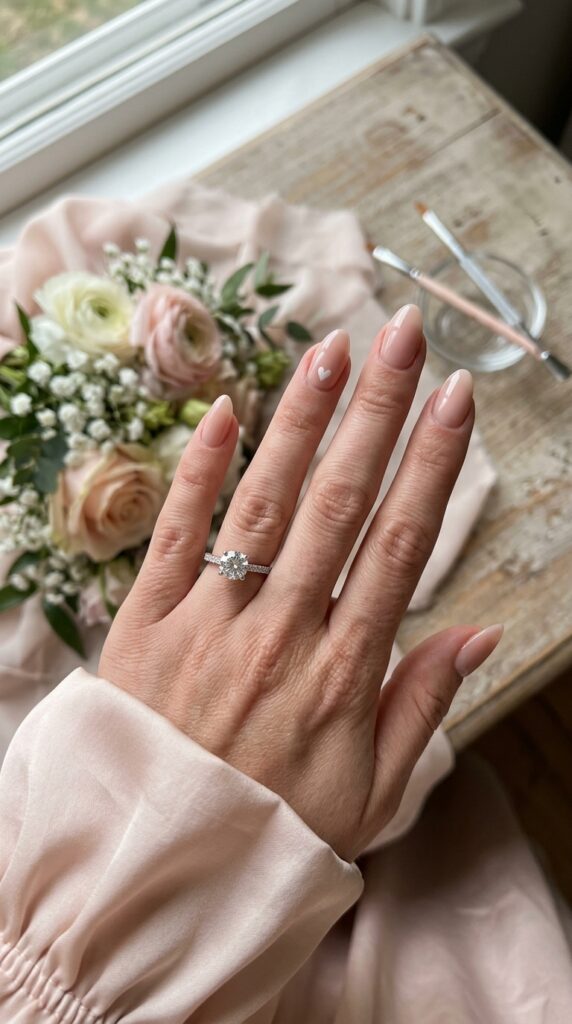
12. Heart Detail Bridal Nails
A tiny heart on one accent nail adds a personal and romantic detail without changing the entire manicure. The design can be painted in white, blush, gold, or soft red over a neutral background. It feels sweet in close-up photos but remains subtle from a distance.
Apply a sheer pink or nude base to all nails. Create a small heart on the ring finger by placing two dots side by side and pulling them downward into a point with a fine brush. Keep the heart near the cuticle or slightly off center. Avoid making it too large, since oversized art may compete with the engagement ring. A lot of people skip practicing the shape first, but it makes the final result much cleaner. DIY supplies may cost $10 to $25. Salon heart nail art often ranges from $40 to $70.
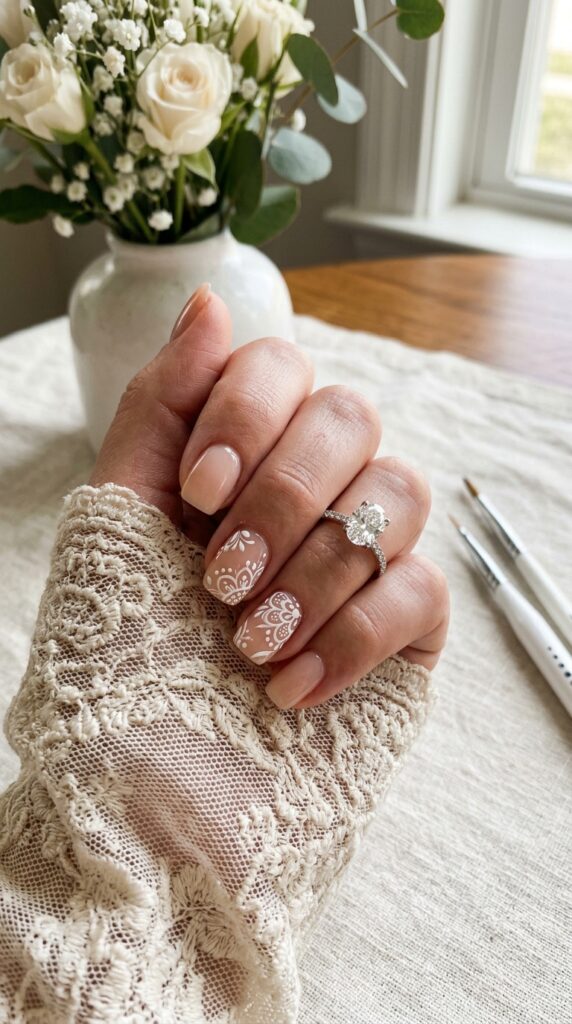
13. Lace Inspired Engagement Nails
Lace-inspired nail art echoes the fine texture of bridal fabric through delicate white lines, dots, and curved details. When used on one or two fingers, the pattern looks graceful rather than crowded. It pairs beautifully with a sheer nude base and a simple glossy finish.
Ask your nail artist to create fine lace art along one edge of the ring finger or thumb. Small scallops and tiny dots are easier to read than a full dense pattern. Keep the other nails plain or use slim French tips. In my experience, the biggest mistake here is choosing lace details that are too thick. Fine lines create a lighter, more fabric-like finish. At home, lace nail stickers offer an easier budget option. Decals and polish may cost $12 to $30. Hand-painted salon art generally ranges from $55 to $90.
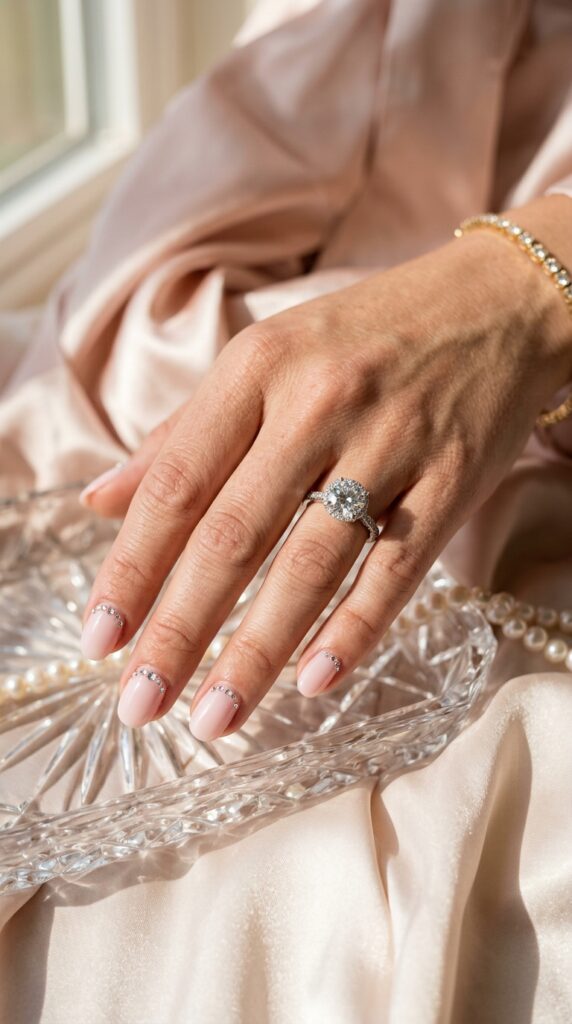
14. Engagement Nails With Crystal Cuticle Accents
Small crystals placed near the cuticle create a gentle sparkle that catches the light when the hand moves. The detail feels celebratory while leaving most of the nail clean. One crystal on each ring finger can be enough to connect the manicure with the engagement ring.
Begin with a pale pink, nude, or milky base. Apply one small flat-back crystal near the cuticle using builder gel or nail adhesive. Keep the stones low and smooth so they do not catch on clothing. What I personally love about this idea is that you can control how much sparkle appears. Avoid covering every nail with large gems, which may overwhelm ring photos and become uncomfortable. Flat crystals are more practical than pointed stones. DIY supplies may cost $15 to $40. Salon crystal accents often range from $50 to $85.
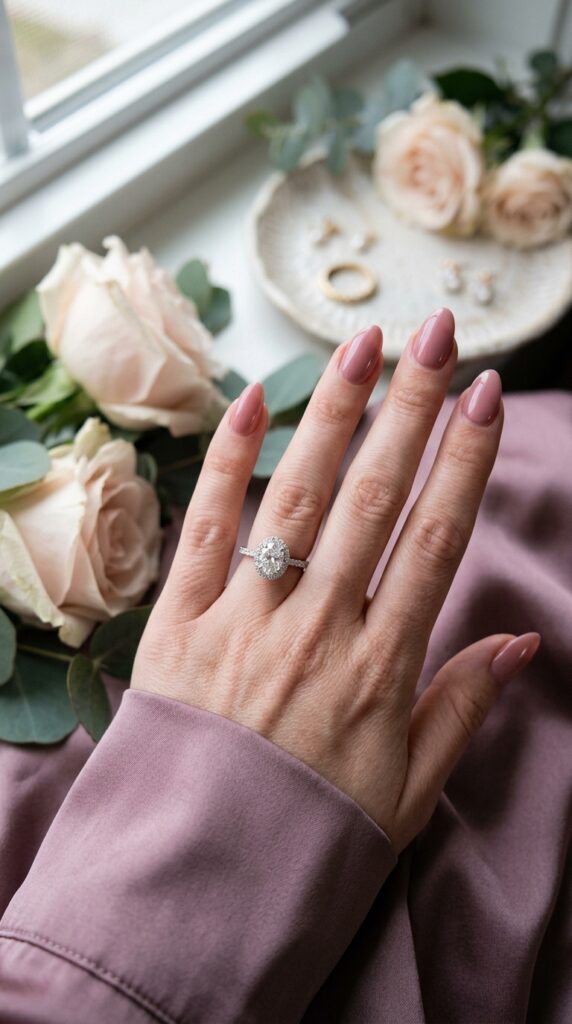
15. Dusty Rose Almond Nails
Dusty rose creates a romantic wash of muted pink with a soft mauve undertone. The color feels warmer and more noticeable than sheer blush but remains gentle beside an engagement ring. On almond nails, it creates a smooth, graceful silhouette.
Choose a dusty rose polish that provides clear contrast with your skin without becoming too dark. Apply two thin coats and finish with a glossy top coat. You can add one pearl, gold line, or tiny flower to the ring finger, though the solid color also looks beautiful alone. Avoid choosing a gray-heavy mauve if it makes your hands look washed out. Test the color in daylight before committing. I always recommend this when someone wants a romantic shade that can still be worn after the celebration. DIY polish costs around $10 to $25. Salon gel usually ranges from $35 to $65.
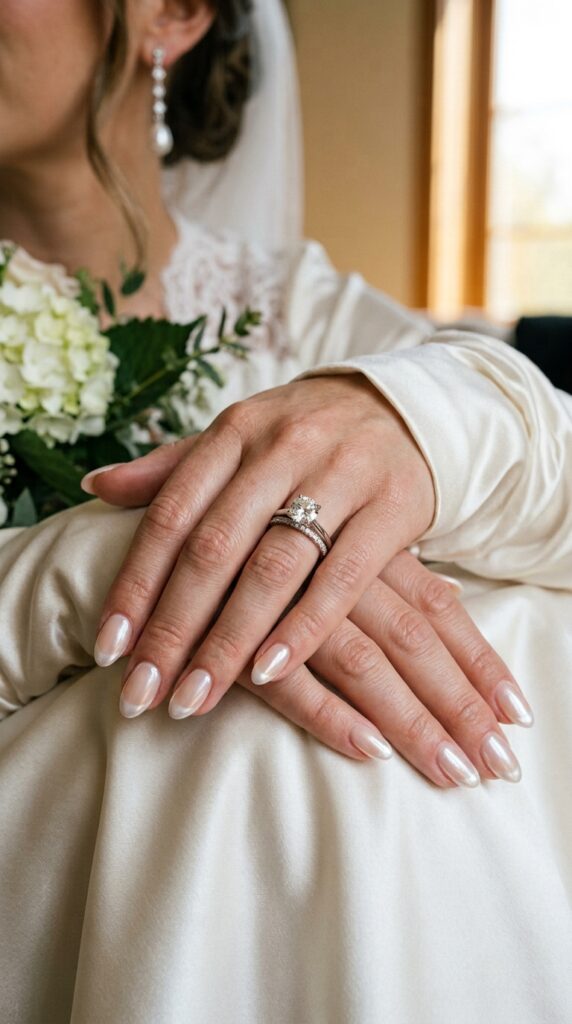
16. Pearl French Engagement Nails
Pearl French nails replace bright white tips with a soft, reflective finish. The edge catches light in pale pink, ivory, and champagne tones while the base remains sheer. The effect feels romantic and refined without becoming overly decorative.
Apply a translucent nude base, then create the French tip with pearl polish or chrome powder. Keep the tips narrow on short nails and slightly wider on longer almond or square shapes. A lot of people skip this step, but sealing the free edge is important because chrome can wear away faster at the tips. Avoid choosing a pearl powder with strong blue tones if you want a warm bridal finish. A DIY gel kit may cost $25 to $60. A salon pearl French manicure generally ranges from $55 to $90.
17. Minimal Bridal Nails With One Sparkle Accent
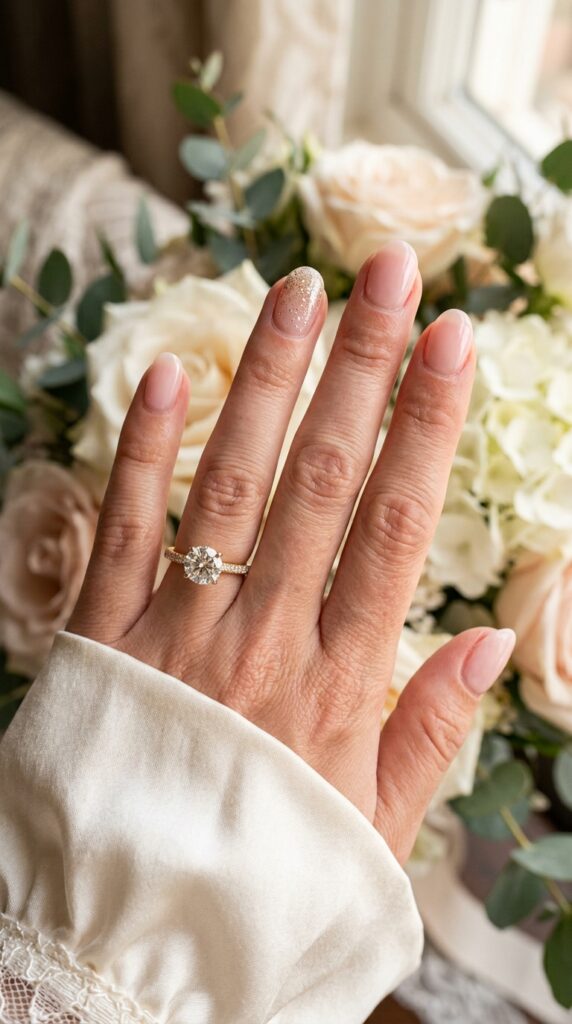
A minimal manicure with one sparkle accent keeps the overall look calm while adding a small celebratory detail. Nine nails can stay sheer pink or milky nude, while the ring finger features fine shimmer, foil, or a single crystal. This placement naturally draws attention toward the engagement ring.
Choose one neutral base shade for the full set. Add fine glitter or a delicate metallic detail to the ring finger only, keeping the accent within the same soft color palette. In my experience, the biggest mistake here is using a glitter shade that feels disconnected from the ring metal. Champagne suits yellow and rose gold, while soft silver works well with platinum and white gold. Avoid chunky glitter if you want clean close-up photos. DIY supplies may cost $12 to $30. Salon pricing usually ranges from $40 to $70.
Choosing Engagement Nails That Feel Like You
Your engagement manicure does not need long extensions, complicated artwork, or an expensive appointment to look romantic. Clean shaping, cared-for cuticles, and a color that complements your skin can make a simple manicure photograph beautifully.
These 17 engagement nails for a romantic bridal look include options for different budgets, nail lengths, ring metals, and personal styles. Start by saving one or two designs that feel closest to what you already enjoy wearing. You might choose sheer blush nails for a natural finish or add pearl tips, floral art, or champagne sparkle for a little more detail.
Try to book your manicure one or two days before planned engagement photos or a celebration. This gives the polish time to settle while keeping the manicure fresh. Bring a photo of your ring and nail inspiration to the appointment so your technician can help balance the color and design.
Which idea would you try first? I’d love to hear what you’re planning.
Frequently Asked Questions
What nail color looks best with an engagement ring?
Sheer pink, milky white, nude, blush, and dusty rose work well with most engagement rings. Warm champagne shades complement yellow and rose gold, while pearl white and soft silver suit platinum or white gold. The best choice is one that creates gentle contrast with your skin.
Should I get my nails done before engagement photos?
Yes, schedule your manicure one or two days before the photos when possible. This gives you fresh polish without leaving too much time for chips or growth. Apply cuticle oil after the manicure, but avoid heavy oils immediately before taking pictures.
What nail shape is best for a bridal look?
Almond, oval, rounded, and short square shapes all work beautifully for bridal nails. Almond and oval shapes create a softer, lengthened appearance. Short rounded nails are practical and look clean if you prefer a natural length.
How much do engagement nails cost at a salon?
A basic gel manicure often costs $35 to $65. French tips, chrome, pearl details, crystals, ombré, or hand-painted art may bring the total to $50 to $90. Extensions and removal usually cost extra.
How can I make my engagement manicure last longer?
Wear gloves while cleaning and avoid using your nails to open packaging. Apply cuticle oil daily and add a fresh layer of top coat if you are wearing regular polish. Keep hand cream nearby, especially if your photos will show close-up shots of the ring.