How to Achieve the Perfect At-Home Gel Manicure That Looks Salon Fresh
Introduction
Many people love the look of fresh gel nails but feel frustrated by the cost of regular salon visits, chipped polish, or uneven results when trying to do their nails at home. It can be disappointing to spend time painting your nails only to see peeling edges after a few days. The good news is that learning how to achieve the perfect at-home gel manicure does not require expensive equipment or professional skills.
With the right preparation, simple tools, and a little patience, you can create glossy, long-lasting nails from your own space. This guide will walk you through the steps, products, and small techniques that make a big difference. From preparing your nails properly to choosing flattering colors and avoiding common mistakes, you will learn how to get a clean finish that feels polished and fresh. Whether you enjoy soft neutrals, bold shades, or seasonal nail trends, these tips will help you create a manicure routine that fits your budget and lifestyle.
1. Start With Clean, Well-Prepared Nails for a Better At-Home Gel Manicure
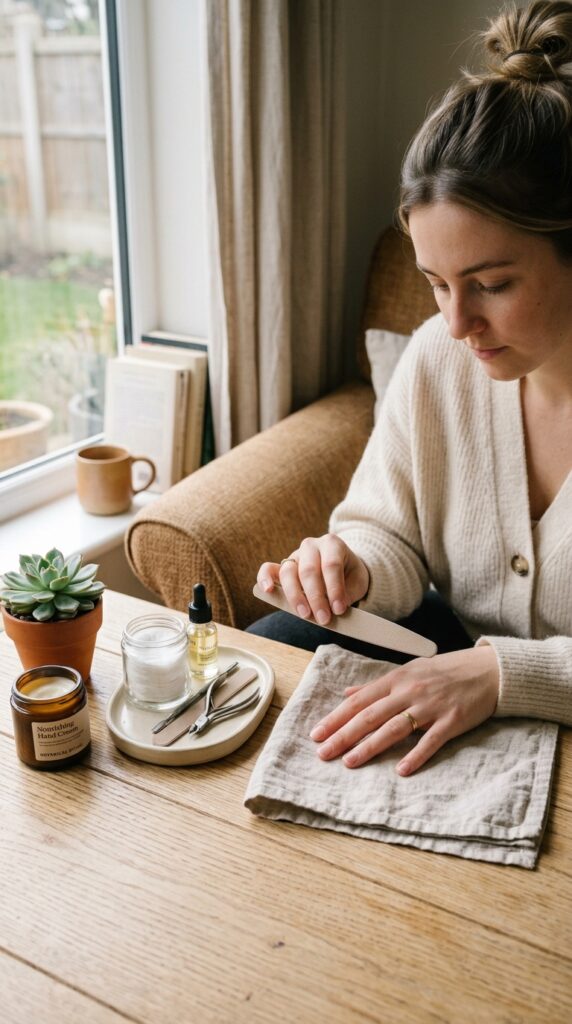
A beautiful gel manicure begins before you apply any color. Clean, healthy nails create a smooth surface where polish can grip properly. Imagine sitting near a sunny window with your favorite hand cream nearby, gently shaping your nails while soft music plays. The simple preparation process can feel like a small self-care moment instead of another beauty task. A neat nail shape, clean cuticles, and a smooth surface help create that glossy finish people love about salon manicures.
In my experience, the biggest mistake here is rushing through preparation. Many people focus only on the gel color and skip the foundation. Start by removing old polish, washing your hands, pushing back cuticles gently, and lightly buffing the nail surface. Use a nail file, cuticle stick, lint-free wipes, and nail cleanser. These supplies usually cost around $10 to $30 if you are building your kit. Avoid cutting cuticles too deeply because it can make nails sensitive.
2. Choose the Right Gel Products for a Smooth, Glossy Finish
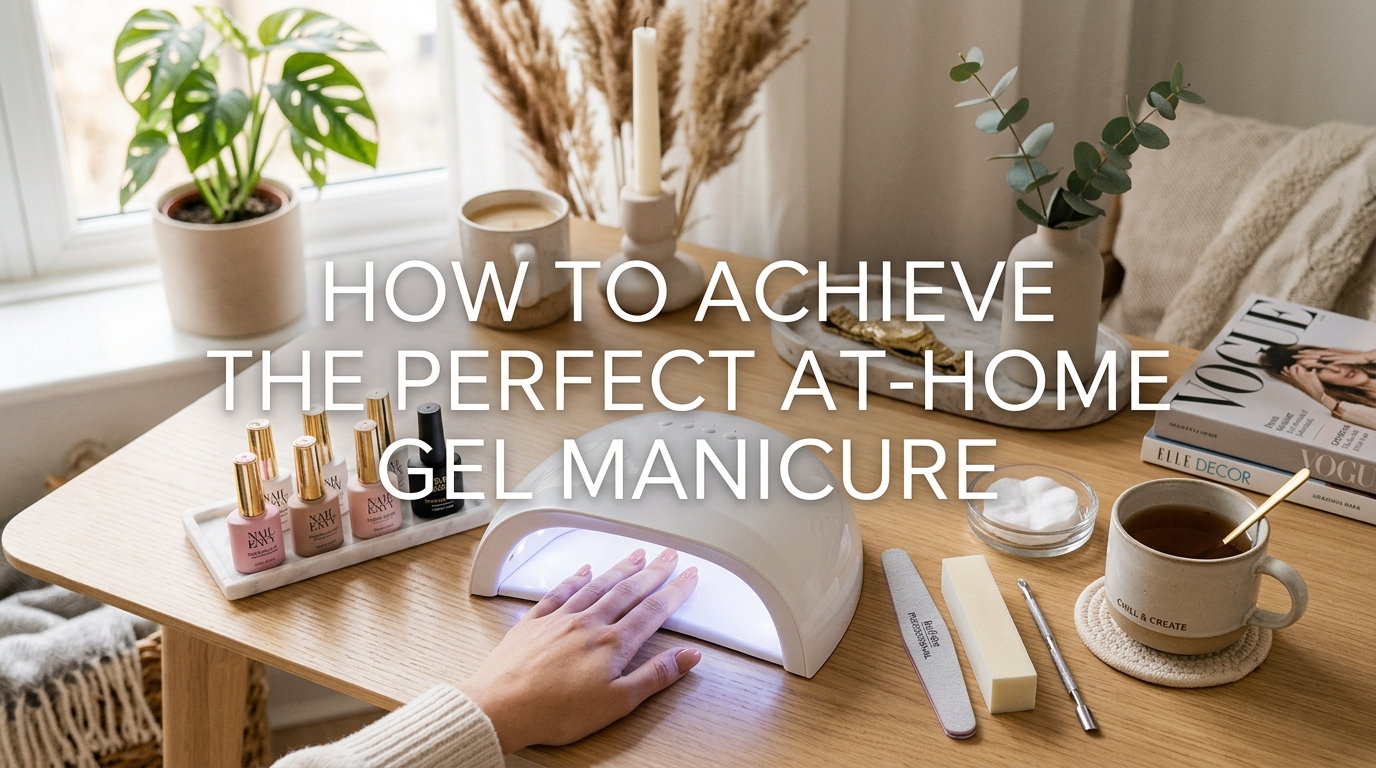
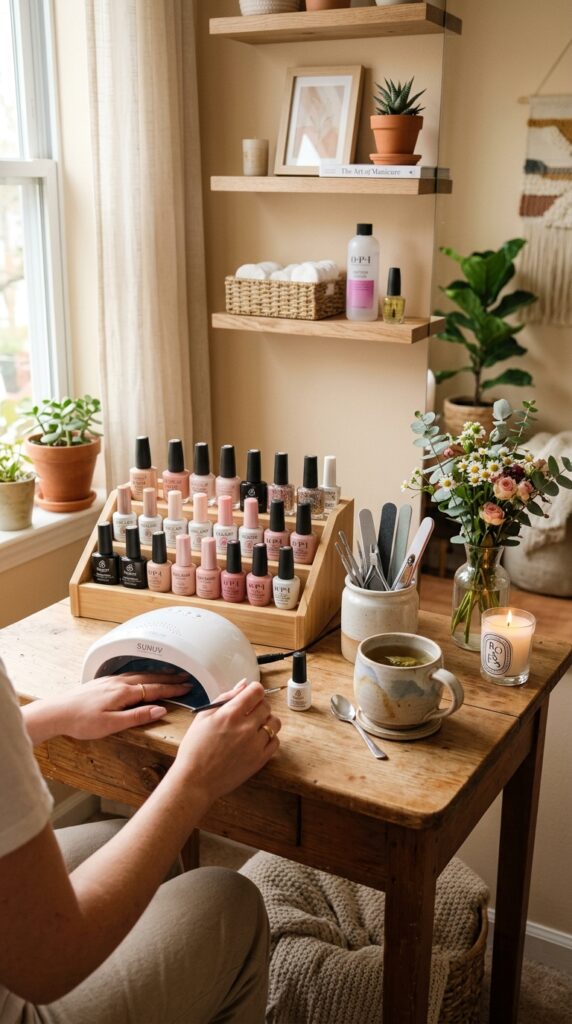
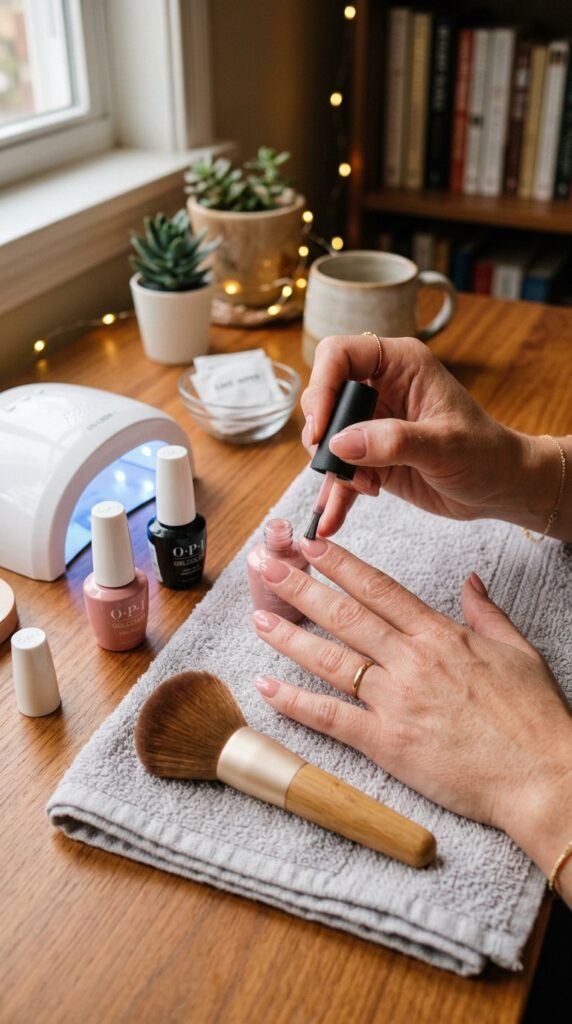
The products you choose can completely change how your manicure looks and lasts. A quality gel polish creates a smooth, glass-like surface that catches the light beautifully. Picture a small beauty corner with neatly arranged nail colors, a compact UV lamp, and bottles of soft pinks, creamy beige tones, and classic reds. A simple setup can make doing your nails feel more enjoyable and organized.
What I personally love about this is that you do not need a huge collection of colors. Start with a reliable base coat, gel color, and top coat. Choose shades you will actually wear often. A beginner-friendly gel kit usually costs between $30 and $80, while individual gel bottles may range from $8 to $20 each. Look for products that work together because mixing brands with different formulas can sometimes cause lifting. A common mistake is applying thick layers because they take longer to cure and may wrinkle.
3. Learn the Thin Layer Technique for Long-Lasting Gel Nails
The secret behind a smooth gel manicure is not using more product. It is using thin, even layers. A properly applied gel polish has a clean shine without looking bulky. Imagine nails with a smooth candy-like finish, delicate color, and perfectly sealed edges. The result feels polished but still natural, making it suitable for everyday outfits, work looks, or special occasions.
A lot of people skip this step, but it makes all the difference. Apply your base coat in a thin layer, cure it, then add two thin layers of color before finishing with a top coat. Keep each layer away from your skin and seal the free edge of the nail to prevent early peeling. A good gel brush and practice can improve your results. This technique costs nothing extra, but replacing messy polish mistakes may cost more over time. Avoid applying one thick coat because it can lead to uneven curing.
4. Use a Quality UV or LED Lamp for a Professional-Looking Result
A good curing lamp is one of the most important tools for creating a lasting gel manicure at home. The moment your nails come out glossy and fully set feels satisfying because you know your work will last longer. A small manicure corner with a modern lamp, organized supplies, and clean surfaces can make the entire process feel easier and more enjoyable.
I always recommend this when someone wants a change without starting over: invest in one reliable tool first instead of buying many unnecessary products. A beginner-friendly LED lamp usually costs between $20 and $60. Check that your lamp works with the gel products you use and follow the recommended curing time. One common mistake is removing your hand too early because the surface looks dry before the gel is fully cured. Keep your lamp clean and store it away from direct sunlight to protect its performance.
5. Create a Relaxing Nail Care Corner at Home
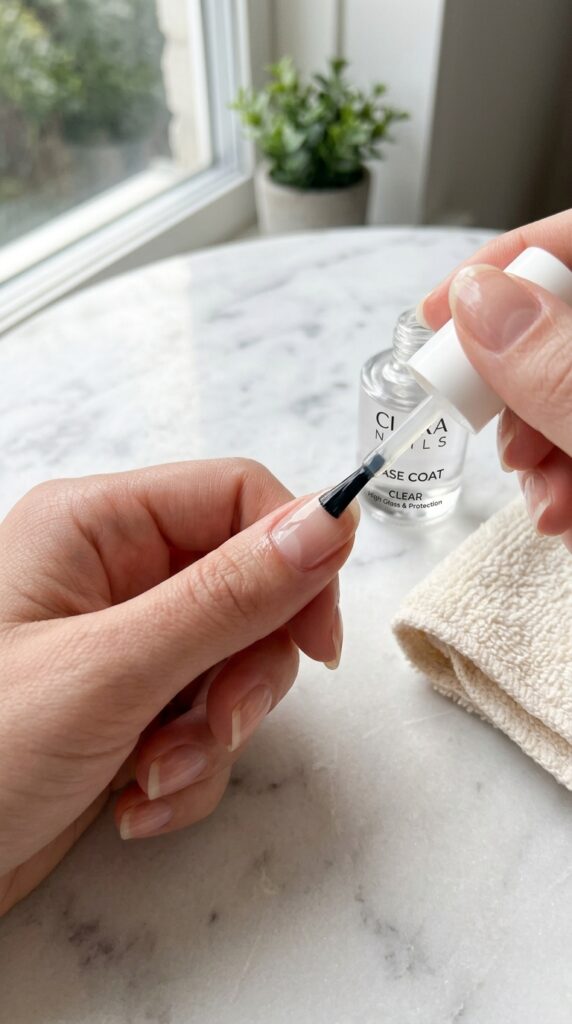
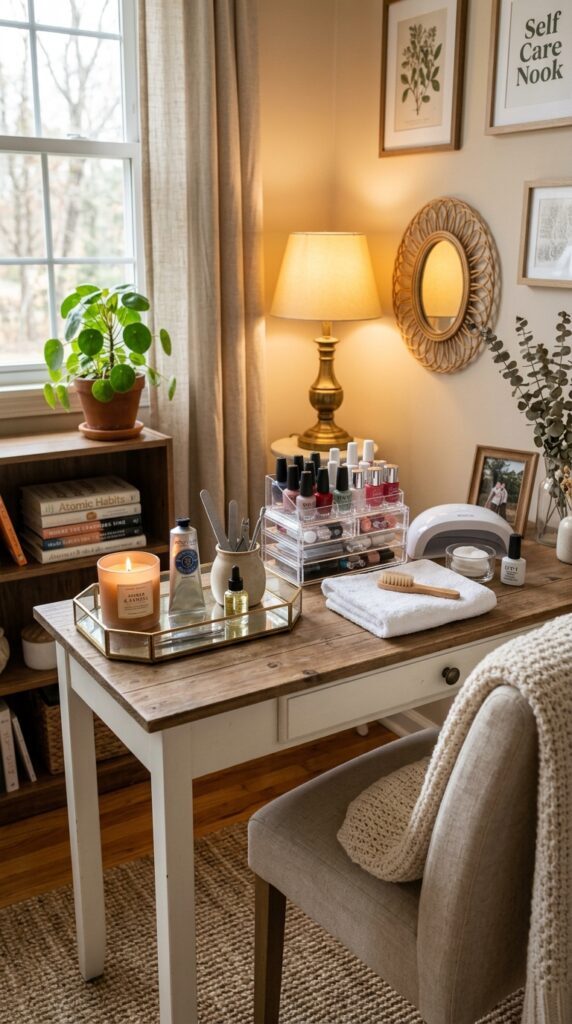
A dedicated manicure space can make your routine feel special, even if you only have a small area. A clean tray, a comfortable chair, and a few organized supplies can turn an ordinary corner into a peaceful beauty spot. Think of a bright little space with warm lighting, a soft towel, pretty storage containers, and your favorite nail colors displayed neatly. It becomes less about rushing through a task and more about enjoying a few quiet minutes for yourself.
You do not need a full beauty room to create this setup. Use a small drawer organizer, a decorative tray, or a basket to store your gel supplies. A simple setup may cost $10 to $40 depending on what you already own. Use containers to separate files, brushes, polish, and cleaning items. The biggest mistake is leaving products scattered, which makes the process feel stressful. Keeping everything together saves time and helps you maintain a cleaner routine.
6. Master Cuticle Care for a Cleaner Gel Manicure Look
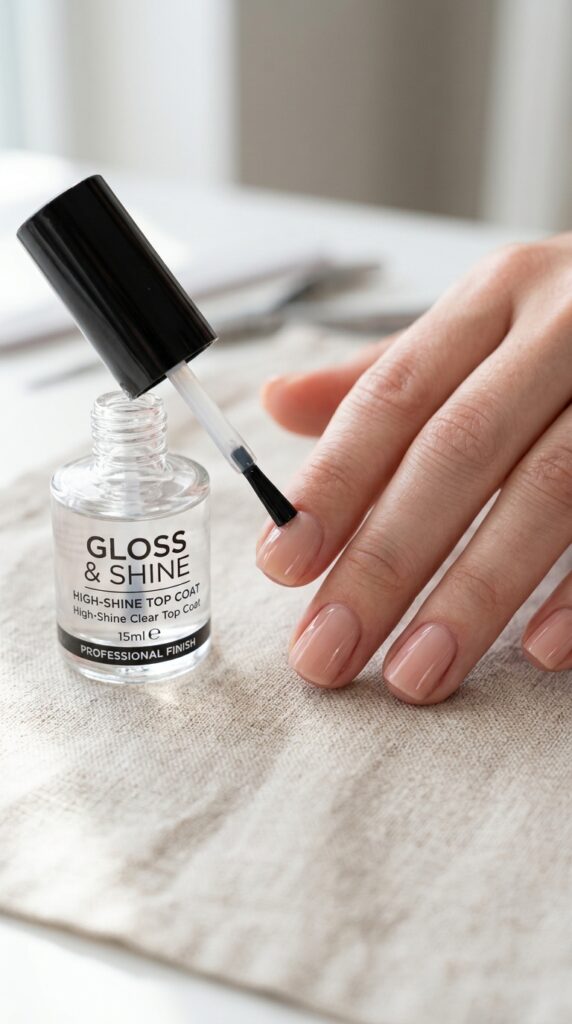
Beautiful gel nails are not only about the polish. The small details around your nails make the biggest visual difference. Clean cuticles create a fresh, salon-like appearance and help your chosen color stand out. Picture freshly painted nails with smooth skin around the edges, a glossy finish, and soft hands resting on a cozy blanket with a warm drink nearby. This simple detail makes the entire manicure feel more polished.
A lot of people skip this step, but it makes all the difference. Before applying gel polish, gently push back your cuticles after softening them with cuticle oil or warm water. Use a wooden cuticle stick and avoid aggressive trimming. A small bottle of cuticle oil usually costs around $5 to $15 and can last for months. Apply oil daily after your manicure to keep your nails looking healthy. The biggest mistake is applying polish over dry, uneven cuticles because it can make the edges look messy and cause lifting.
7. Pick Gel Nail Colors That Match Your Everyday Style
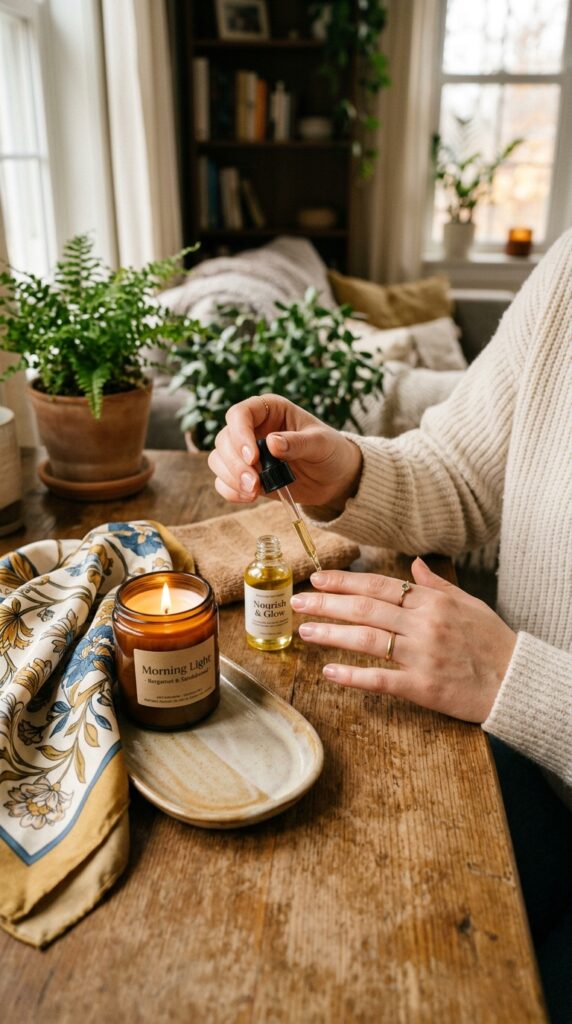
Choosing the right gel color can make your manicure feel more personal and enjoyable. The best shades are the ones that fit your wardrobe, mood, and daily routine. Soft beige, milky white, dusty rose, and classic nude tones create a clean and timeless look. Deep burgundy, chocolate brown, and rich berry shades add warmth during cooler months. A fresh manicure can feel like adding a small finishing touch to your favorite outfits.
When selecting colors, think about what you naturally wear. If your closet is filled with neutral clothing, soft shades may give you a polished everyday look. If you enjoy fashion styling ideas and outfit inspiration, try matching your nails with seasonal colors or accessories. Gel polish colors usually cost $8 to $20 per bottle. I personally love choosing a few reliable shades instead of collecting too many. Avoid buying trendy colors you will only wear once.
8. Seal Your Gel Manicure Properly to Prevent Early Chipping
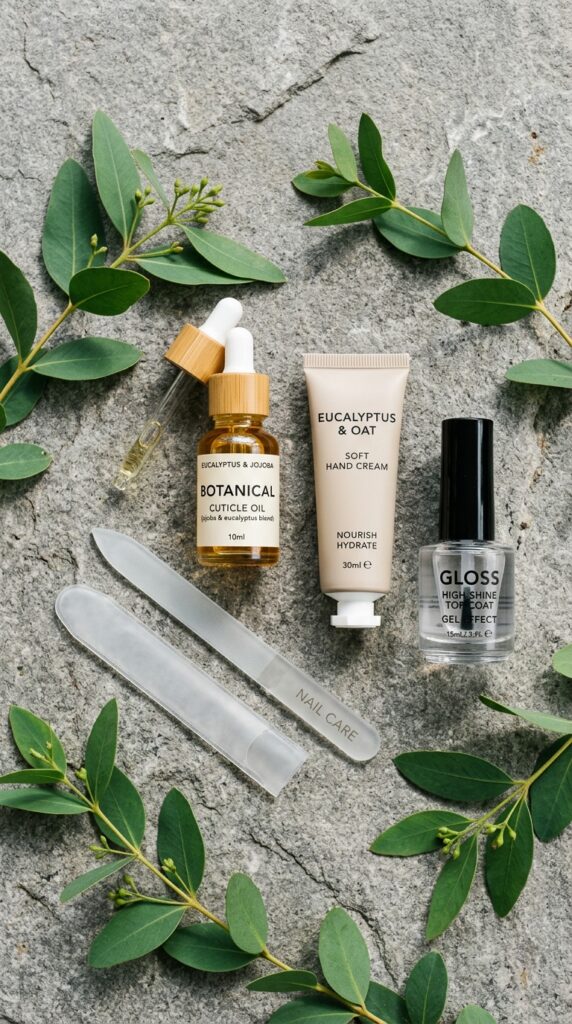
A glossy top coat is what gives gel nails that smooth, reflective finish. It creates the final layer that protects your color and helps your manicure stay fresh through everyday activities. Imagine running your fingers across shiny nails that still look neat days after application. The clean shine adds a little confidence when you type, cook, work, or meet friends.
After applying your final color layer, add a thin top coat and carefully seal the nail edge. This small technique helps protect against chips and peeling. A quality gel top coat usually costs around $8 to $18. Keep the bottle neck clean so the product applies smoothly. In my experience, the biggest mistake here is forgetting the nail tip. Many people cover the surface but skip the edge where damage often begins. Give your top coat enough curing time and avoid touching your nails immediately afterward.
9. Keep Your Nails Healthy Between Gel Manicures
A beautiful manicure starts with healthy nails underneath. While gel polish creates a lovely finish, your natural nails still need care between applications. A relaxing nail routine might include moisturizing your hands, applying nourishing oils, and giving your nails short breaks when needed. Picture a peaceful evening routine with soft lighting, a favorite hand cream, and neatly cared-for nails while you relax at home.
Give your nails attention between gel applications by using cuticle oil, wearing gloves while cleaning, and avoiding picking at old polish. A good hand cream costs around $5 to $20 and can become part of your daily self-care routine. What I personally love about this is that small habits create noticeable improvements over time. Avoid peeling off gel polish because it can remove layers from your natural nails. Instead, remove it properly with acetone and patience.
10. Remove Gel Polish Safely Without Damaging Your Nails
Removing gel polish correctly is just as important as applying it. Many people become frustrated with weak nails because they peel or scrape off gel instead of taking time to remove it properly. A gentle removal process protects your natural nails and keeps them ready for your next manicure. Imagine a calm evening routine where you remove your old color carefully while enjoying a little quiet time at home.
To remove gel safely, lightly file the shiny top layer, soak cotton pads in acetone, place them on your nails, and wrap them with foil for about 10 to 15 minutes. A basic removal kit usually costs $10 to $25. After removing the gel, apply cuticle oil and hand moisturizer. The biggest mistake is forcing off stubborn polish because it can damage the nail surface. Patience during removal will help your nails stay smoother and stronger.
11. Create a Simple Gel Manicure Routine That Fits Your Schedule
A relaxing manicure routine does not need to take up your entire day. Many people avoid doing their nails at home because they think it requires too much time and effort. A simple routine with organized steps can make the process feel manageable. Imagine setting aside a quiet evening with your favorite show playing, a clean workspace, and everything you need within reach. Your manicure becomes a small moment of personal care instead of another chore.
Start by choosing one day each week or every two weeks for nail maintenance. Keep your supplies together in a small box or drawer so you do not waste time searching for tools. A basic storage setup can cost around $10 to $30. Prepare your workspace before starting and avoid multitasking while applying gel because small mistakes can happen easily. I always recommend this when someone wants a change without starting over: build a routine you can actually maintain rather than chasing complicated techniques.
12. Try Minimal Gel Nail Designs for an Elegant Everyday Look
Simple nail designs can make your manicure feel unique without requiring advanced skills. Minimal styles like tiny dots, soft French tips, thin lines, or a single accent nail create a clean and wearable appearance. Picture glossy neutral nails with delicate details that match everything from casual denim outfits to a special dinner look. These designs feel fresh because they add personality without looking overwhelming.
You can create simple designs using a thin nail brush, dotting tool, or even a small toothpick for beginner-friendly details. Nail art tools usually cost around $5 to $15. Start with easy patterns before trying complicated designs. A common mistake is adding too many layers, which can make the manicure look thick. Keep your base color simple and let small details stand out. What I personally love about this is that small touches can make a basic manicure feel custom.
13. Protect Your Gel Nails During Everyday Activities
Even the best gel manicure needs proper care after application. Daily activities like washing dishes, cleaning, and opening packages can affect how long your nails stay fresh. Picture hands with glossy nails wrapped around a coffee mug, typing on a laptop, or arranging flowers at home. A little extra care helps maintain that polished look longer.
Wear gloves when using cleaning products or soaking your hands in water for long periods. Keep a small bottle of hand lotion nearby and avoid using your nails as tools to open containers. Reusable cleaning gloves usually cost around $5 to $15 and are a simple investment. In my experience, the biggest mistake here is forgetting that gel nails still need protection. Small habits like moisturizing and avoiding unnecessary pressure can help your manicure last longer.
14. Build a Budget-Friendly Gel Manicure Kit at Home
Creating a home manicure kit does not mean buying every beauty product available. A carefully chosen collection of essentials can give you great results without spending too much. Imagine a small organized box filled with your favorite gel colors, tools, and care products sitting neatly on a shelf. Having everything ready makes the process feel easier and more enjoyable.
Start with the basics: an LED lamp, base coat, top coat, two or three gel colors, nail file, buffer, and removal supplies. A beginner kit can cost around $50 to $120 depending on the quality of products you choose. Affordable options can work well when you read reviews and choose reliable formulas. Avoid buying large sets of colors before knowing which shades you actually use. A smaller collection often saves money and keeps your storage space organized.
15. Make Your At-Home Gel Manicure Feel Like a Self-Care Ritual
Doing your nails at home can become more than a beauty routine. It can be a quiet moment where you slow down and enjoy taking care of yourself. A cozy manicure evening might include soft lighting, comfortable clothes, a relaxing playlist, and freshly painted nails drying while you unwind. These small rituals can make ordinary days feel a little more special.
Set up your space with items that make you comfortable, such as a soft towel, favorite candle, warm drink, or calming music. You do not need expensive extras. A simple self-care setup can cost less than $20 if you use items you already own. A lot of people skip this step, but enjoying the process makes you more likely to keep the habit. Avoid rushing just to finish quickly. The experience matters as much as the final look.
Conclusion
Learning how to achieve the perfect at-home gel manicure is less about having professional skills and more about creating a routine that works for you. With the right preparation, quality products, and a little patience, you can enjoy beautiful nails without regular salon appointments. Small details like caring for your cuticles, applying thin layers, and removing gel properly can make a noticeable difference.
You do not need a large collection of products or an expensive setup to get started. Begin with a few reliable tools, choose colors you love, and create a comfortable space where you enjoy the process. In my experience, the best beauty routines are the ones that fit naturally into your lifestyle.
Whether you prefer soft neutral nails, seasonal shades, or simple nail art, your home manicure can become a relaxing part of your self-care routine. Start with one or two ideas from this guide and build your skills over time. How to achieve the perfect at-home gel manicure comes down to practice, patience, and finding what makes you feel confident.
Which idea would you try first? I’d love to hear what you’re planning.
FAQs
How long does an at-home gel manicure usually last?
A properly applied gel manicure at home can last around two to three weeks. The length depends on your nail preparation, the products you use, and how you care for your hands afterward. Applying thin layers and sealing the nail edges can help prevent early peeling.
Do I need an expensive gel manicure kit to get good results?
No, you do not need the most expensive equipment to create beautiful gel nails. A reliable LED lamp, good base coat, top coat, and a few favorite colors are enough for beginners. Starting with quality basics is usually better than buying a large kit with products you may not use.
Why does my gel polish peel off quickly?
Gel polish often peels because the nails were not prepared properly or the layers were applied too thickly. Oils, moisture, or leftover residue on the nail surface can also affect how well the gel sticks. Cleaning the nails and applying thin layers can improve wear time.
Can I do gel nails at home if I am a beginner?
Yes, beginners can learn how to achieve the perfect at-home gel manicure with practice. Start with simple colors and focus on preparation, thin application, and proper curing. Simple techniques usually create better results than complicated designs when you are learning.
How often should I remove and redo a gel manicure?
Most people refresh their gel manicure every two to three weeks. It is important to remove gel properly instead of peeling it away. Giving your nails care between applications helps keep them looking healthy.