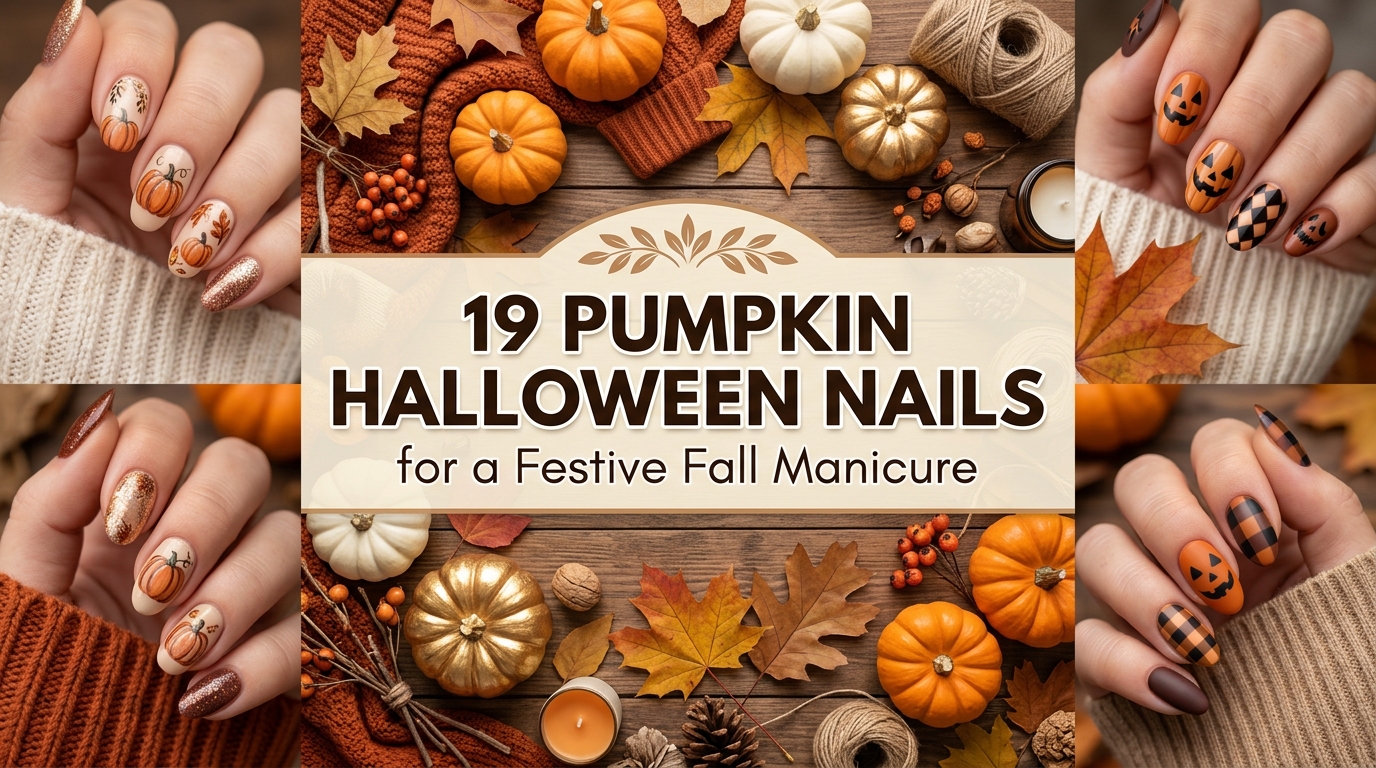
19 Pumpkin Halloween Nails for a Festive Fall Manicure
As soon as the weather starts to cool down, many of us swap bright summer colors for warm fall shades. But when it comes to Halloween, it can be surprisingly hard to find nail designs that feel fun without looking too over-the-top. You might want something festive for pumpkin patches, family gatherings, or October photos, but still polished enough to wear every day.
That’s exactly where these 19 Pumpkin Halloween Nails for a Festive Fall Manicure come in. From tiny pumpkin accents to rich burnt orange shades, these nail ideas capture the cozy feeling of fall while adding just the right amount of Halloween charm. Some are simple enough to recreate at home, while others are worth bringing to your favorite nail artist.
Whether you love glossy finishes, matte textures, glitter details, or hand-painted artwork, you’ll find plenty of inspiration here. Grab your favorite fall drink, save your favorites to Pinterest, and get ready to give your manicure a seasonal refresh without spending a fortune.
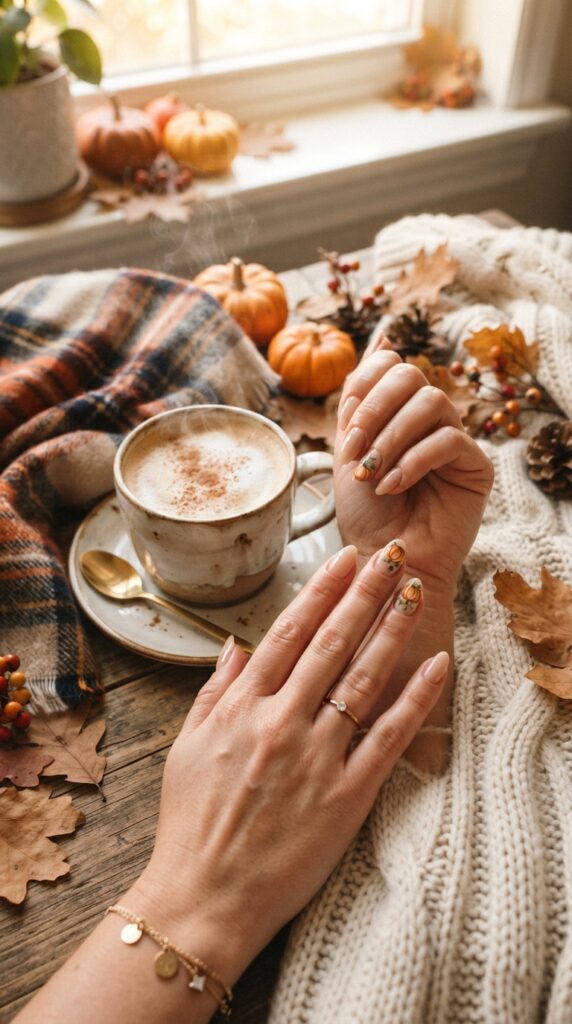
1. Tiny Pumpkin Accent Nails That Feel Sweet and Simple
If you enjoy seasonal nail art but prefer a clean, everyday look, tiny pumpkin accents are a lovely place to start. Picture a creamy nude base with one or two miniature pumpkins painted on each hand. The soft neutral background lets the artwork stand out without feeling busy, while glossy polish catches the light beautifully. The finished look feels cozy, cheerful, and easy to wear from early October through Halloween.
To recreate this style, start with a nude, beige, or soft peach polish. Add tiny orange pumpkins using a detail brush or pumpkin nail stickers if freehand painting feels intimidating. Finish with a high-shine top coat for extra durability. A lot of people skip the final top coat, but it makes all the difference in keeping detailed artwork looking fresh. You can usually create this look for about $10 to $30 at home or $35 to $60 at a salon.
2. Matte Pumpkin Halloween Nails with Cozy Autumn Colors
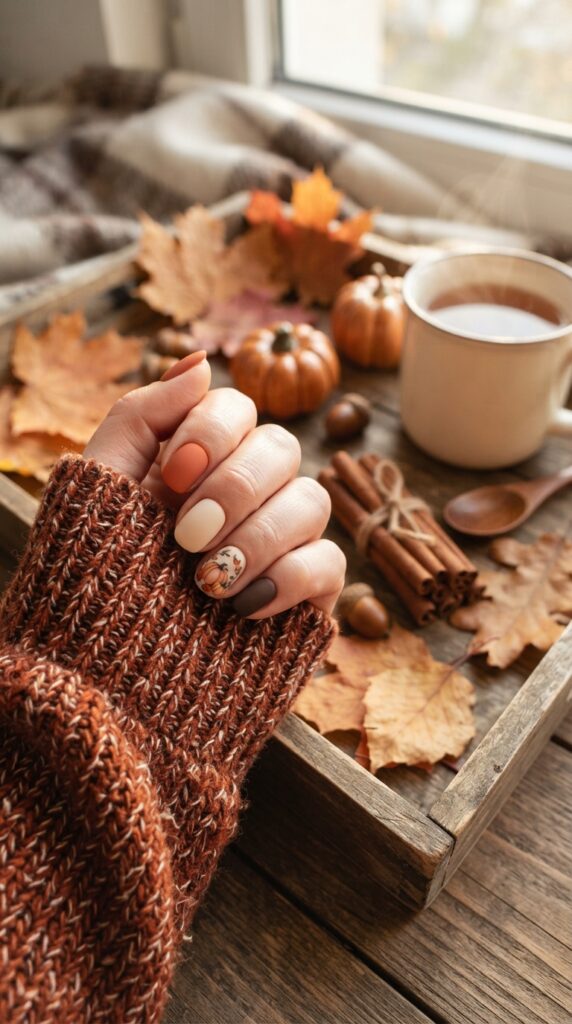
Matte finishes bring a soft, velvety texture that pairs beautifully with fall colors. Rich pumpkin orange, cinnamon brown, and muted cream create a manicure that feels warm without being flashy. The matte surface gives each shade a smooth appearance that reminds you of crisp leaves and cozy sweaters.
Choose three or four coordinating polish colors and alternate them across your nails. Add one simple pumpkin illustration or leaf accent for extra character. In my experience, the biggest mistake here is mixing too many bold shades together. Keeping your palette limited creates a cleaner finish. Matte top coats are inexpensive and usually cost between $8 and $15, while a complete salon manicure ranges from $40 to $70.
3. Burnt Orange Nails with Delicate White Pumpkins
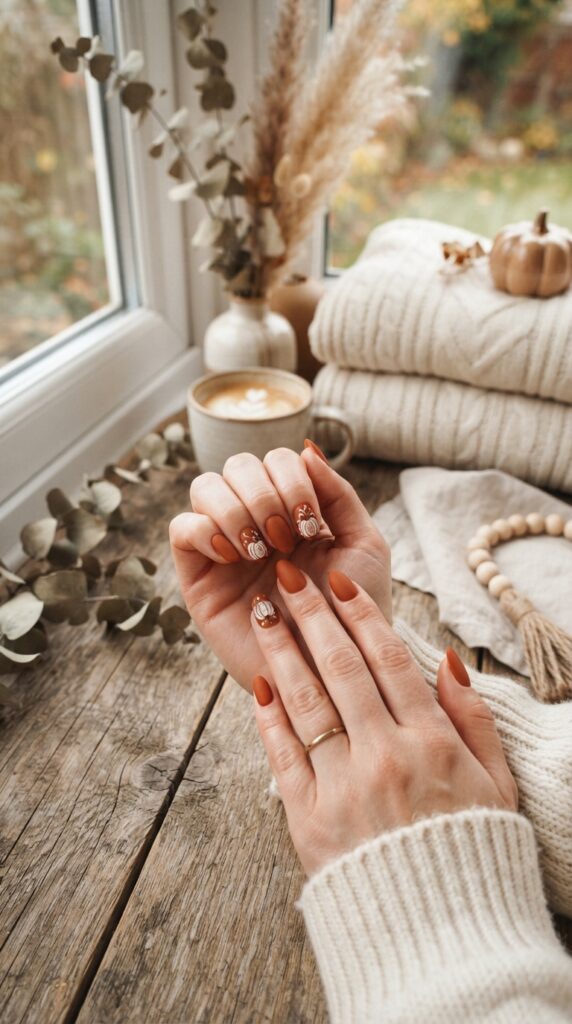
Burnt orange captures everything people love about autumn. Pairing it with small white pumpkins creates a fresh contrast that feels modern yet timeless. The deeper orange shade looks especially beautiful against cozy sweaters, denim jackets, and soft neutral outfits throughout the season.
Paint most nails in a rich burnt orange polish, then leave one or two accent nails for white pumpkin designs outlined with thin brown stems. A fine detailing brush helps create crisp lines, but high-quality nail decals also work well if you’re short on time. I always recommend choosing slightly muted orange instead of neon shades because it looks more natural for fall. Expect to spend around $12 to $35 for DIY supplies or $45 to $70 professionally.
4. Glitter Pumpkin Tips That Catch Every Bit of Fall Light
A little sparkle can make your manicure feel festive without overwhelming the design. Imagine soft orange glitter fading across the nail tips while tiny pumpkins sit near the cuticle. The shimmer reflects candlelight, porch lights, and sunny autumn afternoons, making the manicure feel playful yet wearable.
Begin with a sheer nude base before applying fine orange glitter only along the tips using a sponge for a softer blend. Add one small pumpkin accent on each ring finger for balance. What I personally love about this style is that glitter naturally hides small chips better than solid polish. DIY versions generally cost $15 to $30, while salon versions usually range from $45 to $75.
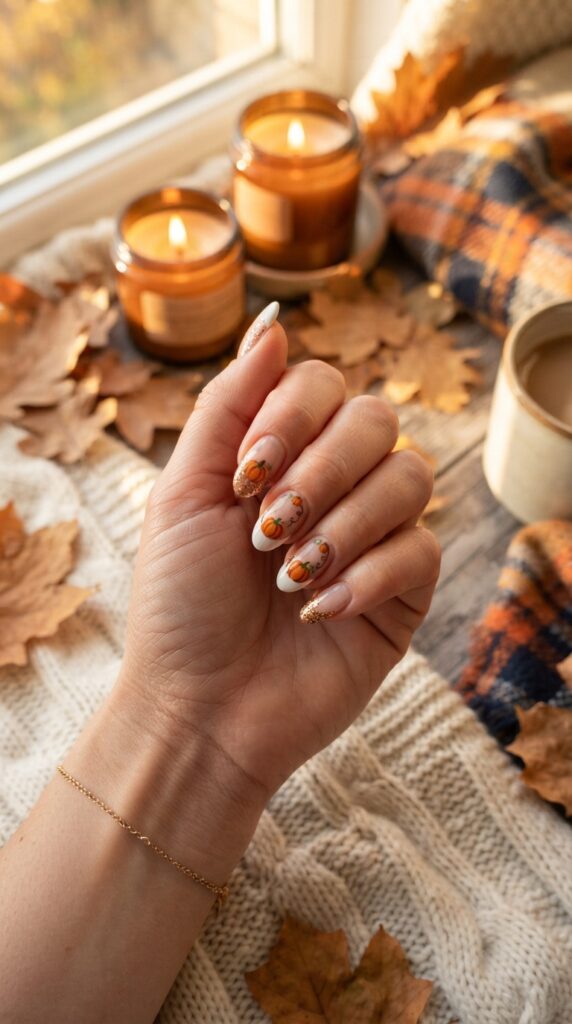
5. Cute Pumpkin Faces for a Playful Halloween Look
Not every Halloween manicure needs to be spooky. Friendly pumpkin faces bring plenty of personality while still feeling cheerful and lighthearted. Bright orange pumpkins with tiny smiling expressions instantly create a fun seasonal mood that works for parties, pumpkin patches, and casual weekends.
Use a soft nude or cream background so the pumpkin faces become the main focus. Thin nail art brushes or stamping plates make drawing the facial details much easier. Avoid making every nail identical because small variations actually give the manicure more character. Budget-friendly sticker kits start around $8, while detailed salon artwork usually costs between $45 and $80 depending on the complexity.
6. Pumpkin Spice Ombre Nails Inspired by Fall Drinks
Few things feel more like autumn than the warm colors found in your favorite seasonal coffee. This ombre manicure blends creamy beige into pumpkin orange before fading into deep cinnamon brown. The gradual transition creates a smooth, elegant finish that pairs beautifully with both casual and dressy outfits.
Use a makeup sponge to blend the colors while each layer is still slightly wet, then seal everything with a glossy top coat. Add a tiny gold leaf or pumpkin on one accent nail for extra interest. A lot of people rush the blending process, but building thin layers creates a softer fade. DIY materials usually total $15 to $35, while salon ombre nail art often costs $50 to $85.
7. Elegant Pumpkin French Tips for Everyday Fall Style
French tips get a seasonal update with soft pumpkin orange replacing traditional white. The result feels polished enough for work while still celebrating Halloween in a subtle way. Small pumpkin details near one accent nail keep the manicure festive without taking over the design.
Start with a sheer pink or nude base before painting curved orange French tips. Add one tiny pumpkin illustration to the ring finger for a balanced finish. In my experience, choosing a slightly rounded tip instead of a sharp line creates a softer, more natural appearance. Home versions typically cost $10 to $25, while professional salons usually charge between $40 and $70.
8. Pumpkin Halloween Nails with Gold Foil Details
If you want a manicure that feels festive and a little more polished, gold foil is a beautiful addition. Rich pumpkin orange paired with delicate flakes of gold creates a warm glow that looks especially pretty in autumn sunlight. The metallic accents catch the light without overpowering the design, making this style work for both casual weekends and dressier fall events.
Paint most of your nails in pumpkin orange or warm terracotta, then press small pieces of gold foil onto one or two accent nails before sealing everything with a glossy top coat. You can even add a tiny pumpkin outline over the foil for extra detail. What I personally love about this look is how expensive it appears even though the materials are fairly affordable. A DIY version usually costs $15 to $35, while a salon manicure ranges from $50 to $80.
9. Cozy Plaid and Pumpkin Accent Nails
Plaid patterns instantly bring to mind oversized scarves, cozy blankets, and crisp fall afternoons. Pairing them with tiny pumpkin accents creates a manicure that feels warm, inviting, and full of seasonal charm. Soft cream, burnt orange, forest green, and chocolate brown work together to create a classic autumn palette.
Paint two nails with simple plaid lines using a striping brush, while the remaining nails feature solid fall shades and one tiny pumpkin accent. Thin lines are easier to control than thick ones, so work slowly and let each layer dry before adding another. In my experience, rushing plaid designs often causes colors to blend together. DIY supplies generally cost $15 to $30, while detailed salon nail art typically ranges from $50 to $85.
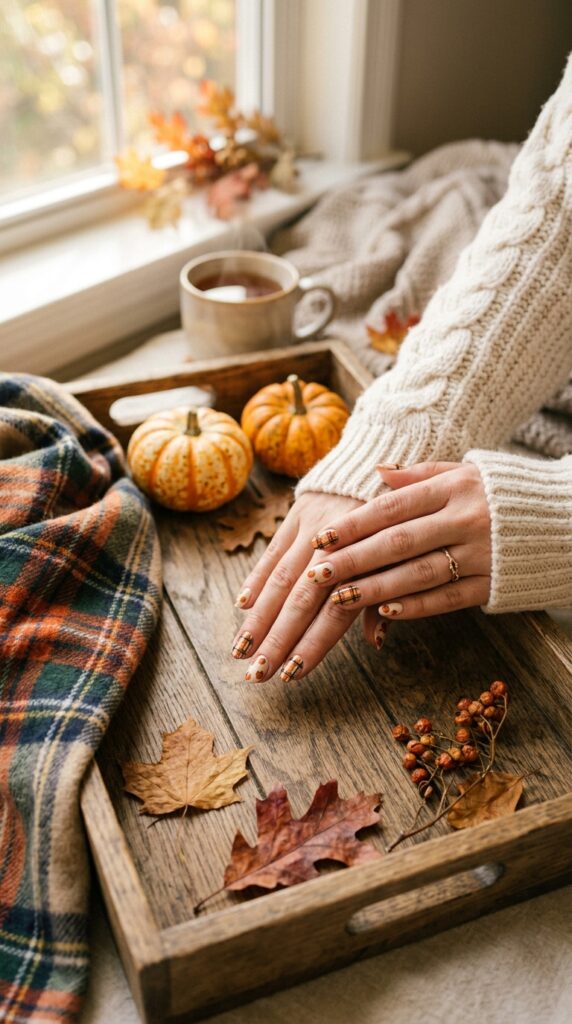
10. Soft Sage Green and Pumpkin Nail Design
Orange and sage green create one of the prettiest color combinations for fall. The fresh green softens the warmth of pumpkin orange, giving your manicure a calm, earthy feel. This design is subtle enough for everyday wear while still celebrating the season in a stylish way.
Alternate sage green and nude nails, then add small pumpkins with tiny green vines to one or two fingers. Finish with a glossy or satin top coat depending on your preferred finish. A lot of people skip adding the tiny vine details, but they make the pumpkin artwork feel more realistic. You can recreate this manicure for around $12 to $35, while professional versions usually cost $45 to $75.
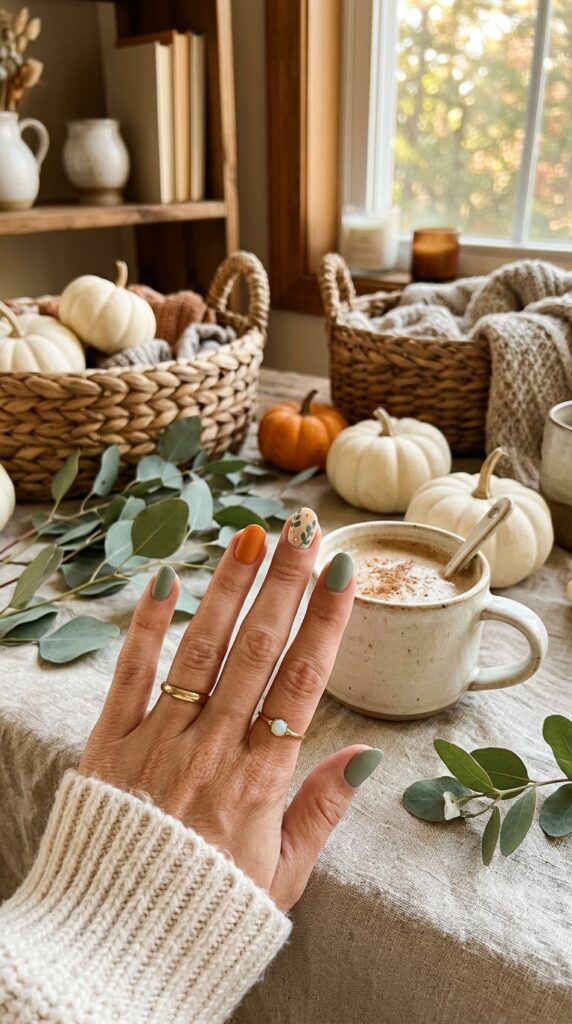
11. Glitter Pumpkin Patch Nails with Tiny Stars
Imagine looking down at your nails and seeing a miniature pumpkin patch sparkling under an autumn night sky. Tiny gold stars, scattered glitter, and cheerful pumpkins create a playful design that still feels elegant when balanced with neutral colors. It brings just enough Halloween spirit without looking overwhelming.
Choose a nude or sheer pink base, then paint tiny pumpkins across two accent nails. Add a few gold stars and fine glitter around them before sealing everything with a high-quality top coat. Avoid using chunky glitter because it can hide the artwork underneath. This design usually costs $15 to $40 to create at home or $50 to $85 at a salon.
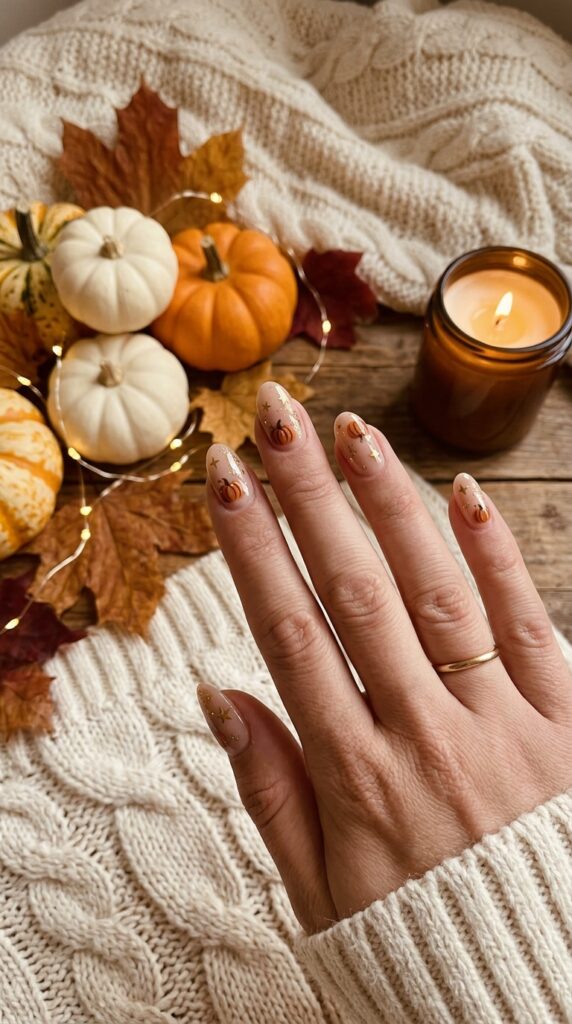
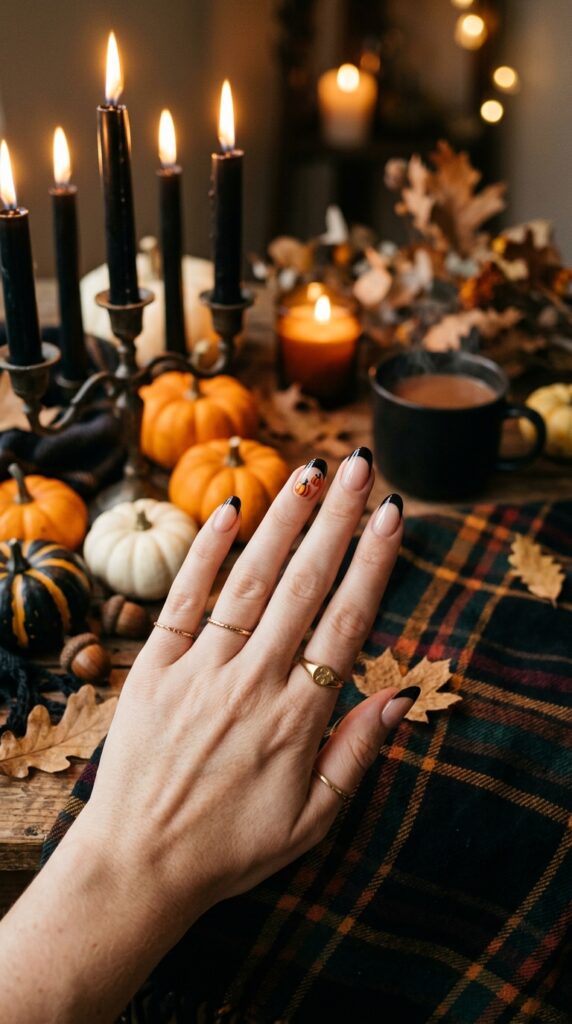
12. Pumpkin Halloween Nails with Black French Tips
Black French tips add just enough Halloween drama while keeping the overall manicure clean and wearable. The contrast between glossy black tips and cheerful pumpkin accents creates a bold but balanced look. It feels modern, slightly spooky, and easy to pair with almost any fall outfit.
Start with a sheer nude base and paint thin black French tips across each nail. Add one small pumpkin design on each ring finger or thumb for a subtle seasonal touch. I always recommend keeping the pumpkin artwork simple so the black tips remain the main feature. DIY supplies generally cost $15 to $30, while salon prices range from $45 to $80 depending on the level of detail.
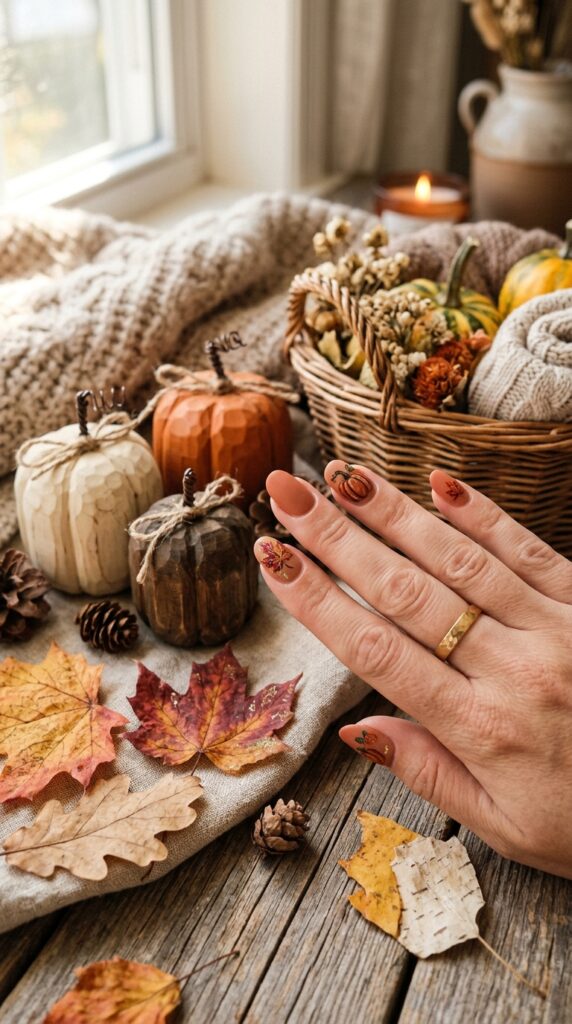
13. Rustic Pumpkin Nail Art with Leaf Details
This manicure captures the feeling of walking through a pumpkin patch on a cool October afternoon. Soft pumpkins, delicate maple leaves, and earthy shades create a relaxed design inspired by nature. The hand-painted details look beautiful against creamy neutrals and muted oranges.
Use beige or soft taupe as your base color before adding pumpkins, leaves, and thin brown stems with a detail brush. Finish with a glossy top coat to protect the artwork. One mistake I often see is making every nail heavily decorated. Leaving a few nails simple helps the detailed artwork stand out. You can expect to spend around $15 to $35 for DIY materials or $50 to $90 for professional nail art.
14. Cream and Pumpkin Orange Nails for a Cozy Fall Look
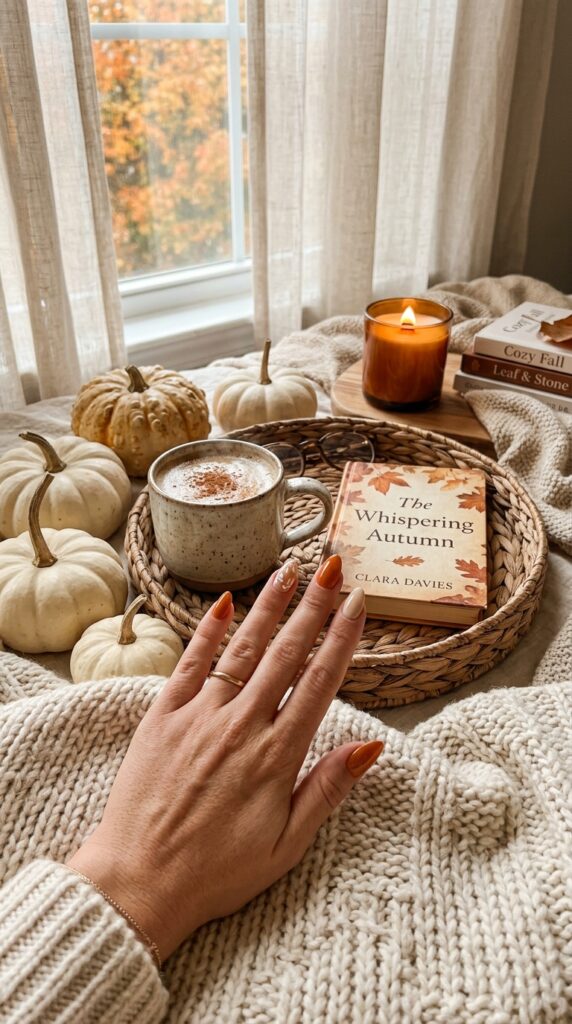
Sometimes the simplest color combinations have the biggest impact. Cream and pumpkin orange create a fresh, clean manicure that feels bright enough for early fall but warm enough for Halloween. The soft contrast makes the orange shade stand out beautifully without feeling too bold.
Alternate cream and pumpkin orange nails, then finish with one accent nail featuring a small pumpkin illustration or tiny gold dot details. Glossy finishes make the colors appear richer, while matte finishes create a softer seasonal look. What I personally love about this manicure is how versatile it feels throughout the entire fall season. DIY costs usually fall between $10 and $25, while salon appointments typically range from $40 to $70.
15. Matte Black and Pumpkin Nails for a Bold Halloween Look
If you enjoy dramatic nail designs, pairing matte black with bright pumpkin accents creates a striking contrast. The deep black polish gives the manicure a modern edge, while cheerful pumpkins keep it playful instead of gloomy. This combination looks especially beautiful with chunky knit sweaters, leather jackets, and cozy fall scarves.
Apply a matte black polish to most of your nails, then create one or two accent nails with a creamy nude or orange base featuring hand-painted pumpkins. Seal everything with a quality matte top coat to keep the finish smooth. In my experience, the biggest mistake here is making the pumpkin artwork too large. Smaller designs look cleaner and last longer between touch-ups. A DIY version typically costs $15 to $35, while salon prices range from $50 to $85.
16. Velvet Pumpkin Nails with Chrome Accents
Velvet-effect nails have become a favorite for fall because they catch the light in a soft, luxurious way. Adding chrome pumpkin outlines gives the manicure a fresh twist without making it feel too flashy. The shimmering finish changes as your hands move, creating a beautiful effect that stands out in photos.
Choose warm shades like copper, pumpkin orange, or cinnamon for the velvet polish. Add delicate chrome pumpkin outlines on one or two nails using metallic gel or nail foil. A lot of people skip a protective top coat over chrome details, but it helps prevent fading and chipping. Expect to spend around $20 to $40 on DIY supplies or $60 to $95 for a professional salon manicure.
17. Pumpkin and Sunflower Nails for a Harvest-Inspired Manicure
Pumpkins and sunflowers are a beautiful match because they capture the warmth and color of the harvest season. Bright sunflower petals bring cheerful energy, while tiny pumpkins add classic Halloween charm. Together, they create a manicure that feels welcoming from September through late October.
Use a soft cream or beige base before painting pumpkins and simple sunflower accents across a few nails. Keep the artwork balanced by leaving some nails in solid autumn shades like mustard or burnt orange. I always recommend using fine brushes for flower petals instead of thick ones, as they create a more natural look. DIY materials generally cost $15 to $35, while salon versions range from $50 to $90.
18. Neutral Pumpkin Halloween Nails for Everyday Wear
Not every Halloween manicure has to be bold. Neutral shades paired with delicate pumpkin artwork create a design that feels elegant enough for the office while still celebrating the season. Soft taupe, beige, cream, and muted peach make the orange pumpkins stand out in a subtle, sophisticated way.
Paint most nails in neutral shades, then add tiny pumpkin illustrations with thin brown stems on one or two accent nails. Finish with a glossy top coat for extra shine and durability. What I personally love about this style is that it pairs beautifully with almost every fall outfit, from cozy sweaters to tailored coats. DIY versions usually cost $10 to $30, while salon appointments range from $40 to $70.
19. Pumpkin Patch Nail Art with Cozy Fall Colors
Save your most detailed design for the grand finale. A miniature pumpkin patch complete with tiny vines, leaves, and scattered pumpkins turns your nails into a little autumn landscape. Rich shades of orange, olive green, cream, and warm brown work together to create a cozy finish that’s full of seasonal personality.
Start with a soft nude base, then paint pumpkins in different sizes across two or three accent nails. Add delicate green vines, tiny leaves, and a few gold dots for extra dimension. A lot of people try to decorate every nail, but leaving several nails in solid coordinating colors creates a much cleaner look. DIY supplies generally cost $20 to $40, while detailed salon artwork usually ranges from $60 to $100.
Conclusion
A festive manicure doesn’t have to be complicated or expensive to make you feel excited about the season. These 19 Pumpkin Halloween Nails for a Festive Fall Manicure show that even small details, like a tiny pumpkin accent or a warm fall color palette, can make your nails feel fresh and ready for October.
If you’re trying seasonal nail art for the first time, start with one of the simpler designs before moving on to more detailed artwork. You don’t need a large collection of polishes or professional tools to create something beautiful. A few quality colors, a steady hand, and a little patience can go a long way.
Whether you love glossy finishes, matte textures, glitter accents, or delicate hand-painted pumpkins, there’s a style here for every taste and budget. Save your favorite ideas for your next salon visit or enjoy a relaxing DIY manicure at home with your favorite fall playlist and a warm drink nearby.
Which of these Pumpkin Halloween Nails would you try first? I’d love to hear which design is your favorite in the comments!
FAQs
What nail colors work best for pumpkin Halloween nails?
Classic pumpkin orange is always a favorite, but it looks even better when paired with cream, beige, burnt orange, chocolate brown, sage green, olive, black, or gold accents. These shades reflect the warmth of the fall season while making pumpkin artwork stand out naturally. Choosing two to four coordinating colors usually creates the most balanced manicure.
Can I create pumpkin nail designs at home?
Yes, many pumpkin nail designs are beginner-friendly. Nail stickers, stamping plates, and dotting tools make the process much easier if you don’t feel comfortable painting freehand. Start with simple pumpkin accents before trying detailed scenes or plaid patterns.
How long do Halloween nail designs usually last?
With a quality base coat and top coat, most regular polish manicures last about one week. Gel manicures can stay fresh for two to three weeks with proper care. Wearing gloves while cleaning and moisturizing your cuticles daily can help extend the life of your manicure.
What nail shape looks best for pumpkin nail art?
Almond, oval, and squoval nails provide enough space for small pumpkin illustrations while keeping the manicure elegant. Short square nails also work well for simple accent designs. The best shape is one that feels comfortable for your everyday routine.
Are pumpkin Halloween nails suitable for work?
Absolutely. Many pumpkin-inspired manicures use soft neutral shades with just one or two subtle accent nails. Choosing delicate artwork instead of bold Halloween graphics creates a seasonal look that still feels polished enough for professional settings.