How to Make Your Manicure Last Longer: Simple Tips for Beautiful Nails That Stay Fresh
Introduction
There is nothing more frustrating than spending time choosing a beautiful nail color, carefully painting your nails, and then noticing chips only a few days later. Whether you love soft neutral shades, bold seasonal colors, or simple glossy nails, keeping your manicure looking fresh can feel like a challenge. The good news is that learning how to make your manicure last longer does not require expensive products or frequent salon visits.
Small changes in your nail care routine can make a big difference. From preparing your nails properly to choosing better application techniques, a few extra minutes can help your polish stay smooth and shiny for much longer. In this guide, you will find practical tips that work for both salon manicures and at home nail routines. These ideas are simple, affordable, and easy to add to your beauty habits, whether you enjoy classic nail styles or like experimenting with Pinterest inspired nail looks.
Let’s look at the steps that help your manicure stay beautiful, strong, and polished.
1. Start With Clean, Dry Nails Before Applying Polish
A fresh manicure begins before the first layer of color touches your nails. Clean, well prepared nails create a smooth surface where polish can grip better. When your nails look neat and natural, even a simple nude shade or soft pink polish feels more refined. The glossy finish lasts longer because there are fewer oils, lotions, and leftover products sitting between your nail and the polish.
A lot of people skip this step, but it makes all the difference. Wash your hands first, then gently remove any old polish and wipe your nails with rubbing alcohol or nail cleanser. Avoid applying hand cream right before painting because oils can prevent polish from sticking properly. This small preparation step costs almost nothing, usually under $5 if you already have basic nail supplies. I always recommend this when someone wants a change without starting over because better preparation often fixes short lasting manicures.
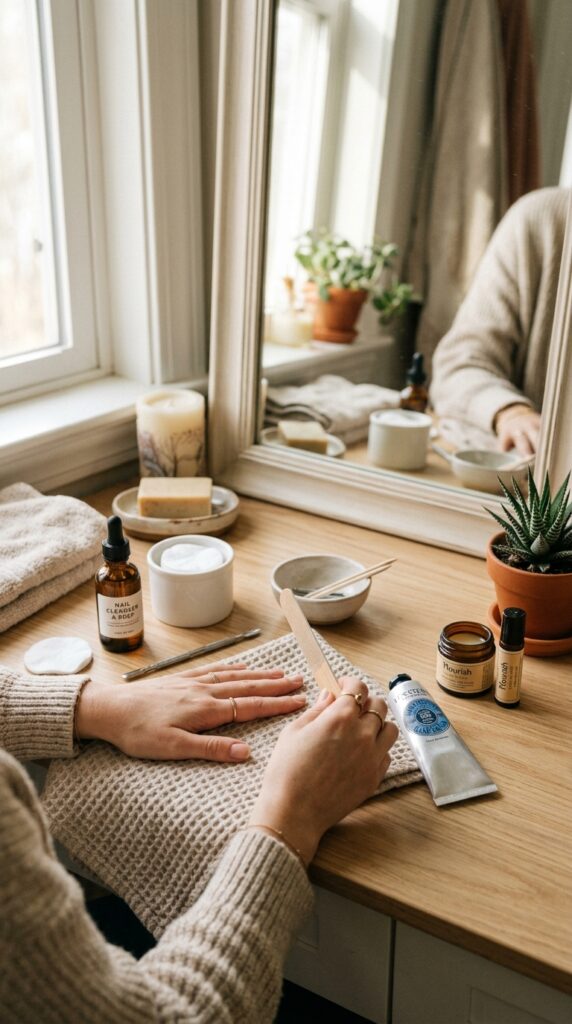
2. Use a Base Coat to Help Your Manicure Last Longer
A base coat acts like a protective layer between your natural nails and your polish. It helps create a smoother surface, prevents uneven color, and gives the nail polish something stronger to hold onto. The result is a manicure that looks cleaner and stays fresh instead of peeling away quickly from the edges.
When learning how to make your manicure last longer, many people focus only on the top coat but forget the foundation. Apply a thin layer of base coat over every nail, including the tips. Let it dry for a minute or two before adding your color. Choose a strengthening base coat if your nails feel weak or a smoothing formula if your nails have ridges. Most quality base coats cost around $8 to $15. One mistake to avoid is applying a thick layer because it can make your polish lift faster instead of helping it stay.
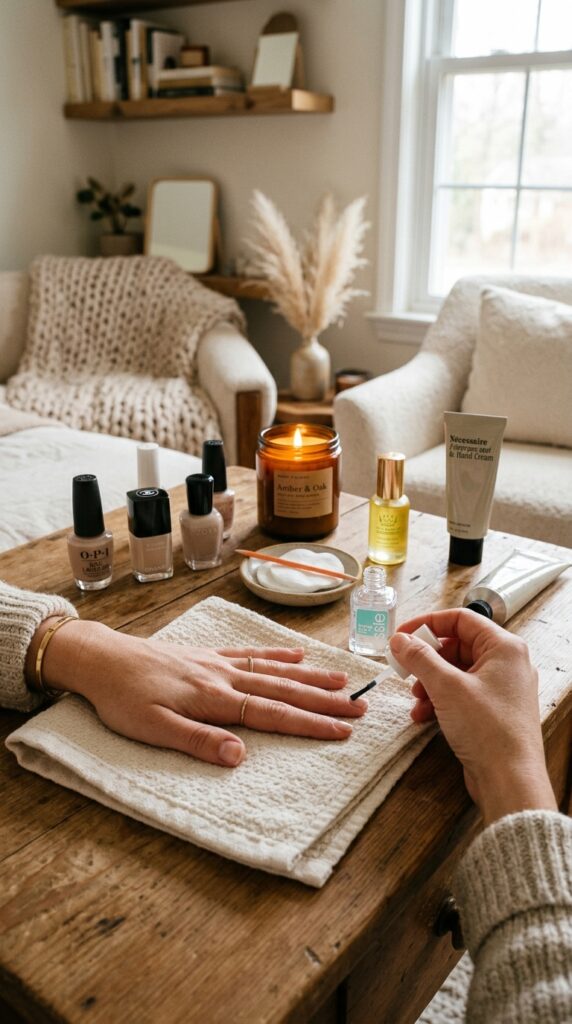
3. Apply Thin Layers Instead of Thick Coats
Thick layers of nail polish may seem like a shortcut, but they often create problems. A heavy coat takes longer to dry and can become soft underneath even when the surface feels dry. This makes your manicure more likely to dent, smudge, or peel. Thin layers create a smoother glossy finish and allow each coat to properly bond.
For a longer lasting manicure, apply two or three thin coats instead of one thick layer. Start with a small amount of polish on the brush and spread it evenly from the base of the nail toward the tip. Give each layer enough drying time before adding another. In my experience, the biggest mistake here is rushing between coats. Waiting a few extra minutes can save you from redoing your nails later. A good nail polish usually costs between $6 and $15, making this technique an affordable way to improve your manicure without buying extra products.
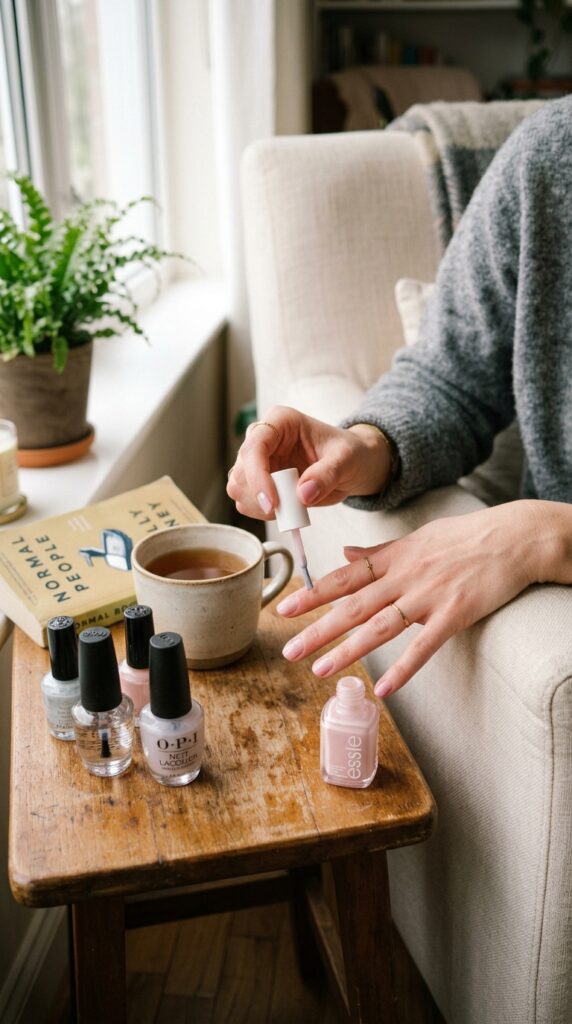
4. Seal the Edges of Your Nails for Extra Protection
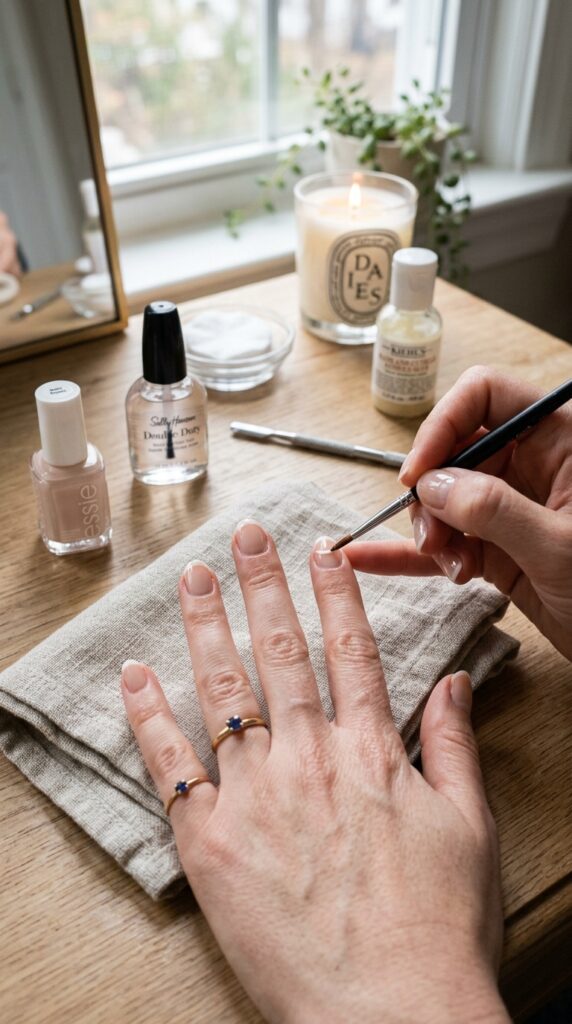
One of the most common places a manicure starts breaking down is the nail tip. Everyday activities like typing, washing dishes, opening packages, and handling keys put pressure on these areas. Sealing the edges creates an extra layer of protection that helps prevent early chips and keeps your polish looking fresh.
After applying your color and top coat, gently brush a small amount of polish across the very edge of each nail. This technique is sometimes called capping the free edge. It takes only a few seconds but can help your manicure stay stronger. What I personally love about this is how such a tiny adjustment can make your nails look professionally finished. Avoid applying too much product on the edge because thick buildup can cause peeling. This method costs nothing extra if you already own nail polish and is one of the easiest ways to improve your routine.
5. Choose a Quality Top Coat for a Longer Lasting Shine
A top coat is the final layer that protects your manicure from daily wear. It adds shine, helps prevent scratches, and creates a smoother finish that makes your nail color look fresh for longer. A beautiful glossy top layer can make even a simple manicure feel special, whether you choose a classic red, soft beige, or trendy seasonal shade.
To get better results, apply your top coat after your polish has slightly settled but is not completely hardened. Cover the entire nail and lightly seal the tip for extra protection. Many people apply too much top coat thinking it will create more durability, but a thin even layer works better. A good top coat usually costs between $7 and $15 and can last through many manicures. A lot of people skip this step, but it makes all the difference when you want your polish to handle everyday activities.
6. Keep Your Cuticles Healthy to Support Longer Lasting Nails
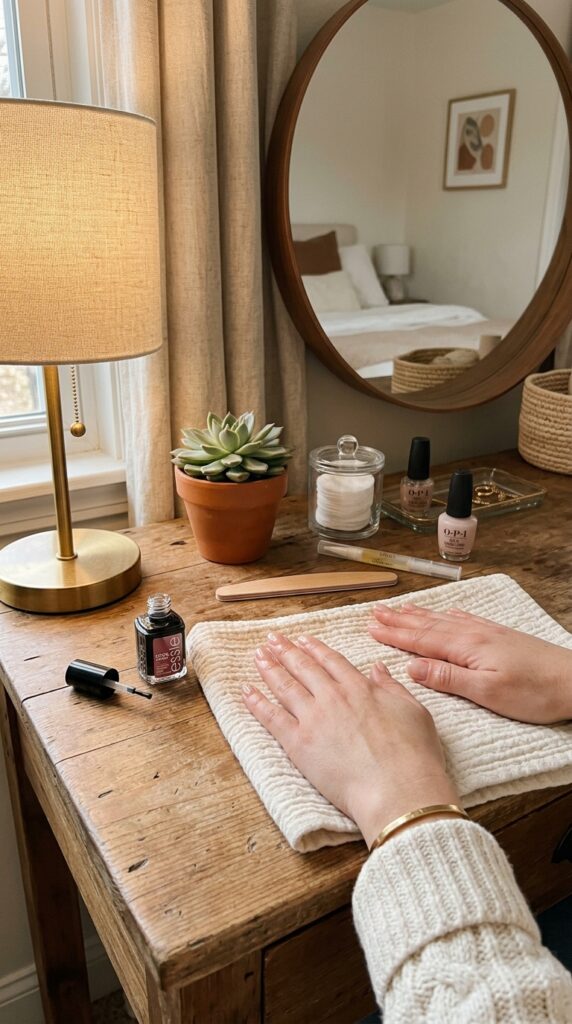
Healthy cuticles create a cleaner manicure because they help your nails look neat and polished from the base to the tip. Dry, rough cuticles can make even a fresh manicure appear unfinished, and peeling skin around the nail area can cause polish to lift sooner. Soft cuticles also make your hands feel cared for, especially during colder months when skin loses moisture.
To support longer lasting nails, apply cuticle oil or a nourishing hand cream daily. Massage a small amount around each nail before bedtime so the product has time to absorb. You can find affordable cuticle oils for around $5 to $12, or make a simple DIY version using jojoba oil or almond oil. In my experience, the biggest mistake here is only caring for cuticles on manicure day. Regular maintenance keeps your nails healthier and helps your polish stay attached longer. Avoid cutting your cuticles too aggressively because it can irritate the skin and create uneven areas around your nails.
7. Avoid Hot Water Right After Your Manicure
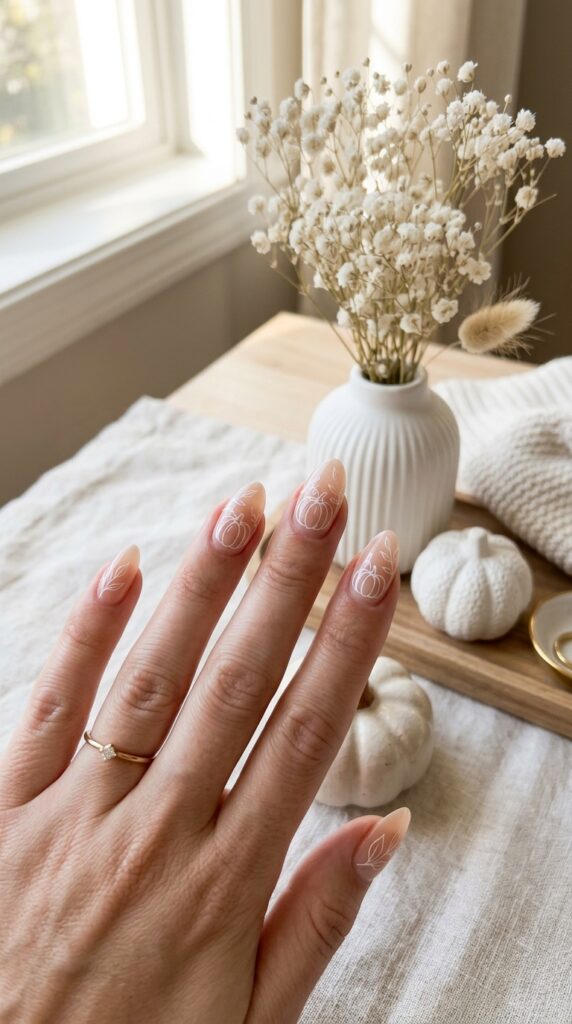
A fresh manicure needs time to fully set, even if the surface feels dry. Hot water can soften nail polish and weaken the bond between layers, which may lead to peeling or early chips. Simple activities like taking a long hot shower, washing dishes, or soaking your hands can affect how long your manicure stays beautiful.
After painting your nails, try to avoid hot water for at least a few hours. If you need to clean or wash dishes, wear protective gloves to keep your manicure safe. This small habit can save you from repairing chipped polish sooner than expected. A pair of reusable cleaning gloves usually costs around $5 to $10 and can protect both your manicure and your hands. What I personally love about this tip is that it does not require buying more beauty products. It is simply about giving your nails the time they need to settle properly.
8. File Your Nails Into a Shape That Matches Your Lifestyle
The shape of your nails can affect how long your manicure lasts. Some styles look beautiful but may be more likely to break if your daily routine involves typing, cooking, cleaning, or working with your hands. Short rounded or soft square shapes often handle everyday activities well because there are fewer sharp corners that can catch on clothing or objects.
Choose a nail shape that feels comfortable for your routine. Use a fine nail file and move in one direction instead of aggressively filing back and forth, which can weaken the nail edges. If you enjoy longer nails, consider a slightly rounded tip for extra strength. A basic nail file costs around $2 to $8, making this one of the easiest budget friendly changes. A lot of people focus only on polish colors, but the right nail shape creates a stronger foundation for your manicure.
9. Protect Your Manicure During Household Tasks
Daily chores can be one of the biggest reasons manicures lose their shine quickly. Cleaning products, rough surfaces, and constant water exposure can dry your hands and weaken your polish. A beautiful manicure deserves protection, especially when you are spending time organizing your home, cooking meals, or caring for everyday tasks.
Wear gloves when washing dishes, cleaning bathrooms, or using strong household products. Keep a pair near your sink so you remember to use them. You can also apply hand cream after chores to prevent dryness around your nails. A comfortable pair of reusable gloves usually costs between $5 and $15. In my experience, the biggest mistake here is assuming a good polish should survive everything without protection. Even salon quality manicures need a little care to stay fresh. Small protective habits can help your nails look polished for much longer.
10. Refresh Your Manicure With a Clear Top Coat Every Few Days
You do not always need to remove your manicure when the shine starts fading. A simple refresh with a clear top coat can bring back the glossy finish and add another layer of protection. This is especially helpful when your nail color still looks good but has lost some brightness after several days.
Every two or three days, apply a thin layer of clear top coat over your nails and seal the tips again. This helps protect against small scratches and keeps your manicure looking freshly done. Choose a quick drying formula if you have a busy schedule. Most clear top coats cost around $7 to $15 and can extend the life of multiple manicures. I always recommend this when someone wants a change without starting over because it saves time and reduces product waste. Avoid adding too many layers over old polish because buildup can eventually make the manicure peel.
11. Choose Long Wearing Nail Polish Formulas
The type of nail polish you use can affect how long your manicure stays fresh. Some formulas are designed for durability and everyday wear, while others may look beautiful but chip quickly. A smooth, glossy polish in a classic shade like soft beige, deep red, or muted pink can stay attractive longer when the formula is made to handle daily activities.
When shopping for nail polish, look for labels that mention long wear, gel like shine, or chip resistance. You do not need a large collection of colors. A few reliable shades can create many manicure styles throughout the year. Most quality long wearing polishes cost around $8 to $15. In my experience, the biggest mistake here is buying many inexpensive colors without considering how they perform. A smaller collection of dependable shades often gives better results. Store your bottles upright in a cool drawer and avoid keeping them near heat, which can change the texture over time.
12. Avoid Using Your Nails as Tools
Many manicure problems happen during simple everyday moments. Opening packages, peeling stickers, scratching surfaces, or trying to remove objects with your nails puts unnecessary pressure on the polish and the natural nail underneath. Even a carefully applied manicure can chip when your nails are used like tools.
Try using scissors, tweezers, or proper household tools instead of your nails whenever possible. Keep small essentials nearby, such as scissors in your desk drawer or a letter opener near your mail area. This habit costs nothing and can make a noticeable difference in keeping your manicure fresh. What I personally love about this is that it protects your nails while also helping them grow stronger over time. A common mistake is thinking a tiny task will not matter, but repeated pressure adds up throughout the week.
13. Moisturize Your Hands Every Day
Beautiful nails are not only about polish. The skin around your hands plays a big role in how polished and cared for your manicure looks. Dry hands, cracked skin, and rough cuticles can make even a fresh manicure feel less finished. Soft, hydrated hands create a cleaner overall appearance.
Keep a hand cream where you naturally use it, such as beside your bed, bathroom sink, or work desk. Apply it after washing your hands and before sleeping. Look for ingredients like shea butter, glycerin, or nourishing oils for extra moisture. Affordable hand creams usually cost between $5 and $12. A lot of people skip this step, but it makes all the difference during colder seasons when hands lose moisture quickly. Avoid applying heavy lotion directly before painting your nails because excess oils can interfere with polish adhesion.
14. Give Your Nails a Break Between Manicures
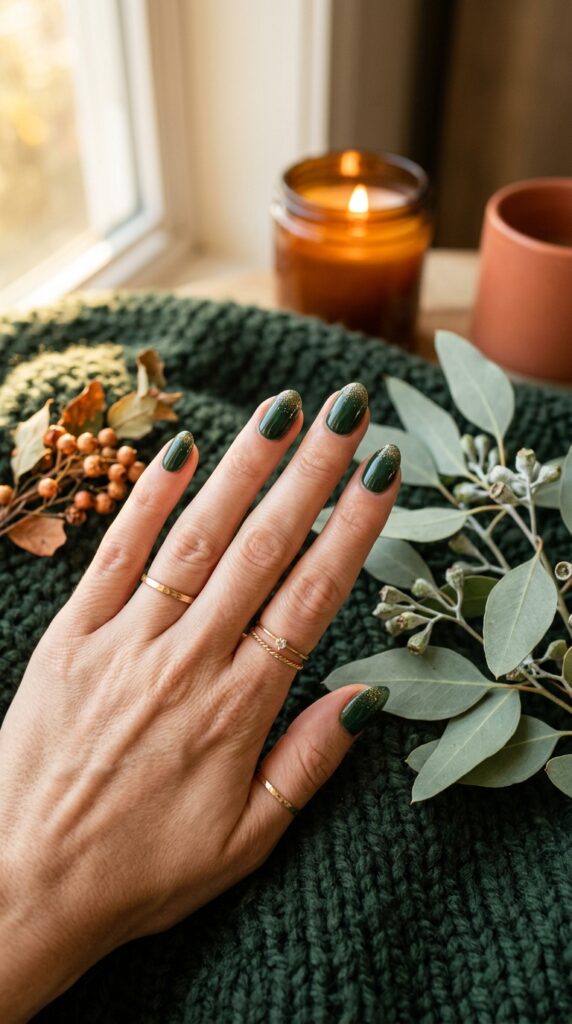
Taking short breaks between manicures can help your natural nails stay healthy and strong. Constant layers of polish, removal products, and frequent changes can sometimes leave nails feeling dry or weak. A little recovery time allows your nails to stay smooth and ready for your next favorite color.
After removing polish, spend a few days caring for your nails with cuticle oil and moisturizer before applying another manicure. Keep your nails trimmed and gently filed during this time. You can create a simple at home nail care routine with products costing around $10 to $20. In my experience, the biggest mistake here is focusing only on the outside appearance of nails while ignoring their condition underneath. Healthy nails hold polish better and help your manicure look better for longer.
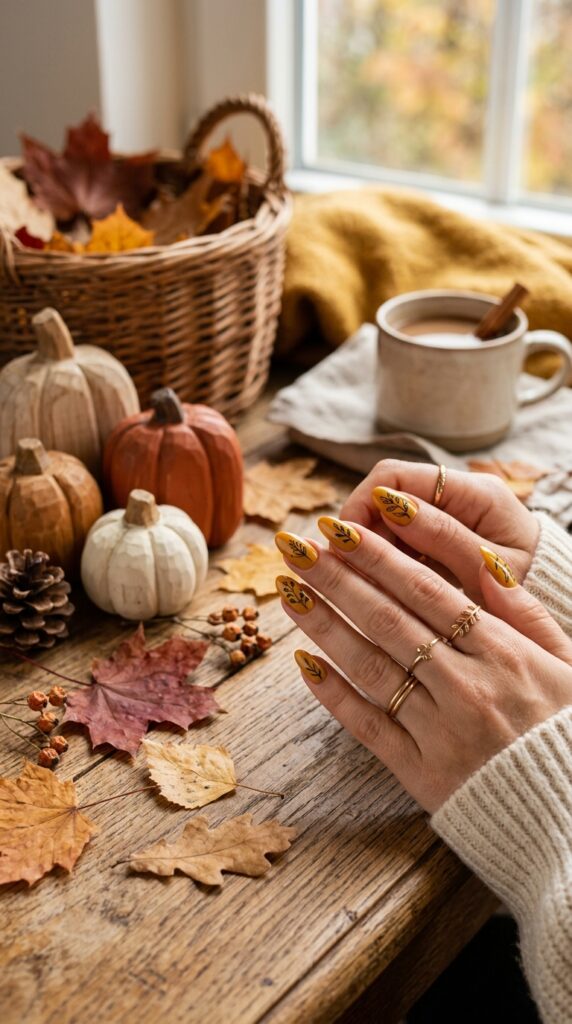
15. Remove Old Polish Gently Instead of Scrubbing
How you remove your manicure affects the health of your nails and the success of your next one. Rough scrubbing or peeling off polish can damage the nail surface and leave it uneven. Gentle removal keeps your nails smoother, which helps future polish apply better and last longer.
Use a quality nail polish remover and allow it to sit on the nail for a few seconds before wiping. For glitter or darker shades, place a remover soaked cotton pad over the nail and let it work instead of rubbing aggressively. A good remover usually costs around $3 to $10. A common mistake is peeling polish away because it feels quick, but this can remove layers from the natural nail. I always recommend gentle removal when someone wants their manicure routine to improve because healthy nails create better results over time.
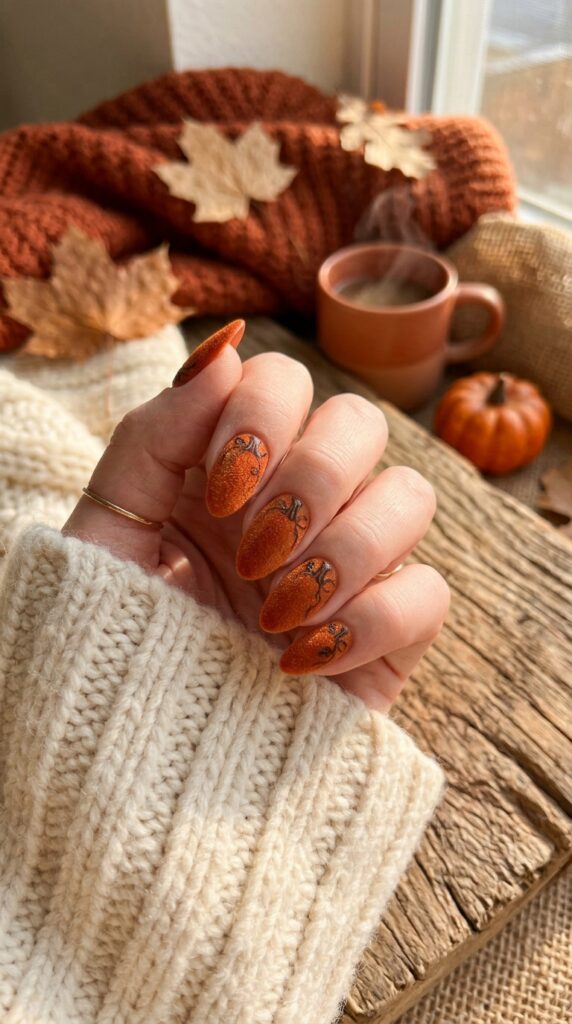
16. Apply Nail Oil Before Bed for Overnight Care
Nighttime is one of the best moments to care for your nails because your hands are not constantly exposed to water, cleaning products, or daily activities. A few minutes of care before sleeping can help keep your cuticles soft and your nails looking healthier. Waking up with smooth hands and a fresh looking manicure makes your beauty routine feel more enjoyable.
Apply a small drop of cuticle oil around each nail and gently massage it into the skin. Oils like jojoba, vitamin E, and almond oil are popular choices because they absorb well without feeling heavy. A small bottle usually costs around $5 to $15 and can last for many weeks. I always recommend this when someone wants a change without starting over because healthy nails often need simple consistency rather than expensive treatments. Avoid applying too much oil right before painting your nails because extra moisture can prevent polish from bonding properly.
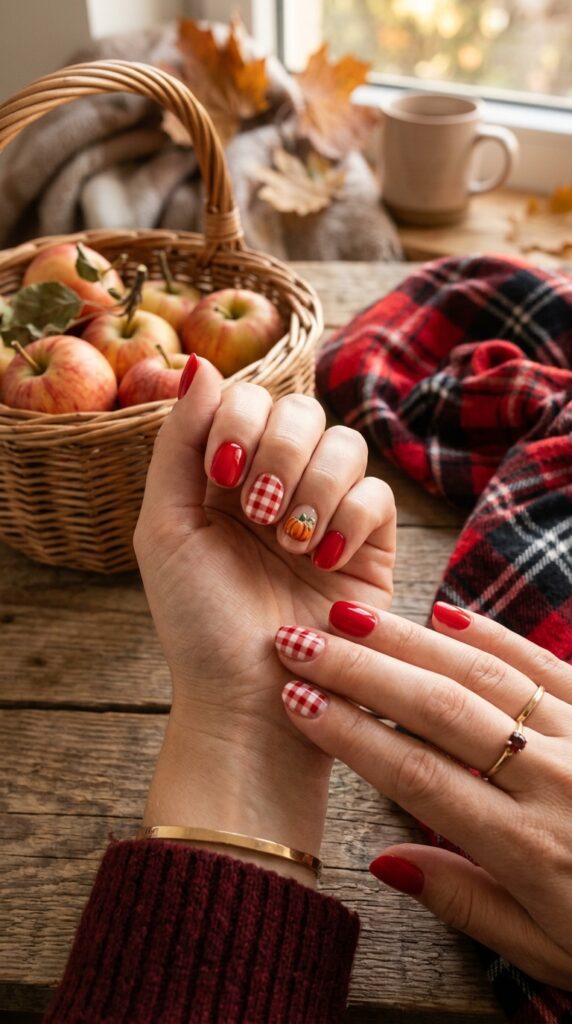
17. Keep Your Nail Polish Bottles Clean and Fresh
Small details can affect how smoothly your manicure turns out. Old polish bottles with dried edges or sticky caps can make application messy and uneven. A clean bottle allows the brush to move properly, helping you create smoother layers that last longer.
After using your favorite polish, wipe the bottle neck with a little remover before closing it. Store your collection in a drawer or organizer away from direct sunlight and heat. Avoid shaking bottles aggressively because it can create tiny air bubbles that appear on your nails. Instead, gently roll the bottle between your hands before applying. Most nail polish organizers cost between $10 and $25, but a simple box or drawer divider works too. What I personally love about this is that an organized nail station makes your routine feel calmer and helps you take better care of the products you already own.
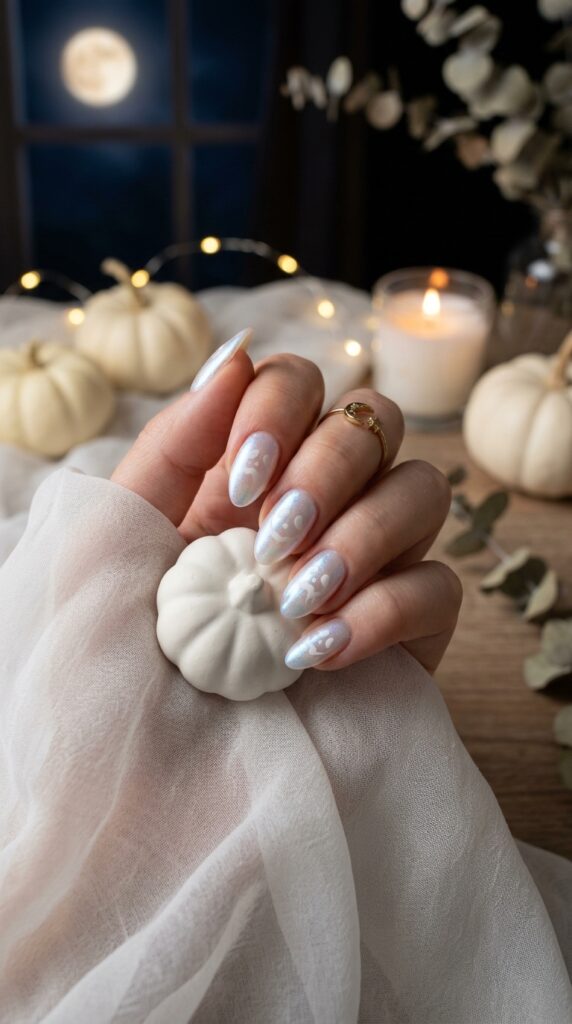
18. Choose Nail Colors That Hide Small Chips
Some nail colors naturally make small imperfections less noticeable. While bold shades can be fun, lighter neutrals, soft pinks, beige tones, and sheer finishes often stay looking polished even when tiny chips appear. These colors work well for busy weeks when you want your manicure to look good with less maintenance.
If your manicure needs to last through work, errands, and daily tasks, try choosing shades that match your lifestyle. Neutral colors also pair easily with different outfits, from casual denim looks to more polished clothing choices. A quality neutral polish usually costs around $6 to $15. A common mistake is choosing a color only because it looks beautiful in the bottle without considering how it wears on your nails. In my experience, the biggest mistake here is ignoring practicality. The right shade can help your manicure look fresh for several extra days.
19. Be Careful With Gel Manicure Removal
Gel manicures can look beautiful and last for weeks, but the removal process matters. Pulling, peeling, or scraping gel polish away can weaken the natural nail surface and leave nails feeling thin. Proper removal helps maintain stronger nails for future manicures.
If you remove gel polish at home, use the correct method with acetone, cotton pads, and foil wraps. Allow the product time to soften the gel instead of forcing it off. You can create a basic removal kit for around $10 to $20. A lot of people skip this step, but it makes all the difference because nail health affects every manicure that comes after. Avoid picking at lifting gel polish because it can remove layers of your natural nails. If your nails feel damaged, give them time to recover with moisturizing treatments before applying another manicure.
20. Give Your Manicure Enough Drying Time
Patience is one of the easiest ways to learn how to make your manicure last longer. Many people ruin fresh polish because they touch objects too soon, get dressed immediately, or assume the nails are completely dry after only a few minutes. The surface may feel dry while the layers underneath are still soft.
After painting your nails, give each layer enough time to set. Try doing your manicure when you have a relaxed evening instead of rushing before an event. Quick drying drops or sprays can help and usually cost around $5 to $10, but time is still the most important factor. I always recommend this when someone wants a change without starting over because a few extra minutes can prevent days of frustration. Avoid testing your nails by pressing them together because that can leave marks before the polish fully hardens.
Conclusion: Simple Habits Can Help Your Manicure Stay Beautiful Longer
A beautiful manicure does not have to disappear after just a few days. With the right preparation, gentle care, and a few small changes to your routine, you can enjoy nails that stay glossy, neat, and fresh for much longer. Learning how to make your manicure last longer is really about creating better habits rather than spending a lot of money on expensive products.
You do not need a huge collection of nail supplies or complicated treatments. Start with one or two ideas that fit your lifestyle, such as using a base coat, protecting your hands during chores, moisturizing your cuticles, or giving your polish enough drying time. These simple steps can make your manicure routine feel easier and more enjoyable.
I always recommend focusing on consistency instead of perfection. Taking care of your nails regularly helps every manicure look better, whether you prefer soft everyday colors or bold seasonal styles. Small details, like sealing the nail edges or choosing the right polish formula, can create noticeable results.
Your nails are part of your personal style, and caring for them can be a relaxing moment in your day. Which idea would you try first? I’d love to hear what you’re planning.
FAQs About How to Make Your Manicure Last Longer
How long should a manicure normally last?
A regular manicure usually lasts around five to seven days, depending on your nail care routine, polish quality, and daily activities. Some people can make their manicure last longer by using protective steps like a base coat, top coat, and cuticle oil. Your lifestyle also matters because frequent hand washing, cleaning, and physical work can cause polish to wear faster.
Why does my nail polish chip after only a few days?
Nail polish often chips quickly because of poor nail preparation, thick polish layers, lack of a protective top coat, or frequent exposure to water. Oils on the nail surface can also prevent polish from sticking properly. Preparing your nails before painting and protecting them afterward can help your manicure stay fresh longer.
Does a top coat really help a manicure last longer?
Yes, a top coat adds a protective layer that helps reduce scratches, fading, and small chips. It also creates a smoother shine that makes your manicure look freshly done. Applying a thin layer every few days can help extend the life of your polish.
How can I make my manicure last longer without gel polish?
You can extend a regular manicure by cleaning your nails before applying polish, using thin layers, sealing the nail tips, and protecting your hands during chores. Moisturizing your cuticles and avoiding harsh removal methods also help. These simple habits can make regular polish last much longer without needing gel products.
Should I let my nails rest between manicures?
Giving your nails short breaks between manicures can be helpful, especially if they feel dry or weak. During this time, focus on moisturizing your hands, using cuticle oil, and keeping your nails gently filed. Healthy nails create a better surface for your next manicure.