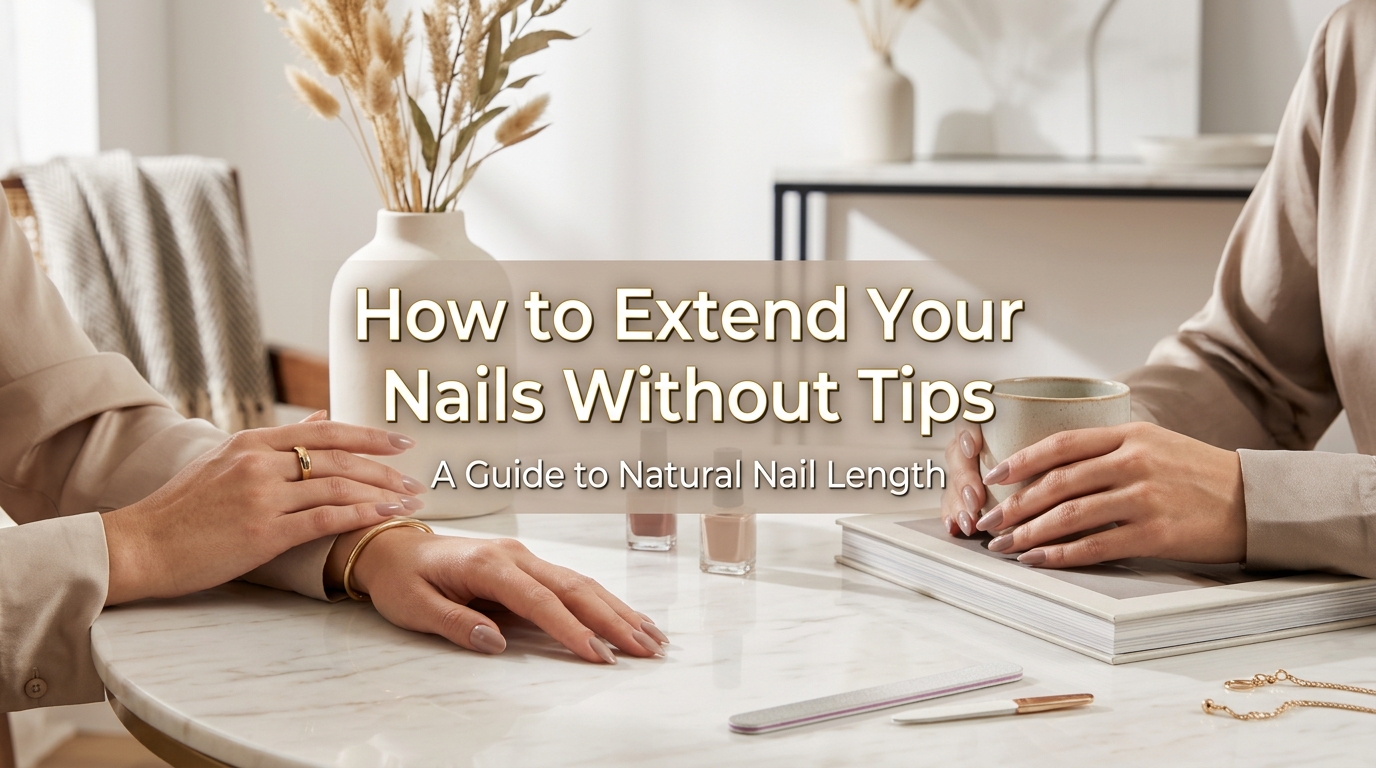
How to Extend Your Nails Without Tips in 10 Clear Steps
Short or broken nails can make certain manicure shapes feel out of reach. You may want almond, oval, or soft square extensions, but plastic tips can feel bulky or look too wide for your natural nail beds. They can also require extra sizing, adhesive, and blending near the contact area.
Learning how to extend your nails without tips gives you another option. Instead of attaching a plastic tip, you can sculpt the new length over a removable paper or metal form. Builder gel, hard gel, acrylic, and some hybrid systems can all be shaped this way. Once the product has set, the form is removed and the extension remains.
This guide focuses mainly on a builder gel and nail form method because it offers good control for short to medium extensions. OPI describes builder gel as suitable for overlays and for building short or medium nail length. Its professional instructions also show the product being extended over a sculpting form.
You will learn how to prepare the nail, fit the form, create balanced structure, shape the extension, and remove it safely.
1. Choose How to Extend Your Nails Without Tips
Several nail products can create length over a removable form. Builder gel stays workable until cured under a compatible lamp, which gives you time to guide it into shape. Acrylic begins setting after the liquid and powder are combined, so it requires faster brush control. Hybrid or polygel products have a thicker texture and may feel easier to move without flooding the skin.
For a first attempt, keep the extension short and choose a rounded, oval, or soft square shape. OPI states that its builder gel can create strong overlays and build short to medium nail length. Longer sculpted extensions need more advanced structure and are often better handled by a trained nail technician.
In my experience, the biggest mistake is choosing a very long coffin or stiletto shape while still learning product control. A coordinated builder gel kit with a compatible lamp may cost roughly $40 to $120, depending on the brand.
2. Inspect Your Natural Nails Before Starting
Begin with nails that feel comfortable and show no unusual redness, swelling, pain, discharge, or unexplained discoloration. Artificial product can hide the nail surface, so it is better to address a possible problem before covering it. Do not build an extension over a fresh injury, a deeply split nail, or skin that feels inflamed.
Keep the planned length realistic for the condition of your natural nails. A very short bitten nail may not provide enough free edge to support a standard paper form without careful customization. A salon technician can assess whether a sculpted extension, overlay, or temporary shorter manicure is more suitable.
The FDA notes that some people can become sensitive to methacrylates used in artificial nail products, with possible reactions including redness, swelling, and pain. Avoid skin contact and stop using the product if a reaction develops. A professional assessment may cost around $20 to $50 before a full service.
3. Gather a Compatible Nail Extension System
For a builder gel extension, you will need sculpting forms, builder gel, a compatible base or bonding product, a lamp approved for that gel, a gel brush if required, lint free wipes, cleanser, files, a buffer, top coat, and cuticle oil. Keep a small cleanup brush nearby for removing uncured gel from the surrounding skin.
Try to use base, builder, top coat, and lamp products that are designed to work together. Mixing an unknown lamp with a different gel can make curing harder to judge. Follow the curing time stated by the manufacturer rather than choosing a time based only on the lamp wattage.
What I personally love about a coordinated system is that it reduces guesswork while you learn. Avoid buying several colors, decorations, and drill bits before you can build one smooth extension. Start with clear or nude builder gel because bumps and sidewall problems are easier to see. A basic home setup may cost approximately $50 to $140.
4. Prepare the Nail Without Damaging the Cuticle
Wash and dry your hands, then remove old nail color. Shape the natural free edge and gently clear loose skin from the nail plate. Remove surface dust and oil using the cleanser recommended for your system. Keep lotion and cuticle oil away from the nail plate until the manicure is complete.
Do not cut or forcefully push back the cuticle. The American Academy of Dermatology explains that cuticles help protect the nail and surrounding skin from infection. It recommends leaving them alone or moving them gently rather than cutting them.
A lot of people skip careful preparation and then blame the builder gel when lifting appears. At the same time, overbuffing can leave the natural nail thin and sore. Use only the file grit and surface preparation method required by the brand. Basic preparation supplies generally cost around $10 to $30.
5. Fit the Sculpting Form Under the Nail
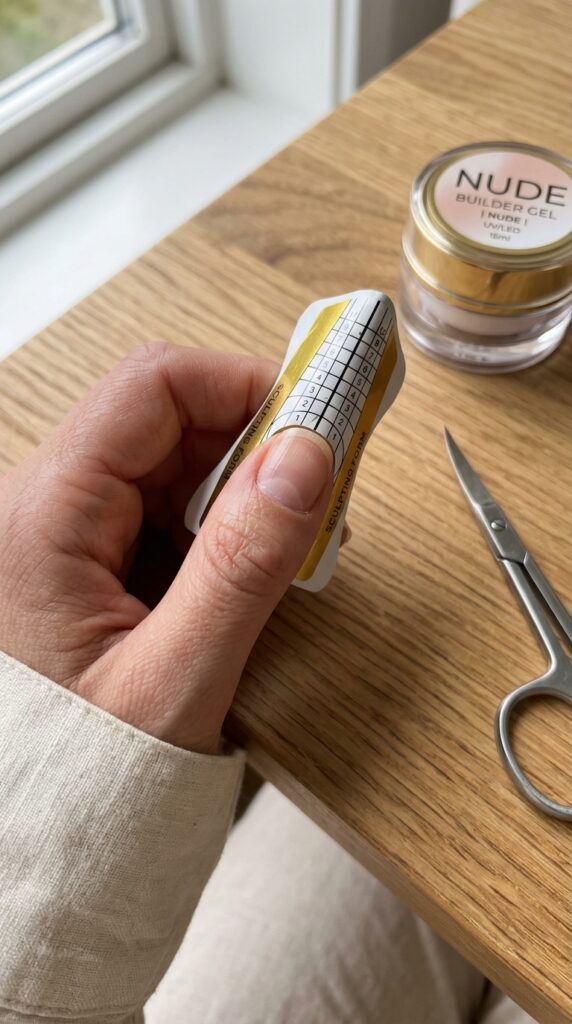
The form creates a temporary platform beneath the natural nail. Remove it from the backing, open the center, and slide it under the free edge. OPI’s professional method places the form under the nail at about a 45 degree angle, then moves it upward until it fits snugly without visible gaps.
Check the form from the front and both sides. Its center line should continue straight from the finger unless you are intentionally creating a tapered shape. Pinch the tabs together under the finger so the form remains steady. If it does not sit closely around the nail, trim the opening carefully with small scissors. OPI also recommends customizing the form when necessary to achieve a closer fit.
In my experience, the biggest mistake here is leaving a gap beneath the free edge. Gel may seep through it and create a bulky underside. A roll of disposable forms usually costs around $5 to $20.
6. Apply the Bonding Layer Carefully
Use the bonding agent, base coat, or thin builder layer specified by your chosen system. Apply a controlled amount over the natural nail while leaving a small clean margin around the cuticle and sidewalls. Do not allow uncured gel to sit on the skin.
OPI’s form based builder method starts with nail preparation, followed by the brand’s bonding or base option. It then uses a thin builder layer around the natural nail perimeter before curing in the matching lamp. Your curing time may be different, so follow the instructions for your exact product.
A common mistake is painting the bonding layer onto the paper form as though it were the main extension. Its job is to support adhesion to the natural nail. Keep it thin and even. A base or bonding product generally costs around $10 to $30. Remove any gel from the skin before curing.
7. Build the New Free Edge Over the Form
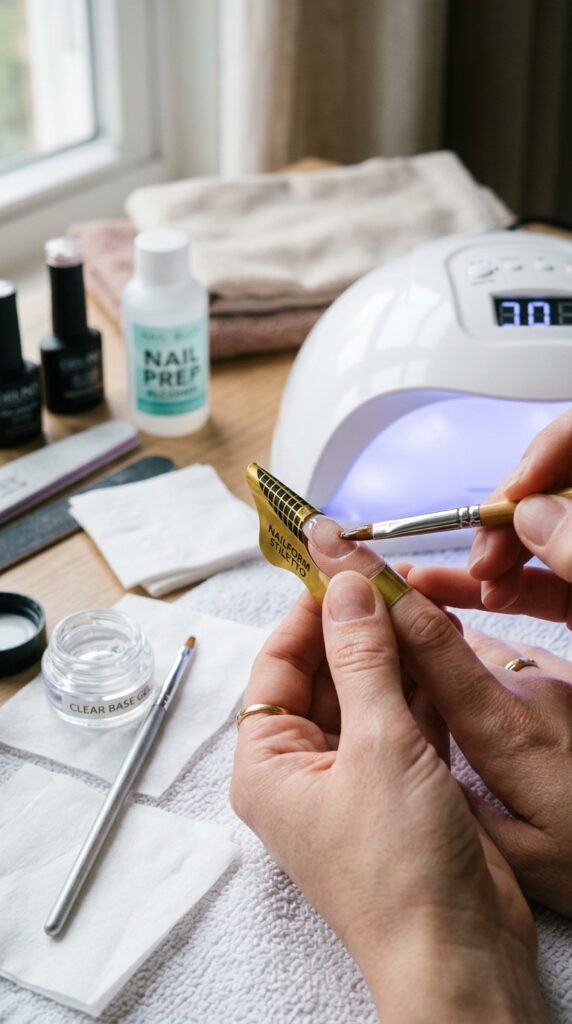
Place a small amount of builder gel near the end of the natural nail and guide it forward across the form. Follow the printed length lines so every extension remains similar. Connect the gel securely to both sidewalls, but keep the outer edge thin enough to refine later.
OPI’s professional instructions guide builder gel from side to side and then forward over the form to create the chosen length. The brand uses brief flash curing to hold the shape before completing the full cure with its specified lamp. Follow your own system because flash and full curing times vary.
What I personally love about forms is that you can see the shape developing from underneath. Avoid creating all the length with one large bead. It may run, feel hot during curing, or become uneven. Build a short foundation first. A builder gel pot or bottle commonly costs around $15 to $40.
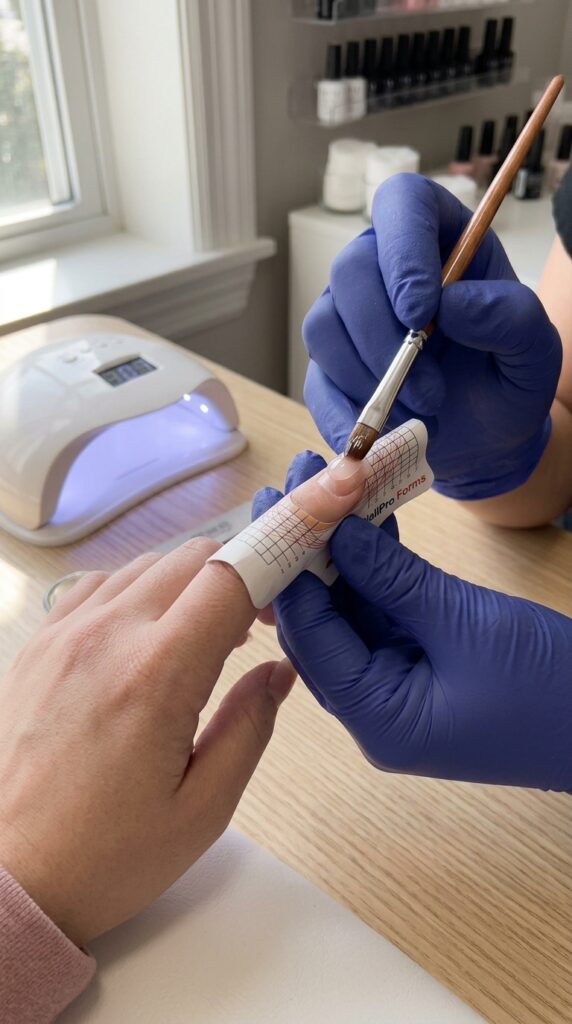
8. Create Strength With Balanced Structure
Length alone is not enough. The extension also needs a smooth support area over the natural nail. Place another controlled bead near the center, then guide it gently toward the cuticle, sidewalls, and new free edge. Leave a clean margin around the skin.
The highest point should sit around the area that receives the most stress, then taper toward the cuticle and tip. The exact position varies with nail length and shape. Turn the finger briefly to view the profile and check whether the product has shifted to one side.
In my experience, the biggest mistake is making the entire extension equally thick. This can create a heavy nail with bulky edges while still leaving weak stress points. Work on one finger at a time if the gel moves quickly. Cure every layer for the time required by the manufacturer. Advanced structural gel training may cost around $30 to $100, while a professional sculpted set may range from $50 to $120 or more.
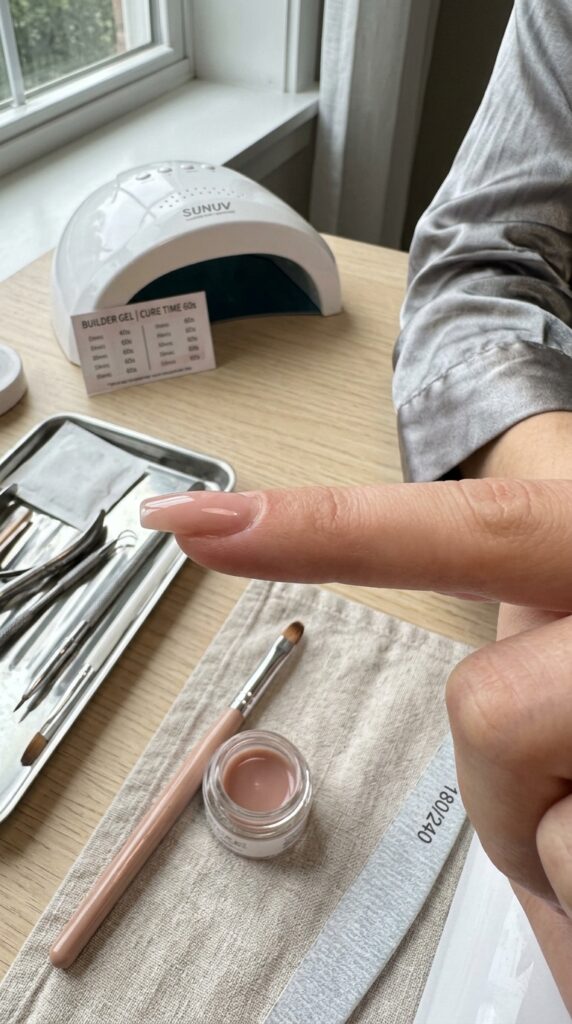
9. Remove the Form and Refine the Shape
After the extension has completed its required cure, release the tabs beneath the finger and gently remove the form. Do not pull hard if it feels stuck. Check the underside for uncured product, gaps, or rough edges before moving on.
Use a hand file to refine the sidewalls, free edge, and surface. OPI’s professional guide recommends light filing with fine files and buffers after the builder has cured, followed by thorough dust removal and cleansing. Keep both sides balanced and look at the nail from the front, side, and top.
A lot of people file aggressively to correct a thick application. It is safer to apply controlled product than to remove a large amount near the natural nail. Do not use an electric file unless you have been trained to control it. A quality hand file and buffer set generally costs between $8 and $25.
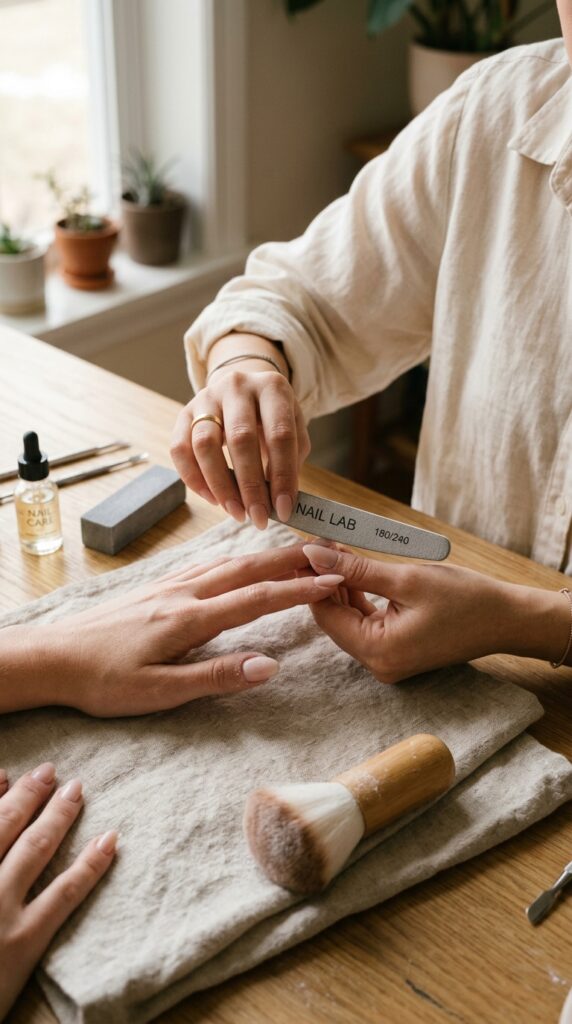
10. Finish and Maintain Nails Extended Without Tips
Remove all filing dust, then apply color or a compatible top coat. Cure it exactly as directed and finish with cuticle oil around the base of each nail. OPI’s professional sculpting guide completes the service with gel top coat and cuticle oil after shaping.
Protect the extensions by wearing gloves during cleaning and avoiding the use of nails to open cans, scrape labels, or lift tight objects. Artificial nails generally need maintenance as the natural nail grows. The American Academy of Dermatology notes that touch ups are often needed every two to three weeks and that frequent services can leave natural nails thin or brittle.
I always recommend removing or repairing an extension when it cracks or lifts instead of covering the damaged area. Do not peel it away. AAD guidance warns that picking or filing gel off incorrectly can damage the nail surface.
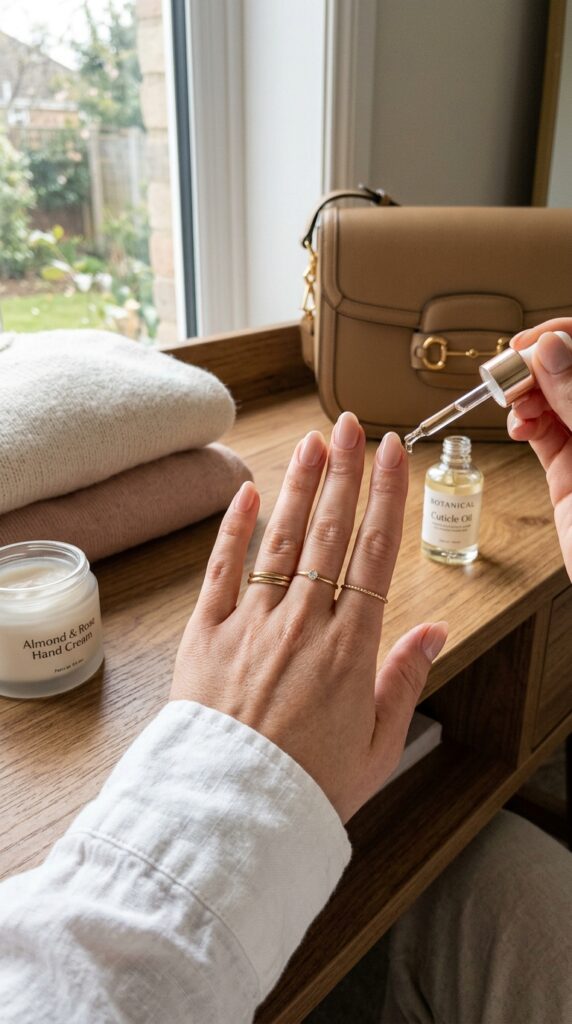
Learning How to Extend Your Nails Without Tips
Learning how to extend your nails without tips gives you more control over the final length and shape. A sculpting form acts as a temporary guide, so there is no plastic tip left underneath the builder product. This can create a smooth transition from the natural nail when the form and structure are applied correctly.
Begin with one or two short practice nails rather than attempting a long set immediately. Focus first on fitting the form without gaps and keeping uncured gel away from the skin. Once those steps feel manageable, practice building a balanced surface and filing the sidewalls evenly.
You do not need a drawer full of colors or decorative pieces. One coordinated builder system, a compatible lamp, reliable forms, and a few hand files are enough to begin. Stop if you notice pain, burning, redness, swelling, or itching, and seek professional advice when symptoms continue.
Would you try builder gel, acrylic, or a hybrid product for your first sculpted extension?
Frequently Asked Questions
Can you extend nails using only builder gel?
Yes, some builder gels are designed to create short or medium length over a sculpting form. Check the product description because softer overlay gels may not support extra length. Use the lamp and curing method recommended by the manufacturer.
Can I extend very short nails without tips?
It may be possible, but the form needs to fit securely under or around the available free edge. Bitten or damaged nails can be difficult to sculpt safely at home. A trained technician can customize the form and decide whether a shorter overlay is a better first step.
Are dual forms considered nail tips?
Dual forms may resemble clear tips, but they work as temporary molds. Product is placed inside the form, cured or allowed to set, and the plastic mold is removed. A conventional nail tip stays attached underneath the extension.
Is builder gel less damaging than acrylic?
The American Academy of Dermatology states that soak off gel is more flexible than acrylic, which may reduce the chance of the natural nail cracking. Gel can still contribute to brittleness, peeling, and damage, especially with frequent or improper removal.
How do I remove sculpted gel extensions?
Removal depends on whether the builder gel is soak off or file off. Follow the exact manufacturer instructions or book professional removal. Do not peel, scrape, or force the product away because this can remove layers from the natural nail.