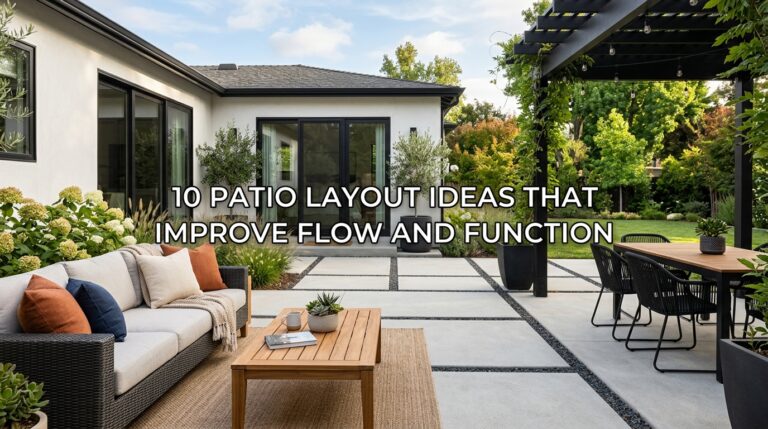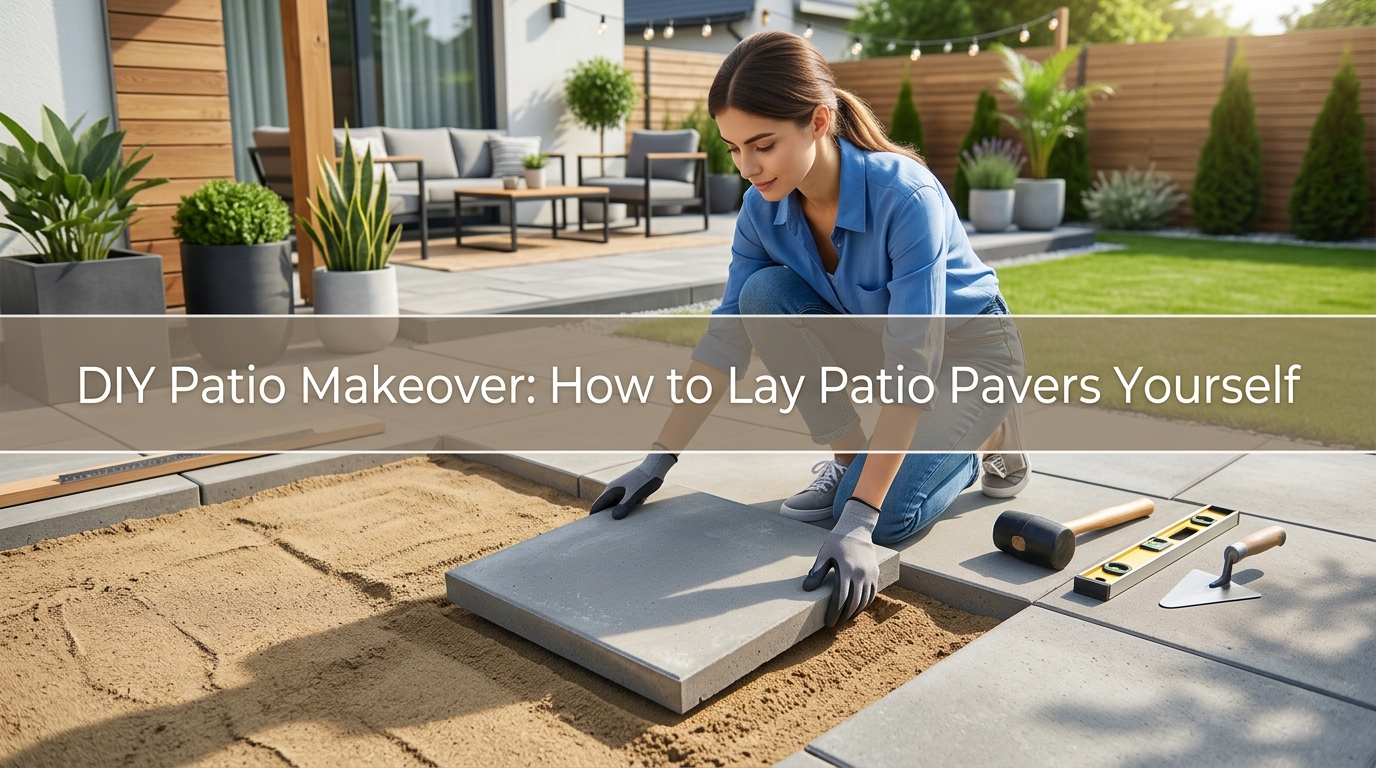
10-Step DIY Patio Makeover: How to Lay Patio Pavers Yourself
An uneven patch of dirt or worn grass can make your backyard feel unfinished. You may have enough room for a small dining table or a pair of lounge chairs, but without a firm surface, furniture sinks, mud gets tracked indoors, and the area rarely gets used.
This 10-step DIY patio makeover explains how to lay patio pavers yourself without turning the project into an expensive renovation. You will learn how to plan the size, mark the layout, remove soil, build a compacted base, manage drainage, place the pavers, cut edge pieces, and lock everything together with joint sand.
The work is physical, but the process is manageable when you complete one stage at a time. Careful preparation matters more than speed. A well-built base helps prevent sinking, loose edges, standing water, and uneven pavers later. Before digging, check for buried utility lines and review local rules for drainage, permits, and property boundaries. Product directions and local ground conditions should always guide the final depth and materials you use.
1. Plan Your DIY Patio Makeover Before Buying Materials
A good patio begins with a clear plan. Picture how you want the finished space to feel in the late afternoon, with warm light across the pavers, a small table near the door, and enough room to move around the chairs. Marking the space first helps you avoid building a patio that feels cramped or oddly placed.
Measure the area and sketch a simple layout on paper. A small bistro patio may be around 8 by 8 feet, while a dining area often needs at least 10 by 12 feet. Add about 5 to 10 percent extra pavers for cuts and breakage. Check that doors, drains, steps, and gates will still work. In my experience, the biggest mistake here is choosing dimensions before measuring the furniture. Planning materials may cost $10 to $40 for stakes, string, marking paint, and measuring tools.
2. Choose Pavers That Suit the Space and Budget
The paver color and shape will set the mood of the entire patio. Warm tan and sandy beige feel relaxed beside natural wood, while charcoal and soft gray create a cleaner, more modern look. Tumbled pavers have softer edges, while smooth concrete blocks create sharper lines.
Compare the cost per square foot rather than the price of one paver. Basic concrete pavers often cost about $2 to $6 per square foot, while detailed shapes, thicker units, or natural stone can cost $6 to $20 or more. Check the manufacturer’s recommended use, thickness, and installation method. Choose an available edge restraint and matching replacement pieces before buying. Avoid mixing pavers with different thicknesses, since they are difficult to level. What I personally love about concrete pavers is that one damaged piece can usually be replaced without rebuilding the whole patio.
3. Mark the Patio and Set the Drainage Slope
Straight lines and gentle drainage create a patio that looks clean and handles rain properly. The layout should feel connected to the house, path, or garden rather than floating awkwardly in the yard. String lines give you a clear outline before the digging begins.
Place stakes beyond each corner and stretch mason’s string between them. Check for square corners by measuring the diagonals. Equal diagonal measurements indicate a square rectangle. Set the finished surface to slope away from buildings, commonly around 1/8 to 1/4 inch per foot, while following local conditions and product guidance. A lot of people skip this step, but it makes all the difference when heavy rain arrives. Never direct runoff toward the foundation, a neighbor’s property, or an area that already stays wet. Stakes, string, a line level, and marking paint may cost $20 to $60.
4. Excavate the Patio Area to the Right Depth
Once the outline is marked, the space begins to look like a real project. Removing the grass and topsoil exposes the firm ground beneath, creating room for the gravel base, bedding layer, and pavers. This stage can feel messy, but neat edges make the later steps much easier.
Dig to a consistent depth based on the paver thickness and the base required for your soil and climate. Many pedestrian patios use several inches of compacted aggregate plus about 1 inch of bedding material, but freeze conditions and soft soils may require a deeper base. Measure down from the string rather than guessing from the surrounding grass. Remove roots, organic soil, and soft pockets. Avoid digging separate shallow holes under individual pavers. That shortcut often leads to movement and weeds. Shovels, a wheelbarrow, and tool rental may cost $40 to $150, not including soil disposal.
5. Compact the Soil and Install the Gravel Base
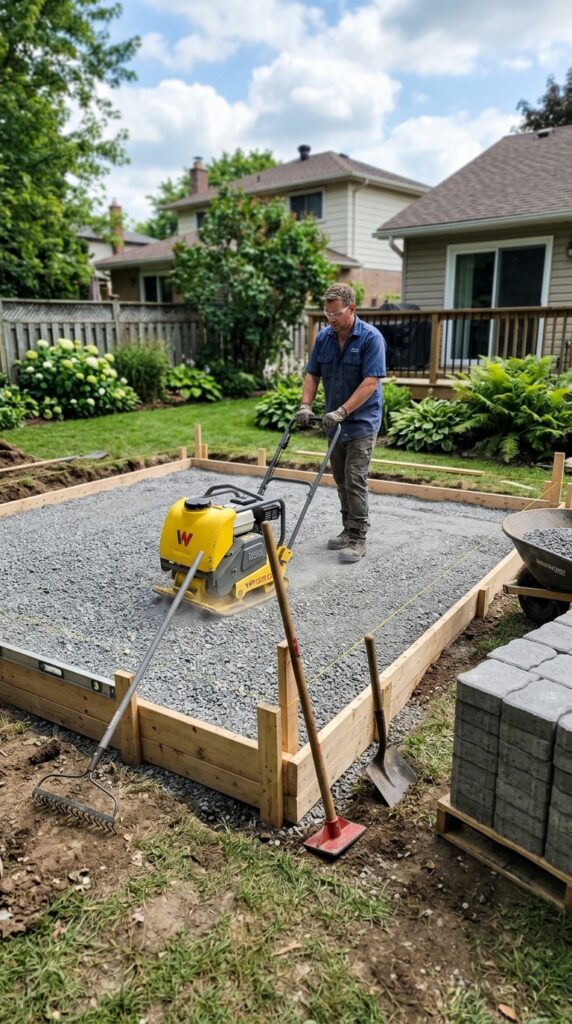
The base is the hidden part of the patio, but it controls how the finished surface performs. Firm, evenly compacted gravel creates a stable foundation beneath the smooth paver pattern. When this layer is done well, chairs sit steadily and the surface feels solid underfoot.
Compact the exposed soil first. Add crushed stone or paver base in thin layers, often about 2 to 3 inches at a time, compacting each layer before adding more. Continue checking the slope and depth with your string lines. I always recommend renting a plate compactor for anything larger than a very small landing. A hand tamper can work in tight corners, but it is tiring across a full patio. Avoid dumping all the gravel at once because the lower section may remain loose. Base material and compactor rental often cost $150 to $500, depending on patio size and local delivery fees.
6. Add and Screed the Bedding Layer
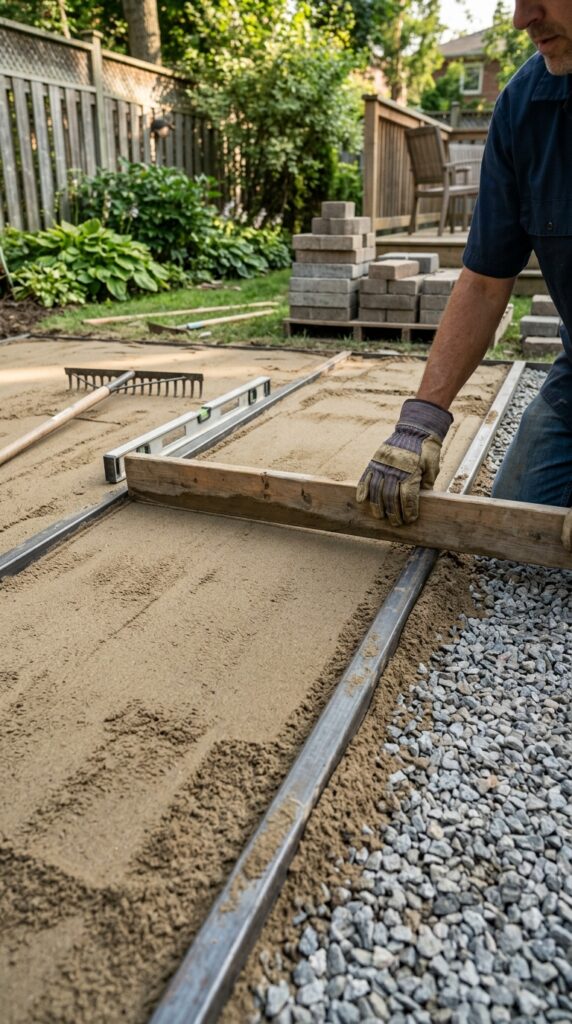
The bedding layer creates the smooth surface that supports each paver. Freshly screeded sand or the bedding material recommended by the paver manufacturer should look flat and even, with clean lines stretching across the prepared base.
Place two straight screed rails on the compacted gravel and spread about 1 inch of bedding material between them. Pull a straight board across the rails to remove high spots and fill low areas. Remove the rails carefully and fill the channels without disturbing the surface. Work only in sections you can reach from the completed pavers. Avoid walking on the finished bedding layer because footprints create low areas. In my experience, the biggest mistake here is using bedding material to correct a poorly leveled gravel base. The bedding should remain thin and consistent. Sand, rails, and a screed board may cost $40 to $150.
7. Lay Patio Pavers Yourself in a Simple Pattern
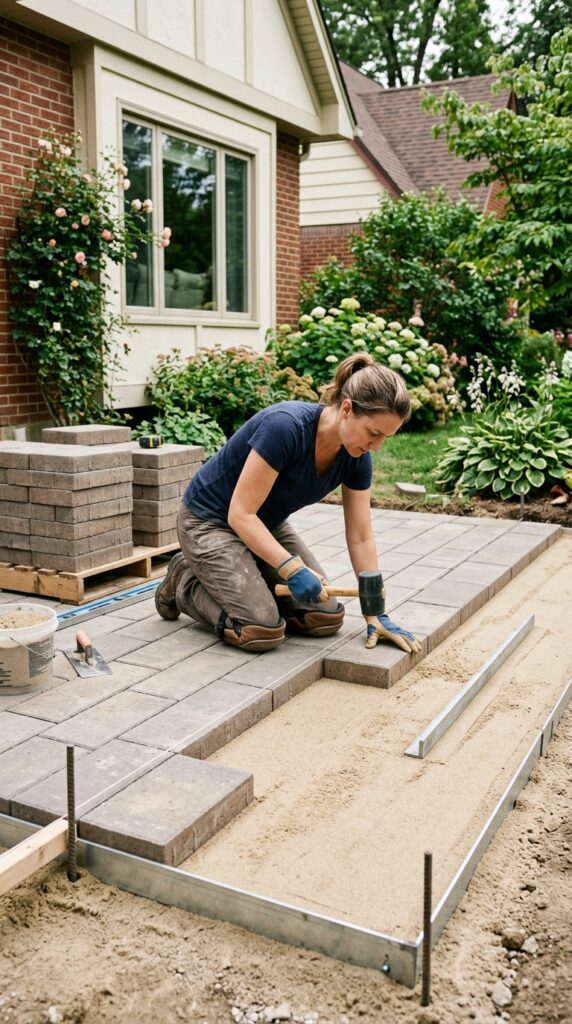
This is the point where the makeover becomes visible. Neat rows of pavers begin to cover the sand, replacing the raw work area with a clean outdoor floor. A running bond, stack bond, or simple basketweave pattern is easier for a first project than a layout with many small cuts.
Begin along a straight edge or from a carefully established corner. Lower each paver into place rather than sliding it across the bedding layer. Use spacer lugs or maintain the joint width recommended by the manufacturer. Check alignment every few rows with string and a straightedge. Work from the laid surface so you do not step on the screeded area. A lot of people press or hammer each block deeply into the sand, which creates an uneven finish. Place them gently and let final compaction settle the surface. Pavers may cost $300 to $1,500 or more for a small to medium patio.
8. Measure and Cut Pavers Around the Edges
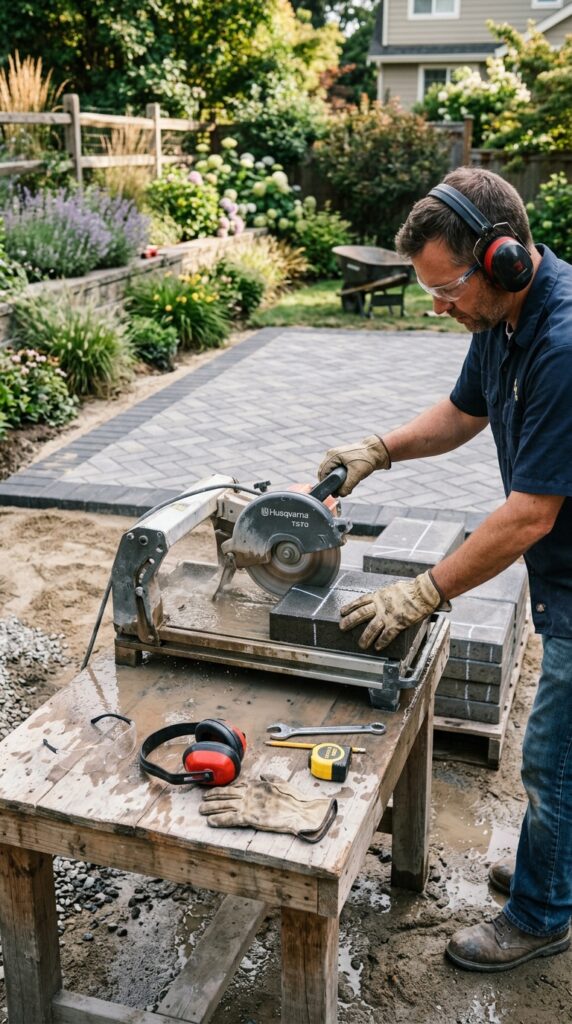
Clean edge cuts make a homemade patio look planned rather than unfinished. Small fitted pieces close the gaps along walls, curves, steps, and borders, creating a tidy frame around the larger central pattern.
Place each uncut paver over the gap and mark the cut line with chalk or a masonry pencil. Use a masonry saw, wet saw, or paver splitter designed for the product. Wear eye, ear, and breathing protection, and follow the tool instructions. Cut outdoors where dust and water can be controlled safely. Avoid installing very narrow slivers because they may crack or shift. Adjust the layout when possible so the edge pieces remain reasonably wide. What I personally love about planning the pattern first is that it can reduce cutting and waste. Saw rental and a suitable blade may cost $60 to $180 per day.
9. Install Edge Restraints and Compact the Surface
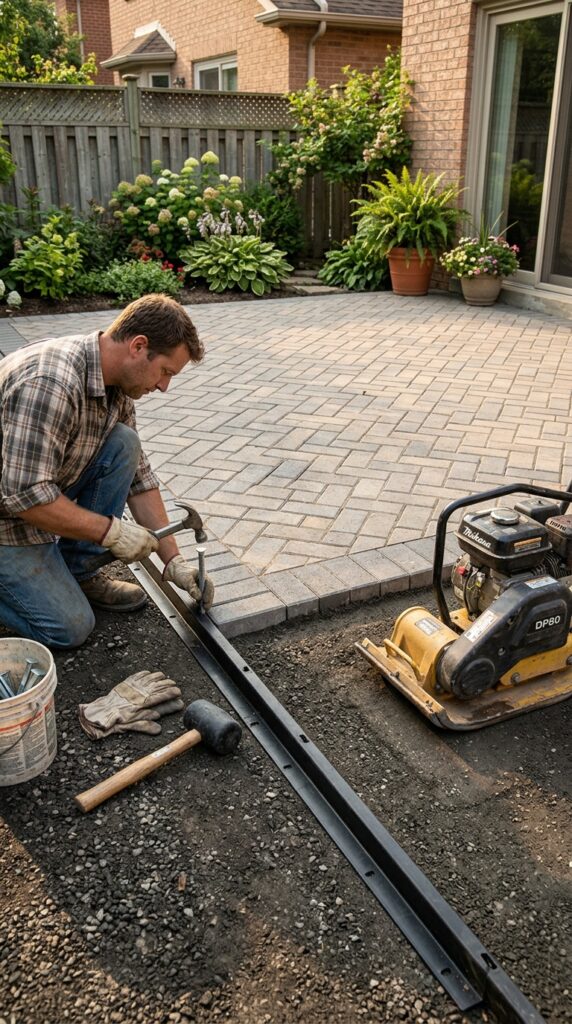
Edge restraints hold the outer pavers in place and protect the pattern from slowly spreading. Once installed, they disappear beside soil, mulch, or grass, but they create the firm outline that keeps the patio looking neat.
Fit plastic, metal, concrete, or manufacturer-approved restraints tightly against the perimeter. Secure them with the recommended spikes, leaving planned openings only where drainage requires them. Sweep debris from the pavers, then run a plate compactor over the surface if the paver manufacturer allows it. Use the required protective pad to reduce scuffing. Avoid compacting cracked, wet, or dirty pavers. A lot of people delay the edge restraints until after spreading joint sand, but loose borders may shift during compaction. Restraints, spikes, and equipment rental may cost $75 to $250.
10. Sweep in Joint Sand and Style the Finished Patio
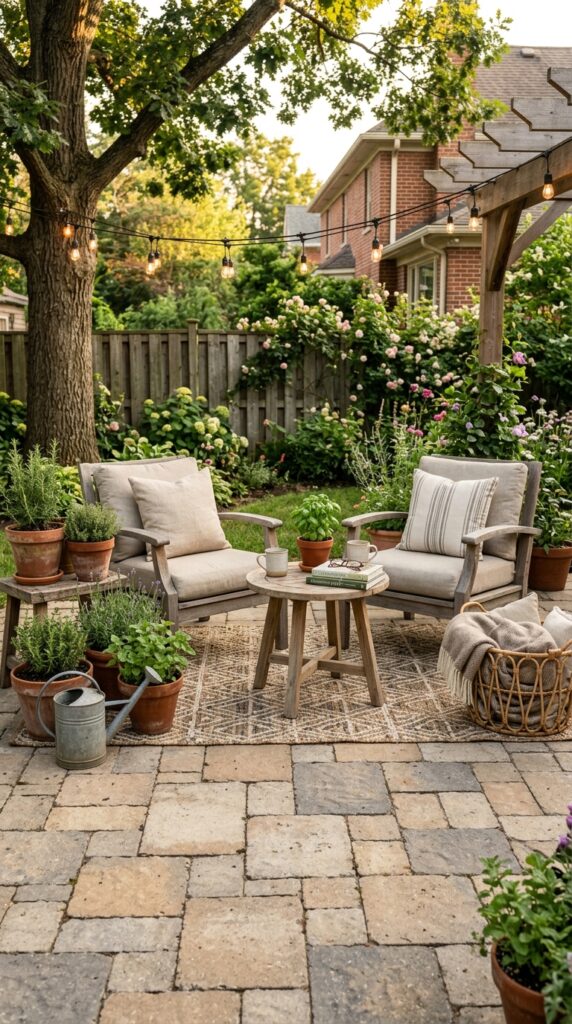
Joint sand gives the completed patio its finished, connected appearance. Once the gaps are filled and the dusty surface is cleaned, the pavers look more settled. A small table, textured outdoor cushions, clay pots, and warm string lights can then make the space feel comfortable and personal.
Use the joint material recommended for your pavers. Sweep it diagonally across the surface until the joints are full, compact again if directed, and top up low joints. Polymeric sand usually requires very careful dust removal and controlled watering, so follow the bag instructions exactly. In my experience, the biggest mistake here is leaving sand dust on the paver faces before wetting it, which may cause staining or haze. Joint sand may cost $25 to $100. Simple furniture, planters, lighting, and an outdoor rug may add $100 to $600, depending on what you already own.
Finishing Your DIY Patio Makeover With Confidence
A useful backyard space does not require a large landscaping budget or a complicated custom design. The most important parts of laying patio pavers are often the ones you will never see once the project is finished. Careful excavation, firm compaction, an even base, and proper drainage help the surface remain comfortable and stable.
This 10-step DIY patio makeover shows how to lay patio pavers yourself by breaking the work into manageable stages. Start with planning and measuring before ordering anything. Then focus on one physical task at a time rather than rushing toward the finished styling.
You can also keep the first project small. A compact area for two chairs gives you a chance to learn the process while limiting material costs and heavy digging. Once the pavers are secure, use furniture and decor you already own before buying new pieces.
Local soil, weather, drainage rules, and product instructions can change the required construction details, so check them before beginning.
Which idea would you try first? I’d love to hear what you’re planning.
Frequently Asked Questions
Can you lay patio pavers directly on dirt?
Placing pavers directly on dirt is rarely a reliable long-term method. Soil can settle, hold water, grow weeds, and move during wet or freezing weather. A compacted aggregate base and an even bedding layer usually create a more stable surface.
How deep should I dig for a paver patio?
The depth depends on the paver thickness, soil, climate, and recommended base. You need enough room for compacted aggregate, a thin bedding layer, and the paver while maintaining the planned finished height. Follow local guidance and the paver manufacturer’s installation instructions rather than relying on one depth for every yard.
Do I need a plate compactor for patio pavers?
A plate compactor is very helpful for compacting the soil, base material, and finished pavers on most patios. A hand tamper may work for a tiny area or narrow corners, but it is slower and may create inconsistent results. Confirm that the selected compactor and protective pad are suitable for your pavers.
How much does a DIY paver patio cost?
A small DIY patio may cost around $800 to $2,500 when you include pavers, gravel, bedding material, joint sand, edge restraints, delivery, and equipment rental. Premium pavers, difficult access, deeper excavation, and new furniture can increase the total. Measuring carefully and comparing delivered prices can help you control the budget.
How long should it take to install a paver patio?
A small patio may take several full working days for a beginner, especially when excavation is done by hand. Base preparation and compaction often take longer than laying the visible pavers. Allow extra time for material delivery, cutting, cleanup, and weather delays rather than rushing the foundation.