Beginner’s Guide to Doing Gel Nails at Home
Salon visits can be expensive, and finding time to book appointments is not always easy. If you have ever admired glossy gel manicures and wondered whether you could recreate the look yourself, you are not alone. Many beginners feel unsure about which products to buy, how to cure gel polish correctly, or why their manicure starts peeling after only a few days.
This beginner’s guide to doing gel nails at home breaks the process into ten simple steps that are easy to follow. You do not need professional experience to achieve clean, long-lasting results. With the right tools, a little patience, and good preparation, you can create a stylish manicure from the comfort of your home.
This guide explains everything from setting up your workspace to preparing your nails, applying thin coats, curing each layer, and removing gel safely. You will also find beginner-friendly tips, common mistakes to avoid, and realistic budget estimates so you can build your gel nail kit without overspending.
1. Set Up a Clean Gel Nail Workspace
A tidy workspace makes the whole process feel easier. Picture a bright table near a window with soft natural light, neatly arranged nail tools, and everything within easy reach. A clean surface helps you focus on applying smooth polish instead of searching for missing supplies.
Cover your table with a washable mat or towel and arrange your lamp, gel polish, lint-free wipes, files, and tools before you begin. Keep drinks and food away from the work area to avoid accidental spills. In my experience, the biggest mistake here is starting before everything is organized, which often leads to smudged polish while reaching for supplies. A simple beginner setup usually costs between $20 and $60 before adding a lamp.
2. Gather the Right Beginner Gel Nail Tools
The right tools make learning much less stressful. Instead of buying every product available, focus on a few reliable essentials. A simple collection of quality basics often works better than a drawer full of unnecessary items.
Your beginner kit should include a UV or LED lamp, base coat, gel color, top coat, nail file, buffer, cuticle pusher, lint-free wipes, nail cleanser, and cuticle oil. Buy products from trusted brands that work together whenever possible. Avoid mixing incompatible systems because curing times may vary. A complete beginner kit usually costs between $50 and $120, making it far more affordable than regular salon visits over time.
3. Prepare Your Nails Before Applying Gel
Healthy preparation creates a cleaner finished manicure. Freshly shaped nails, smooth cuticles, and a lightly buffed surface help the gel sit evenly and reduce lifting around the edges. Even simple neutral shades look more polished on well-prepared nails.
Wash and dry your hands thoroughly before starting. Gently push back your cuticles and remove only loose dead skin if needed. Shape your nails with a fine file, then lightly buff away surface shine. Clean each nail with nail cleanser or alcohol before applying any polish. A lot of people skip this step, but it makes all the difference when trying to improve wear time. Basic preparation tools usually cost between $15 and $40.
. Apply a Thin Base Coat
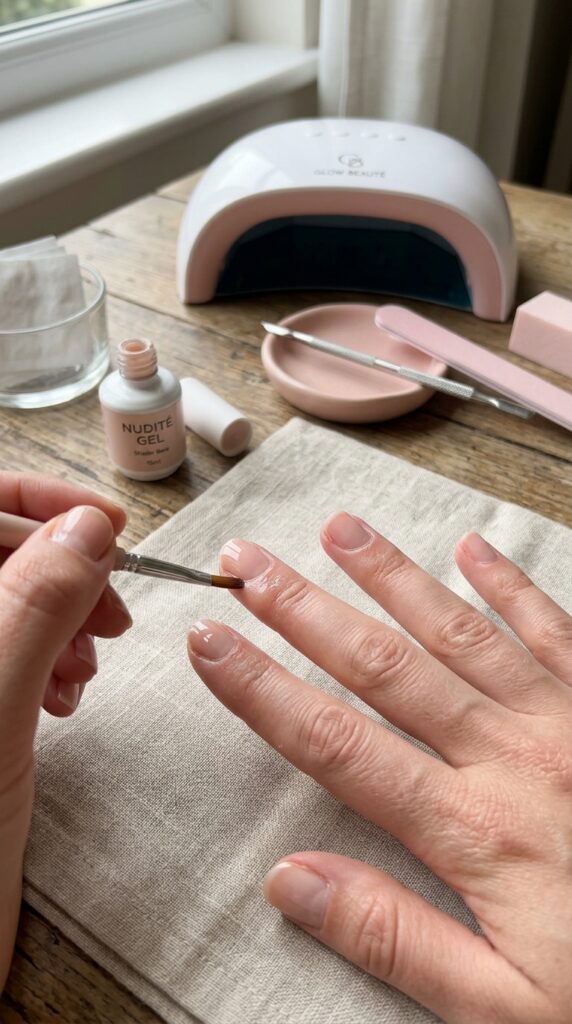
The base coat acts as the foundation for your manicure. A smooth, thin layer creates better adhesion and helps protect your natural nails from staining. Once cured, it gives the color coat a cleaner surface to grip.
Apply a very thin layer from cuticle to tip without touching the surrounding skin. Seal the free edge if recommended by your chosen system. Cure according to the instructions provided with your lamp and gel polish. What I personally love about thin coats is that they cure more evenly and look smoother than thick applications. Avoid flooding the cuticle area because this often causes early lifting. A quality base coat generally costs between $10 and $25.
5. Master Beginner Gel Nail Color Application
Watching the first color coat come together is often the most satisfying part of the process. Thin, glossy layers gradually create an even finish while keeping the nails smooth instead of bulky. Soft pinks, creamy nudes, and classic reds are forgiving shades for beginners.
Apply the polish in three gentle strokes across each nail. Keep every layer thin and cure each coat fully before adding another. Most colors need two coats, while lighter shades may need three depending on the brand. In my experience, the biggest mistake here is applying thick coats to save time. Thick gel may wrinkle or cure unevenly. Gel polish colors usually cost between $8 and $18 per bottle.
6. Cure Each Layer Correctly
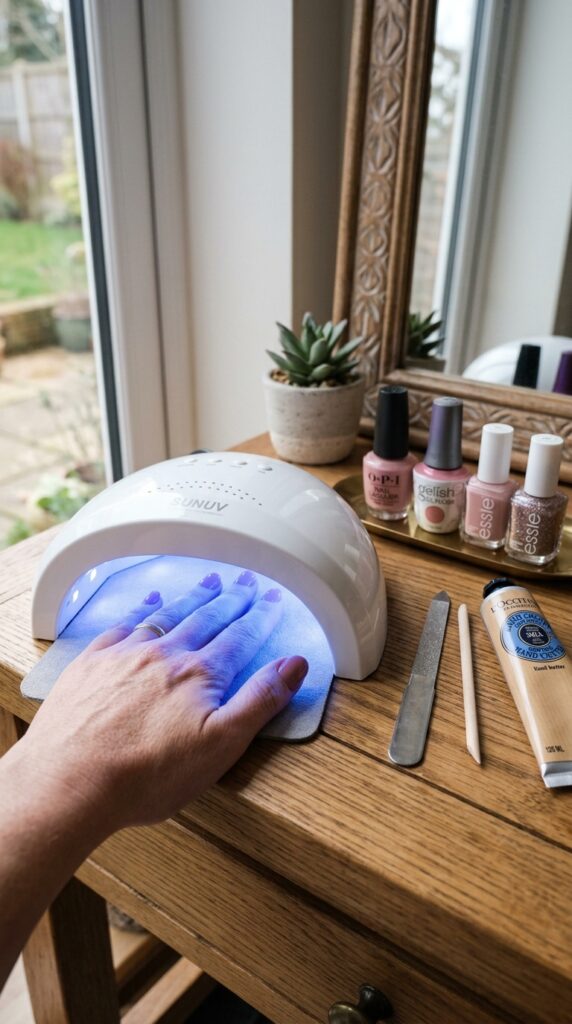
Curing is what gives gel polish its long-lasting finish. As the lamp works, the manicure develops its smooth shine and durable surface. Rushing this step can affect both the appearance and wear time.
Use the curing time recommended by your gel polish manufacturer because different formulas may require different exposure. Keep your fingers flat inside the lamp so every nail receives even light. Avoid removing your hand too early or curing several thick layers together. I always recommend reading the product instructions before beginning rather than guessing the timing. A reliable UV LED lamp generally costs between $30 and $80.
7. Finish With a Protective Top Coat
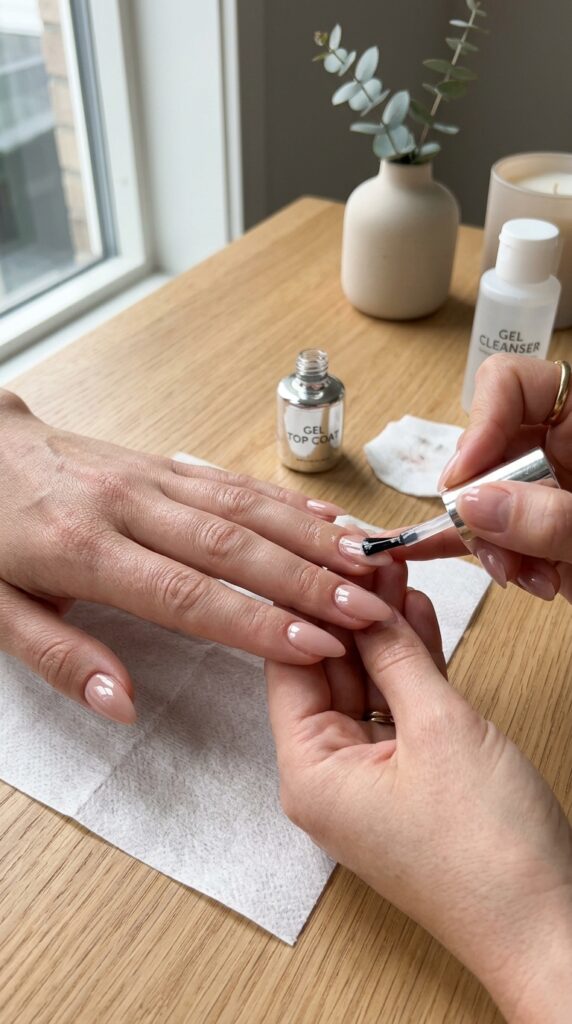
The top coat creates the glossy finish many people love about gel manicures. It also helps protect the color underneath from daily wear, leaving the nails looking smoother for longer.
Apply one thin layer over the entire nail, sealing the tip if recommended. Cure according to the manufacturer’s instructions. If your top coat leaves a sticky layer, remove it with nail cleanser and a lint-free wipe. Avoid applying an overly thick layer because it may dull the final appearance. What I personally love about a quality glossy top coat is how it makes even simple colors look more polished. Top coats usually cost between $10 and $25.
8. Moisturize Your Hands and Cuticles
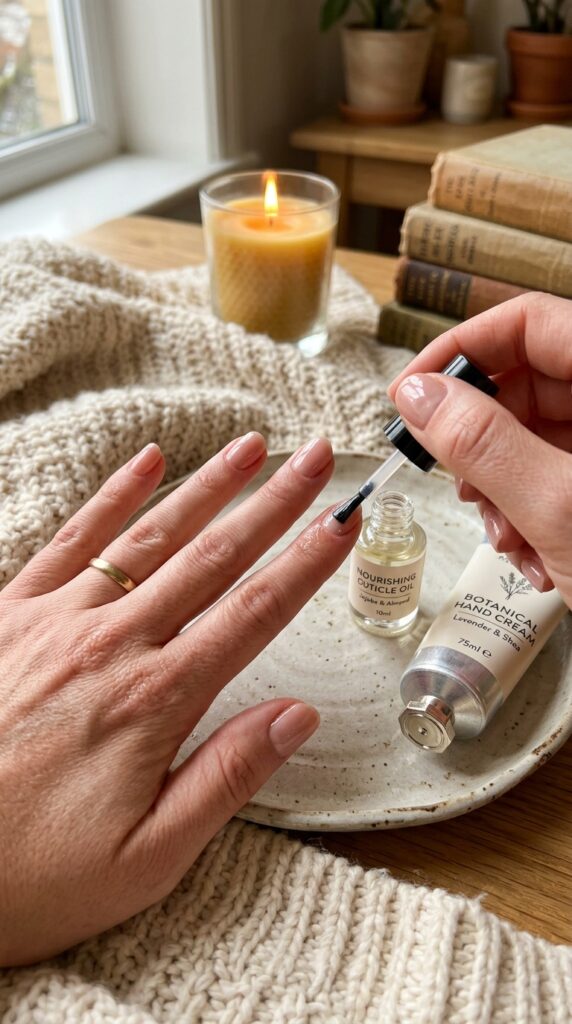
Fresh gel nails always look better when the surrounding skin is soft and hydrated. Healthy cuticles frame the manicure beautifully and help your hands feel comfortable after the application process.
Massage cuticle oil into every nail, then apply a rich hand cream over your hands. Repeat this routine daily to maintain healthy-looking nails between manicures. A lot of people skip this final step because they are excited to admire the polish, but regular moisture keeps the entire manicure looking fresher. Cuticle oil and hand cream usually cost between $10 and $30.
9. Remove Gel Polish the Safe Way
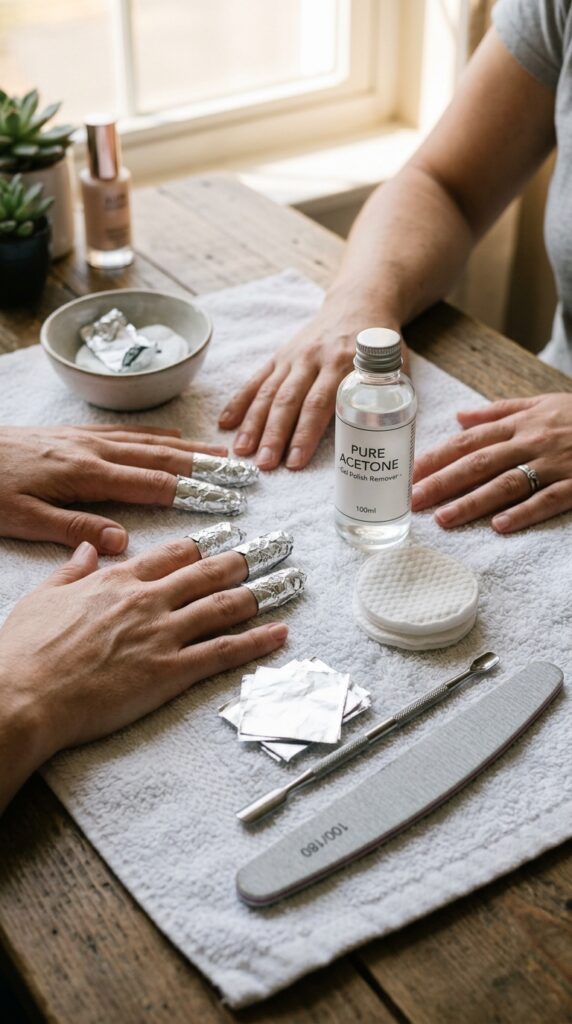
Removing gel carefully protects your natural nails. Pulling or peeling the polish away may also remove layers of the nail surface, leaving rough spots that take time to grow out.
Lightly file away the shiny top layer, then wrap each nail with acetone-soaked cotton secured by foil if your gel system is designed for soak-off removal. Follow the product instructions for timing. Gently push away softened gel without scraping forcefully. If it does not lift easily, repeat the soaking process instead of forcing it. Removal supplies generally cost between $10 and $25.
10. Practice Simple Designs as Your Confidence Grows
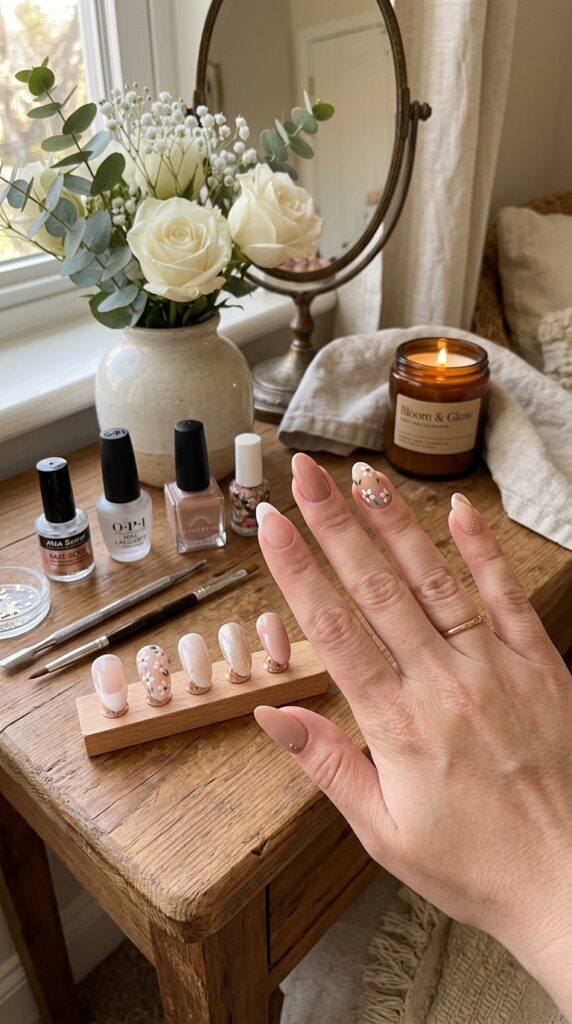
Once you feel comfortable with the basics, experimenting becomes much more enjoyable. Soft French tips, tiny flowers, subtle glitter, and delicate dots allow you to explore new looks without making the process complicated.
Start with beginner-friendly designs that use only one or two extra tools. Practice on nail tips or one accent nail before trying a full set. In my experience, the biggest improvement comes from repeating simple techniques rather than attempting detailed artwork too soon. Remember that clean application matters more than complicated designs. Nail art brushes, dotting tools, and glitter accents usually cost between $10 and $35.
Build Your Gel Nail Skills One Manicure at a Time
Learning gel nails at home does not require years of experience or a professional beauty studio. A simple routine, the right tools, and a little patience can help you create glossy manicures that look neat and last longer. The most important habit is focusing on preparation instead of rushing to the color.
This beginner’s guide to doing gel nails at home is designed to help you feel more confident with every manicure. Start with one neutral polish, learn how your lamp and products work together, and keep your layers thin. As your technique improves, you can explore seasonal colors and simple nail art without feeling overwhelmed.
Building your collection slowly also helps you stay within your budget. You do not need every shade on the shelf to enjoy beautiful results. Good preparation, careful curing, and gentle removal often matter more than expensive products.
Which step are you most excited to try first? I’d love to hear what you’re planning.
Frequently Asked Questions
How long do gel nails last at home?
A well-applied gel manicure usually lasts about two to three weeks, although wear time varies depending on your nail condition, daily activities, and the products you use. Proper preparation and thin coats often improve longevity. Avoid picking at lifting edges because this can damage the natural nail.
Do I need a UV or LED lamp for gel nails?
Yes. Most gel polishes need a compatible UV or LED lamp to cure properly. Always check the product instructions because different formulas may require different curing times or lamp types.
Can beginners do gel nails successfully?
Yes. Many beginners achieve great results by practicing simple application techniques and using quality products. Start with solid colors before trying detailed nail art, and take your time with preparation.
Why does my gel polish peel after a few days?
Peeling often happens when the nail was not prepared properly, the polish touched the cuticle, or the layers were applied too thickly. Incompatible products or incorrect curing can also affect wear. Following the manufacturer’s directions helps reduce these issues.
Is gel polish safe for natural nails?
Gel polish can be used safely when applied and removed correctly according to the product instructions. Avoid peeling off the polish or overfiling the nail surface. If you notice pain, redness, swelling, or signs of an allergic reaction, stop using the product and seek advice from a qualified healthcare professional.