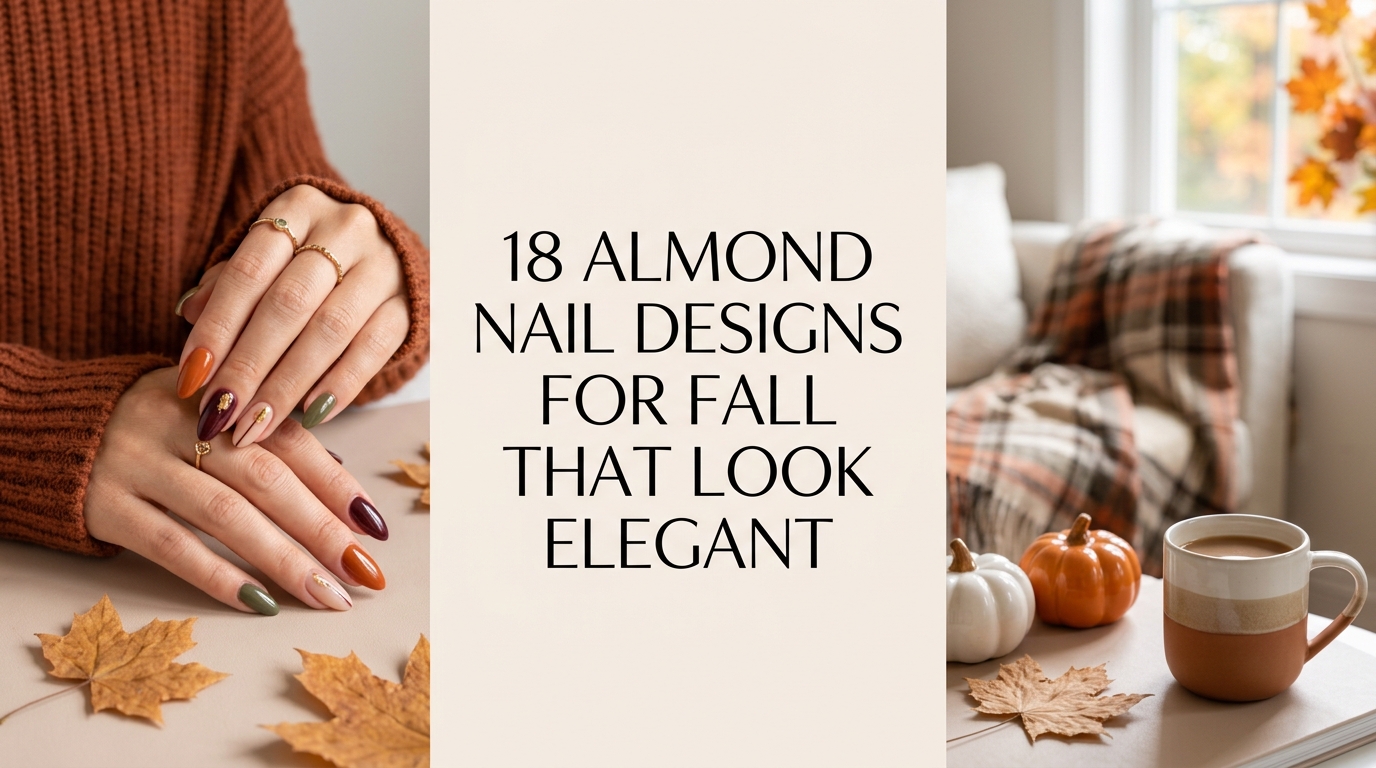
18 Almond Nail Designs for Fall That Look Elegant
Choosing a fall manicure can feel harder than it should. You may love deep seasonal colors but worry they will look too heavy. You might also save dozens of nail photos, only to realize that many designs feel too detailed for everyday wear. The almond shape adds another decision because the color and placement need to flatter its soft, tapered tip.
These 18 almond nail designs for fall that look elegant bring together warm neutrals, rich reds, earthy greens, delicate metallic details, and subtle seasonal art. Some designs are simple enough to recreate at home, while others are better suited to a salon appointment.
Each idea includes color guidance, practical application tips, one common mistake to avoid, and an estimated price range. You will also find options for short almond nails, longer extensions, glossy finishes, and soft matte textures. You do not need dramatic art on every finger to create a memorable manicure. Often, one rich color or a carefully placed accent is enough to make fall nails feel polished and seasonal.
1. Glossy Chocolate Brown Almond Nails
Glossy chocolate brown feels warm, rich, and understated on almond-shaped nails. The deep shade catches the light like polished wood and pairs beautifully with cream sweaters, camel coats, soft denim, and gold jewelry. It has enough depth for autumn without feeling as intense as black.
Choose a brown polish with warm undertones rather than a flat gray base. Apply two thin coats over a smoothing base, then finish with a high-shine top coat. On shorter nails, a medium cocoa shade can make the fingers look longer. Deeper espresso tones suit medium and long almond shapes. In my experience, the biggest mistake here is choosing a brown that closely matches the skin without enough contrast, which can make the manicure disappear. Test one nail first. A DIY manicure may cost $12 to $30, while a salon gel set usually ranges from $35 to $65.
2. Almond Nail Designs for Fall With Tortoiseshell Tips
Tortoiseshell tips add warm amber, caramel, and dark brown detail without covering the whole nail. The translucent pattern feels rich and layered, while the bare or nude base keeps the manicure light. It looks especially striking on a softly tapered almond shape.
Begin with a sheer beige or blush base. Paint a thin amber French tip, then dab irregular brown and black spots into the color before it dries. Add another light amber layer to soften the pattern and create depth. Keep the tip width consistent across every nail. A lot of people skip this step, but leaving a little space between the dark spots makes the design look more realistic. Avoid making every tip identical, since natural tortoiseshell has irregular markings. A DIY kit may cost $15 to $35. Salon nail art usually ranges from $55 to $90.
3. Burgundy Nails With a Fine Gold Line
Deep burgundy nails feel timeless in fall, especially when a fine gold line adds a quiet touch of light. The wine-colored base looks smooth and glossy, while the metallic detail follows the curve of the almond tip or crosses one accent nail.
Apply two coats of burgundy polish and allow them to dry fully. Use metallic striping tape or a fine nail-art brush to add a thin gold line near the tip, along one side, or across the center. Limit the gold detail to two or three nails if you prefer a quieter finish. What I personally love about this design is how easily it moves from everyday outfits to evening plans. Avoid thick gold lines, which can overwhelm the narrow almond shape. A DIY version costs around $12 to $30. A salon gel manicure with fine line art may range from $45 to $75.
4. Soft Caramel French Manicure
A caramel French manicure offers a warmer alternative to the traditional white tip. The creamy brown edge looks soft against a sheer nude base and follows the curved almond shape beautifully. It feels clean, seasonal, and easy to wear with neutral fall clothing.
Choose a caramel shade with enough contrast to show clearly against your skin. Paint a thin curved tip using a fine brush or French manicure guide. A slightly deeper cinnamon tone works well for darker skin, while honey or tan can look lovely on lighter complexions. Keep the base translucent rather than opaque so the design remains light. Avoid making the tips too wide, since thick color can shorten the look of the nail. I always recommend this when someone wants a seasonal change without committing to a dark manicure. DIY supplies cost about $10 to $25, while salon pricing is often $40 to $70.
5. Olive Green Almond Nails With a Glossy Finish
Olive green brings an earthy, grounded feel to fall nails. The muted color looks softer than emerald and more distinctive than a standard neutral. On almond nails, the glossy surface creates a smooth finish that pairs well with brown leather, beige knits, and dark denim.
Choose an olive shade that leans slightly warm rather than gray. Apply two thin coats and seal the edges with top coat to reduce early chipping. You can paint every nail green or add one beige accent nail for contrast. In my experience, the biggest mistake here is applying thick layers because olive polish can become streaky or take too long to dry. Thin coats produce a smoother finish. Short almond nails often look especially neat in this shade. A DIY manicure may cost $10 to $25, while a salon gel manicure usually costs $35 to $60.
6. Elegant Fall Almond Nails With Copper Chrome
Copper chrome reflects warm bronze, rose, and amber tones as the hands move. The finish feels dramatic in direct light but still connects naturally with fall colors. It works beautifully on almond nails because the tapered shape allows the metallic reflection to flow along the length.
Start with a warm brown, rust, or black gel base. Rub copper chrome powder over a cured no-wipe top coat, then seal it carefully around the edges. For a softer look, use chrome only on two accent nails and keep the others in a glossy brown shade. Avoid applying the powder unevenly because patchy areas become very visible on reflective nails. A lot of people skip edge sealing, but it helps stop the chrome from peeling. Home gel materials may cost $25 to $60. A salon chrome manicure typically ranges from $50 to $85.
7. Matte Mocha Nails With Glossy Tips
Matte mocha nails with glossy tips create a subtle contrast using one color in two finishes. The soft matte base resembles suede, while the shiny curved edge catches the light. The result looks detailed without using glitter, gems, or complicated artwork.
Paint the nails with two coats of mocha polish, then apply a matte top coat. Once dry, use a fine brush to add a glossy top coat only along the tips. You can also reverse the design by keeping the base shiny and making the tips matte. What I personally love about this is how sophisticated the texture looks from close up. Avoid touching the matte surface with oily products before photographing or going out, since hand cream can leave shiny marks. A DIY version costs around $15 to $35. At a salon, expect to pay $45 to $75.
8. Burnt Orange Nails With Tiny Leaf Art
Burnt orange captures the warmth of autumn leaves without feeling overly bright. Adding one or two tiny leaf details gives the manicure a seasonal touch while keeping most nails simple. The shade looks especially warm beside tan, cream, olive, and chocolate clothing.
Apply two coats of burnt orange to most nails. Use a nude or milky base on one accent nail, then paint a small branch or leaf shape with a fine brush in brown, gold, or dark red. Keep the artwork close to the cuticle or along one side so the nail still has open space. Avoid covering every nail with leaves, which can make the design feel busy. A lot of people skip this step, but practicing the leaf shape on paper first makes salon-style lines easier. DIY materials cost about $12 to $35. Salon art may range from $50 to $85.
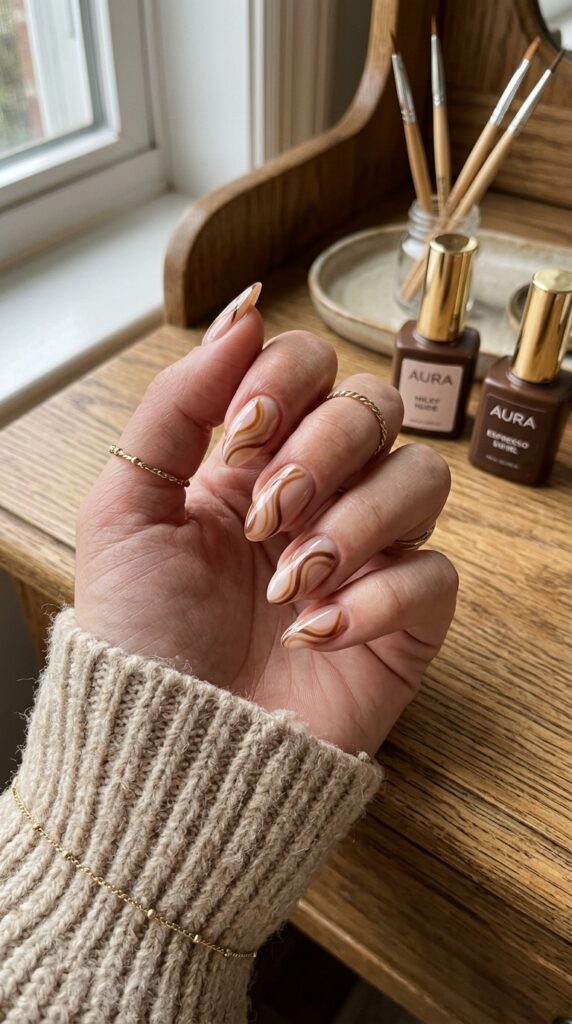
9. Milky Nude Nails With Brown Swirls
Milky nude nails with brown swirls feel soft, modern, and artistic. The semi-sheer base allows the natural nail to show through, while curved caramel and espresso lines move gently along the almond shape. Each nail can be slightly different without making the set look uneven.
Apply a milky pink or beige base, then use a thin brush to create loose curved lines. Combine one light brown and one darker shade for more depth. Keep some nails nearly bare and add stronger swirls to only a few fingers. In my experience, the biggest mistake here is drawing lines that are too thick. Fine, flowing details flatter almond nails much more than heavy blocks of color. Wipe excess polish from the brush before starting each line. DIY supplies may cost $15 to $35, while salon pricing often ranges from $55 to $90.
10. Black Cherry Almond Nails
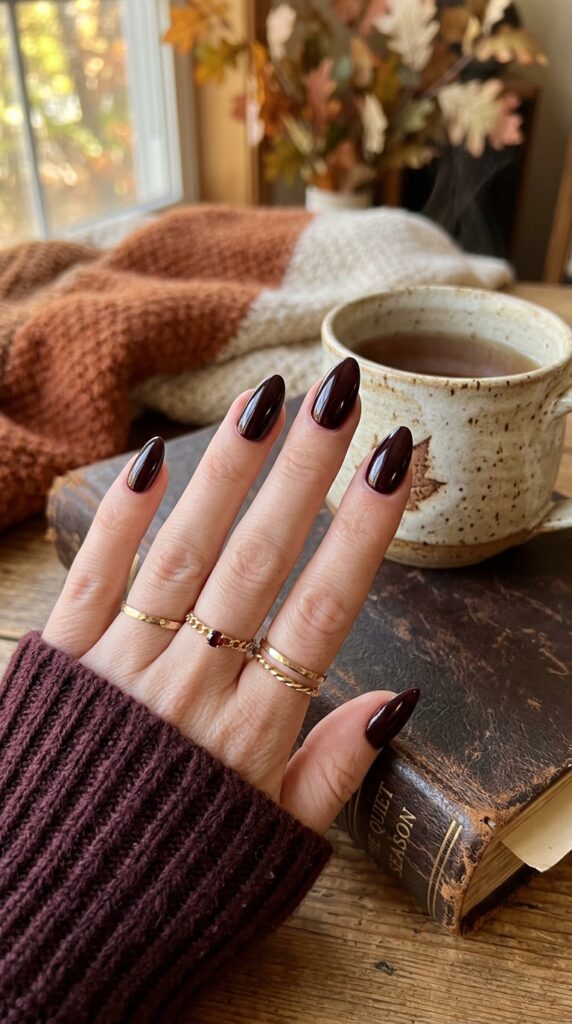
Black cherry polish sits between deep red, plum, and almost-black brown. In soft indoor light it looks dark and moody, while sunlight reveals a rich red undertone. The glossy color creates a striking, clean silhouette on almond nails without needing extra decoration.
Use a smoothing base coat because deep polish can highlight ridges. Apply two thin coats, cleaning carefully around the cuticle with a small brush dipped in remover. Finish with a glassy top coat. This shade looks beautiful on both short and long almond shapes. Avoid applying one very thick coat, since dark polish can remain soft underneath and smudge later. What I personally love about this color is that it works with almost every autumn outfit. A bottle of polish and basic manicure supplies may cost $12 to $30. Salon gel usually costs $35 to $65.
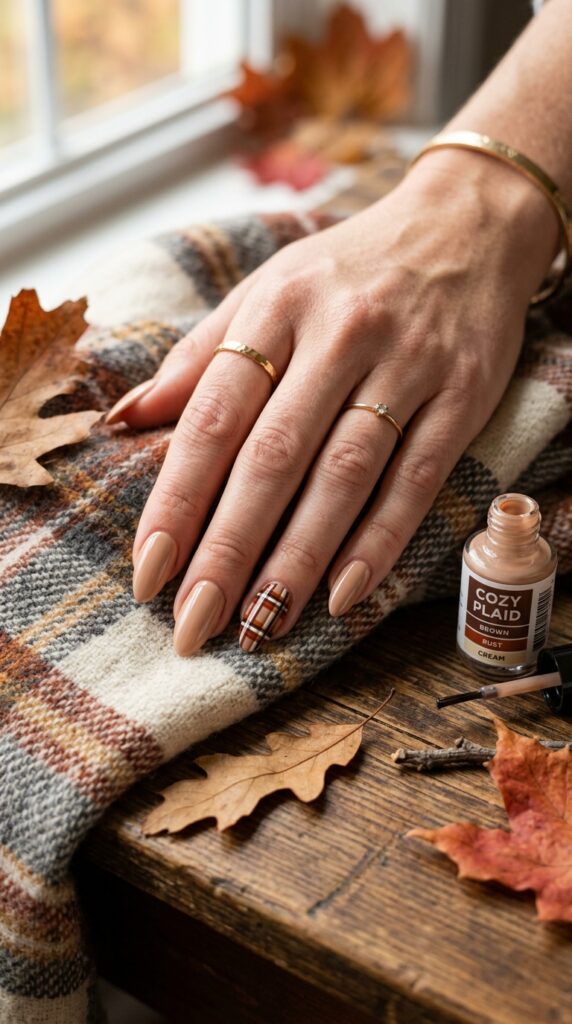
11. Almond Nail Designs for Fall With Plaid Accents
Plaid accents bring a cozy fabric-inspired detail to a fall manicure. Thin lines in brown, cream, rust, and black create the feeling of a classic scarf or wool coat. Keeping the pattern on only one or two nails helps the design remain elegant.
Paint most nails in a warm beige, chocolate, or burgundy shade. Use a fine brush to add intersecting vertical and horizontal lines on the accent nails. Start with the lightest color and finish with the darkest, thinnest line. A lot of people skip this step, but allowing each color to dry before adding the next prevents muddy intersections. Avoid using more than four shades in the pattern. Too many colors can make the small design hard to read. DIY materials may cost $15 to $40. A salon plaid set usually ranges from $60 to $95.
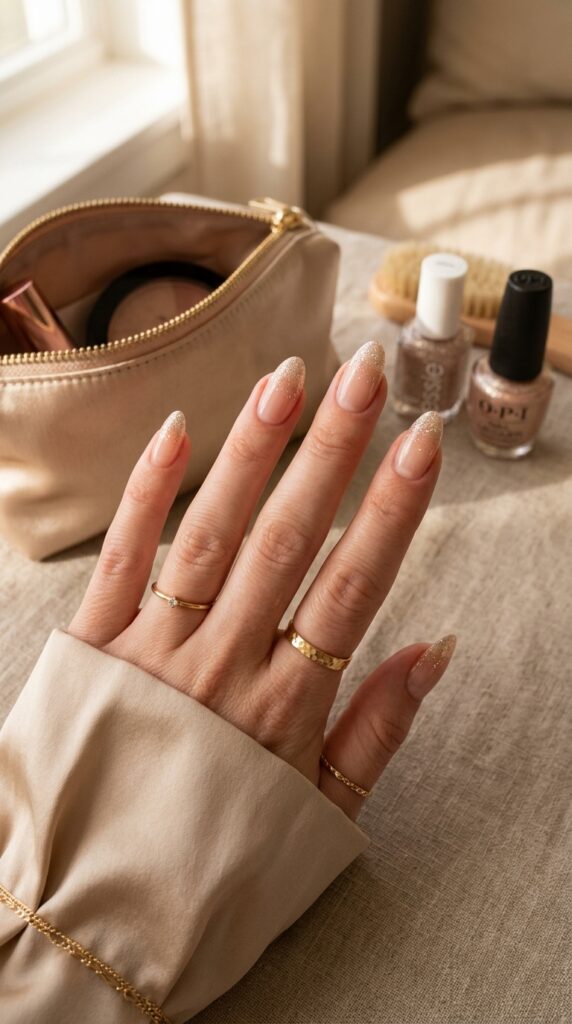
12. Champagne Glitter Fade
A champagne glitter fade adds a soft shimmer near the tips or cuticles without covering the whole nail. The fine sparkle catches warm light gently and looks beautiful over nude, beige, blush, or pale brown polish. It offers a dressier fall manicure without using large glitter pieces.
Apply a sheer nude base and allow it to dry. Dab fine champagne glitter onto a makeup sponge, then press it lightly near the tip, fading the particles downward. Use less glitter as you move toward the center. Avoid brushing thick glitter polish directly across the nail because it can create a solid, uneven band. In my experience, using a sponge gives much better control. Seal the surface with two thin layers of top coat if the glitter feels rough. A DIY set costs about $12 to $30, while salon glitter fades generally range from $45 to $75.
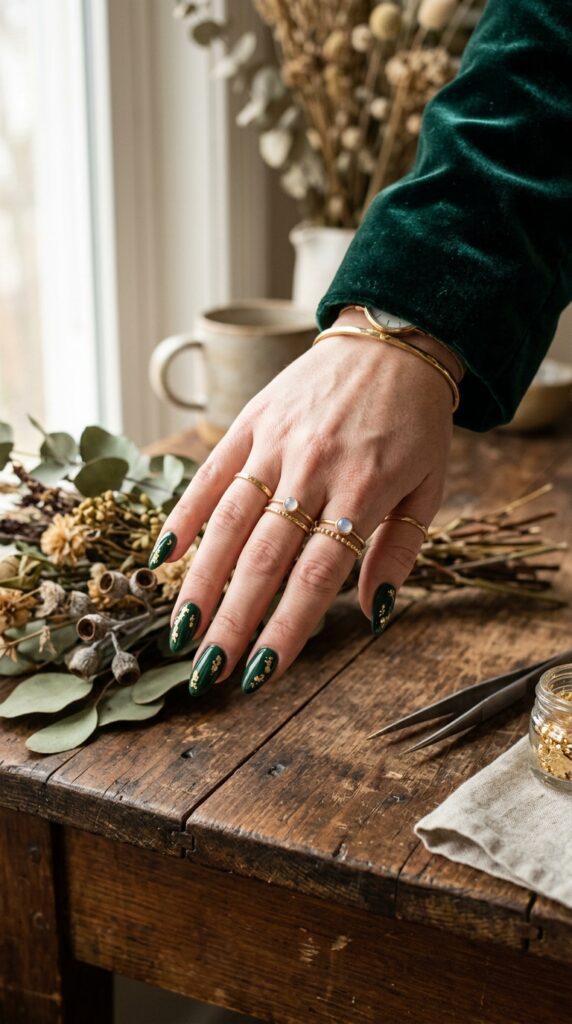
13. Deep Forest Green With Gold Foil
Deep forest green creates a rich backdrop for small pieces of gold foil. The combination feels earthy and luxurious, with irregular metallic flecks that resemble light passing through autumn leaves. The narrow almond shape keeps the bold colors refined.
Paint the nails with two coats of forest green. While the second coat or gel layer is slightly tacky, place tiny pieces of gold foil on one or two nails using tweezers. Seal them with a smooth top coat. Keep the foil placement irregular and leave plenty of green visible. Avoid using large foil sheets, which can wrinkle and lift around the edges. What I personally love about this is that each accent nail looks slightly different. A DIY foil kit and polish may cost $15 to $35. A salon set often ranges from $50 to $85.
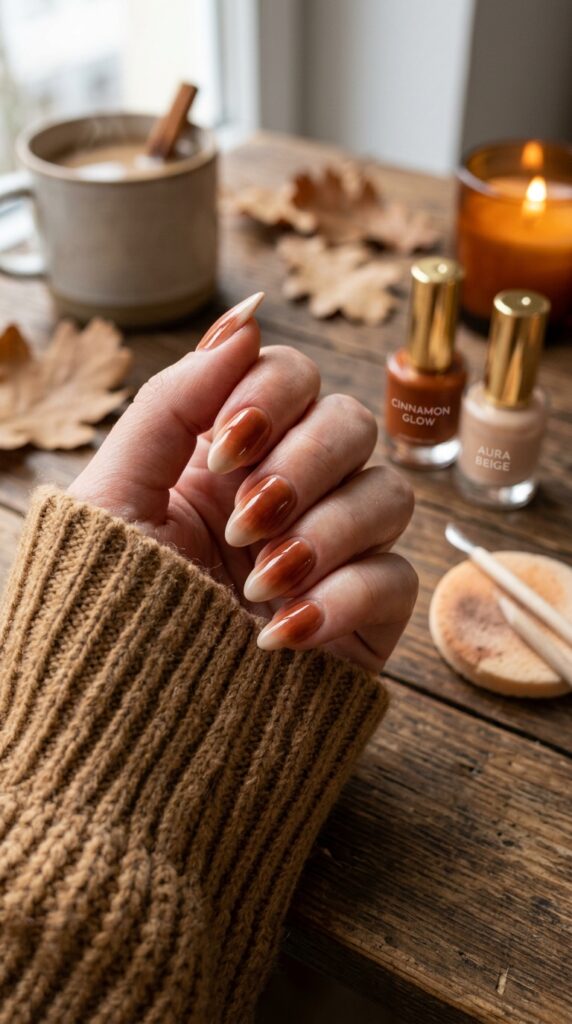
14. Cinnamon Aura Almond Nails
Cinnamon aura nails feature a soft, diffused center of warm rust or brown surrounded by a lighter beige base. The blurred color creates depth without hard lines, giving the manicure a gentle glowing effect that fits autumn beautifully.
Apply a nude or pale tan base. Use an airbrush tool, eyeshadow applicator, or small sponge to place cinnamon color in the center of each nail. Blend the edges softly, then seal everything with a glossy top coat. Keep the darker center small so the lighter border remains visible. Avoid pressing too much pigment onto the nail at once, which can create a harsh circle instead of a soft fade. A lot of people skip blending the outer edge, but that is what creates the signature aura effect. DIY materials may cost $20 to $45. Salon aura nails often range from $60 to $100.
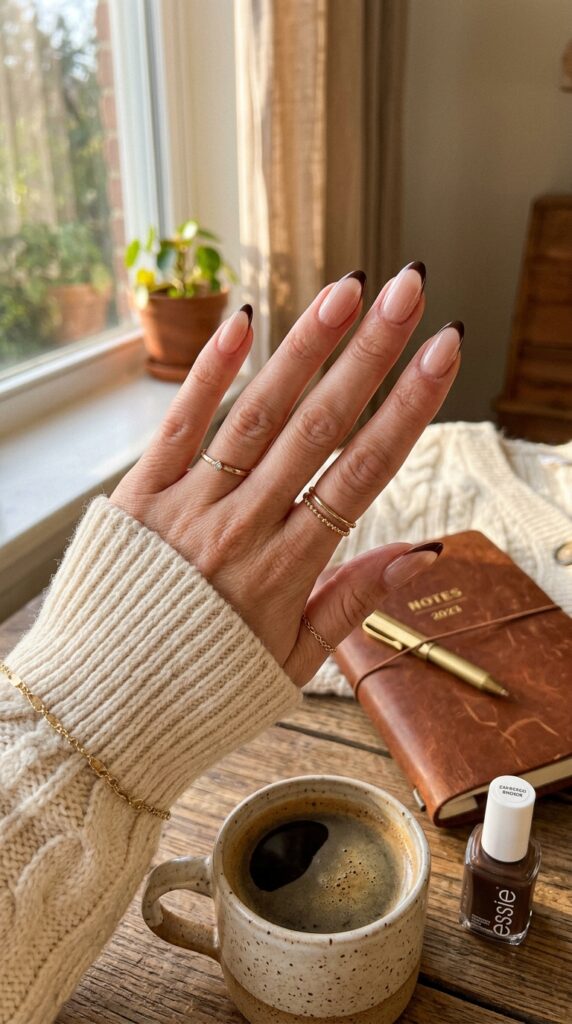
15. Espresso French Tips on a Sheer Base
Espresso French tips create a bold outline while leaving most of the nail light and natural. The dark brown edge follows the almond curve and gives the fingers a longer, cleaner look. It is a simple design that feels distinctly seasonal without relying on nail art.
Apply one or two thin coats of sheer pink or beige polish. Use a fine brush to paint a slim espresso tip, beginning at each side and meeting in the center. Keep the curve consistent across all nails. Avoid using a base that is too opaque because the contrast can feel heavy. In my experience, the biggest mistake is making the brown edge wider on the thumbs than the other fingers. Check all five nails together before curing or drying. DIY materials cost around $10 to $30. A salon French gel manicure may range from $45 to $75.
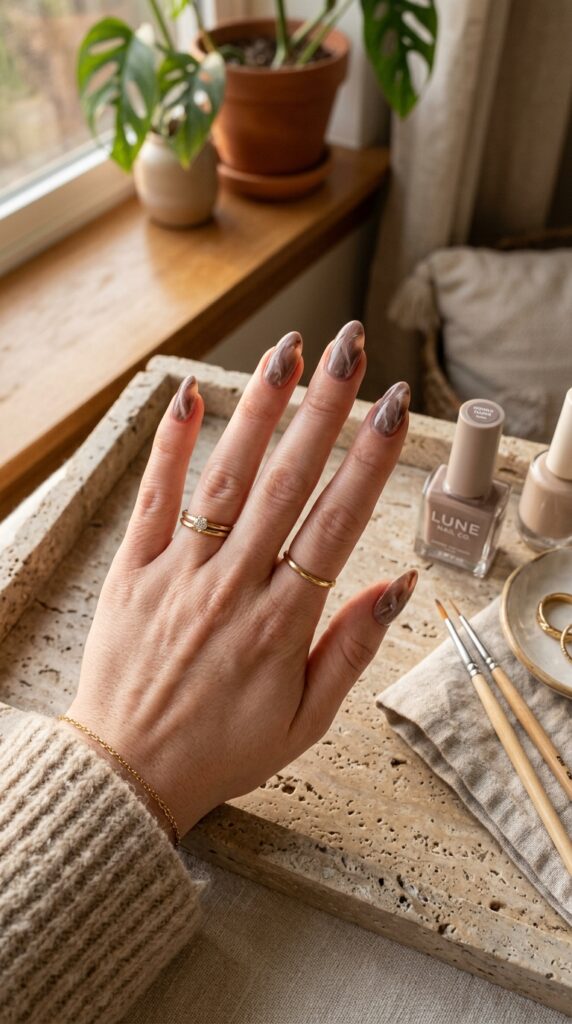
16. Smoky Taupe Marble Nails
Smoky taupe marble combines soft beige, gray-brown, and fine white veining. The cloudy pattern feels calm and organic, almost like polished stone. It gives almond nails visual texture while staying within a neutral fall palette.
Begin with a light taupe base. Add loose, uneven lines in darker brown and soft white using a thin brush. Blur parts of the lines with clear polish or a small amount of acetone before sealing the design. Keep the veining different on each nail so it resembles natural stone. Avoid drawing straight, evenly spaced lines because real marble has irregular movement. What I personally love about this design is that small imperfections actually improve the result. A DIY marble set may cost $15 to $40. Salon pricing usually ranges from $55 to $90.
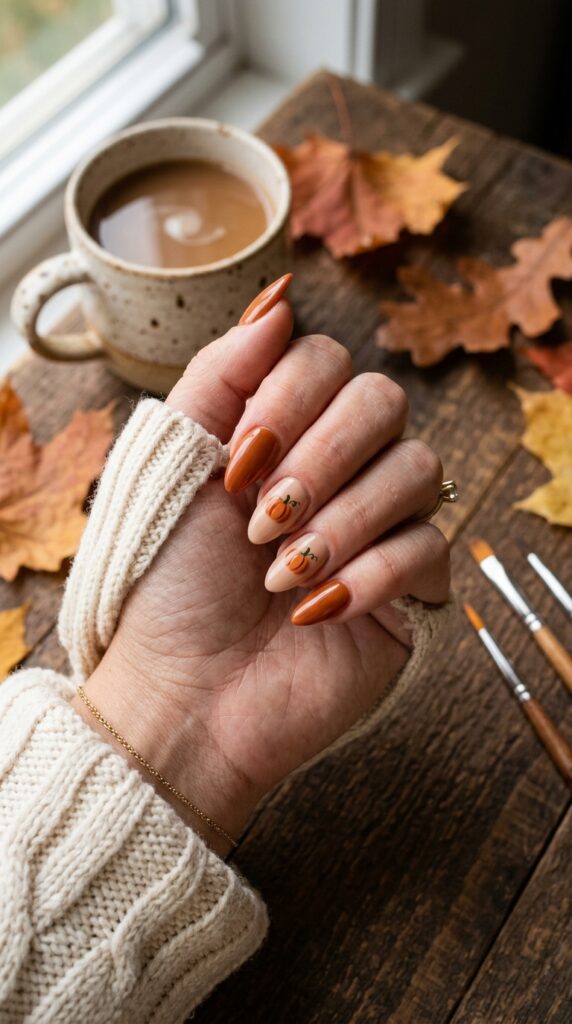
17. Fall Almond Nails With Minimal Pumpkin Art
Minimal pumpkin art gives fall nails a seasonal detail without turning the whole manicure into a themed set. One tiny pumpkin on a nude accent nail looks charming beside solid rust, caramel, or cream nails. The design feels playful but remains easy to wear.
Choose one or two accent nails with a sheer beige base. Use a fine brush to paint a small pumpkin near the cuticle or tip using rust polish, then add a brown stem and one curved line for shape. Keep the remaining nails solid or use simple French tips. Avoid making the pumpkins too large, since oversized art can visually shorten almond nails. I always recommend limiting seasonal illustrations to a few fingers for a cleaner finish. DIY art tools and polish may cost $15 to $35. A salon set typically ranges from $50 to $85.
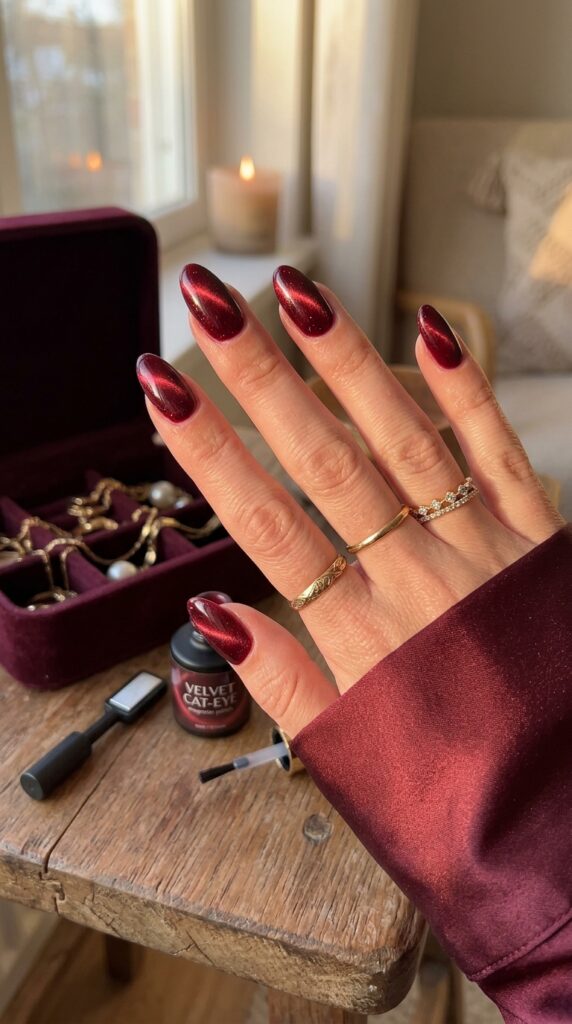
18. Velvet Red Magnetic Almond Nails
Velvet red magnetic polish creates a soft band of reflected light that shifts as the hands move. The deep red base feels rich and seasonal, while the glowing center resembles satin or crushed velvet. It looks especially striking on medium-length almond nails.
Apply a magnetic gel polish over a dark red or black base. Hold the magnet near the wet layer for several seconds to guide the reflective particles toward the center or one side. Cure each nail immediately so the effect does not spread. In my experience, the biggest mistake here is moving the magnet too quickly. Holding it steady creates a sharper glow. Keep the tool close without touching the polish. A home magnetic gel kit may cost $25 to $60. A salon velvet manicure generally ranges from $50 to $85.
Choosing Fall Almond Nails That Suit Your Style
An elegant manicure does not require a large budget, long extensions, or detailed artwork on every nail. A rich brown polish, slim French tip, or carefully placed metallic accent can create just as much impact as a complicated salon set.
These 18 almond nail designs for fall that look elegant offer choices for different nail lengths, routines, and comfort levels. Start with one or two ideas that match the colors already in your wardrobe. Chocolate brown or black cherry may be easiest for everyday wear, while copper chrome or velvet red can add more drama for an event.
You can also simplify any design by using the special detail on only one accent nail. This reduces salon time, lowers the cost, and makes home application more manageable. Good cuticle care and a smooth top coat will help even an affordable manicure look cleaner and last longer.
Which design would you try first? I’d love to hear what you’re planning.
Frequently Asked Questions
Are almond nails suitable for short natural nails?
Yes, a short almond shape can work well if the nail has enough free edge to create a gentle taper. Ask for softly rounded sides rather than a sharp point. Sheer bases, slim French tips, and medium-depth colors can help short nails appear longer.
What fall colors look best on almond nails?
Chocolate brown, burgundy, olive, forest green, burnt orange, taupe, and black cherry all suit the season. The best shade depends on your undertone and how much contrast you prefer. Testing the polish on one nail can help you judge it in natural light.
How much do fall almond nails cost at a salon?
A basic gel manicure often costs around $35 to $65. French tips, chrome, foil, magnetic polish, or hand-painted art may increase the price to $50 to $100. Extensions, repairs, and removal can add separate charges.
How can I make an almond manicure last longer?
Apply cuticle oil daily and wear gloves when cleaning or washing dishes. Avoid using your nails to open packaging or scrape hard surfaces. Ask your technician to seal the free edge, or do this yourself when applying top coat at home.
Can I recreate these fall nail designs at home?
Many of them are suitable for home use, including solid brown, olive green, glitter fades, French tips, and simple pumpkin art. Start with a design that uses one or two colors. Fine brushes, striping tape, makeup sponges, and cleanup brushes can make the process easier.