How Long Should Nails Be Under UV Light for Gel Polish?
Doing gel nails at home can become confusing when every bottle, lamp, and online tutorial gives a different curing time. One guide may recommend 30 seconds, while another tells you to leave each layer under the lamp for two minutes. It is tempting to assume that longer curing is always safer, but that does not solve problems caused by thick polish or mismatched products.
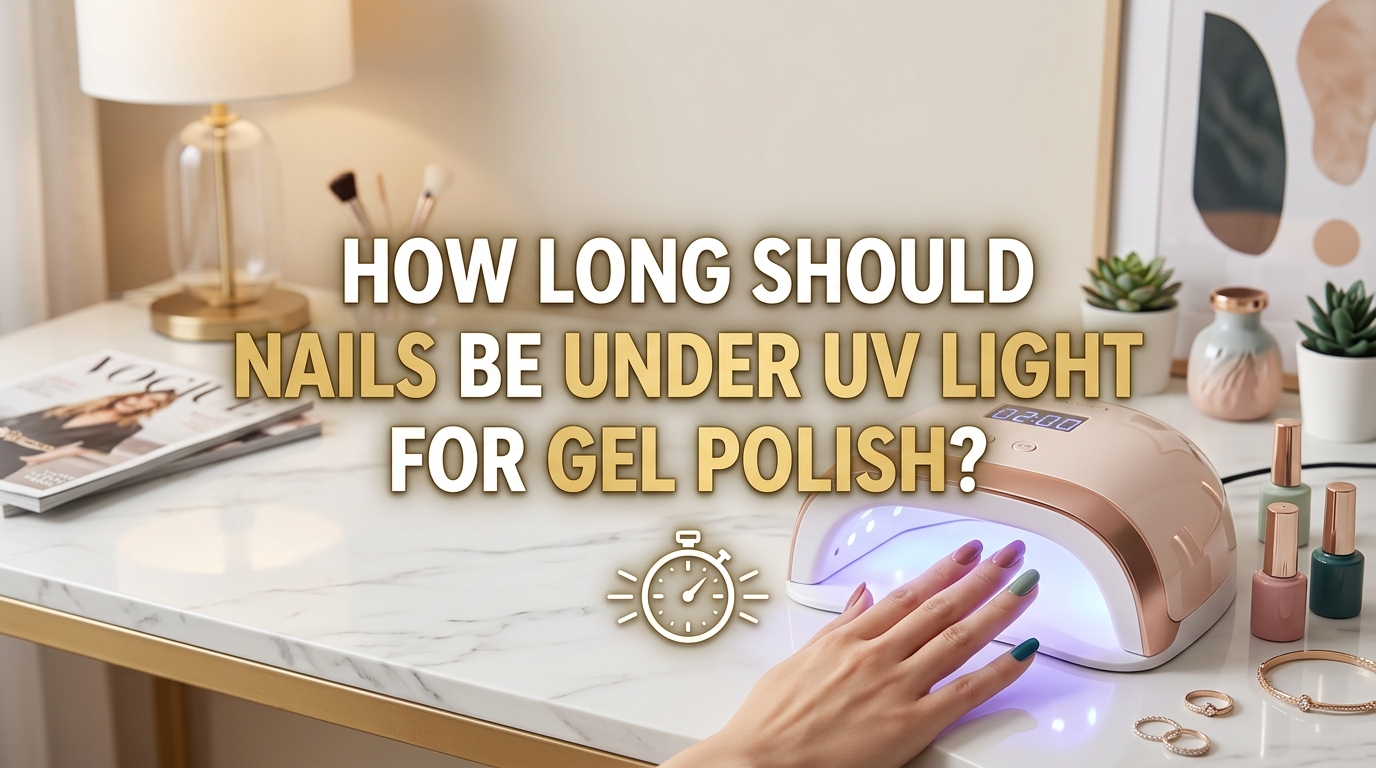
So, how long should nails be under UV light for gel polish? Many gel systems cure each thin layer for about 30 to 60 seconds in a compatible LED lamp. A traditional UV lamp may require around two minutes per layer. However, the correct time always comes from the instructions for your specific polish and lamp. OPI GelColor, for example, uses 30 second cycles in the OPI Star Light, while Gelish lists 30 seconds in its 18G LED lamp or two minutes in a traditional UV lamp. (opi-us)
These ten steps explain the full process from nail preparation to the final top coat.
1. Check Your Gel and Lamp Instructions First
Before opening the polish, read the directions printed on the bottle, packaging, or official brand website. Gel products are developed to cure with certain lamps, wavelengths, and exposure times. A timer that works for one brand may not work for another.
As a general reference, OPI instructs users to cure its GelColor base, color, and top coat for 30 seconds per layer in the OPI Star Light. Gelish products often require 30 seconds in the brand’s 18G LED lamp or two minutes in a traditional UV lamp. (opi-us)
In my experience, the biggest mistake is choosing a curing time based only on the lamp’s wattage. Wattage does not prove that the lamp and polish are compatible. A coordinated home system usually costs between $40 and $120.
2. Prepare Your Nails and Protect Your Hands
Clean preparation helps gel adhere evenly. Shape the nails, remove old polish, and clear away dust or oil from the nail plate. Keep lotion and cuticle oil away from the nail surface until after the manicure because oily residue can affect adhesion.
Before using a curing lamp, protect the skin on your hands. The American Academy of Dermatology recommends applying broad spectrum, water resistant sunscreen with SPF 30 or higher before a gel manicure. Dark, opaque fingerless manicure gloves are another option. (American Academy of Dermatology)
Leave every nail fully uncovered if you use gloves. Remove any gel that touches the skin before curing. What I personally love about reusable manicure gloves is that they protect the hands without placing sunscreen near the nail plate. Sunscreen or manicure gloves generally cost between $10 and $35.
3. Apply and Cure a Thin Base Coat
Apply a thin layer of the base coat recommended for your gel system. Cover the nail evenly while leaving a small clean space around the cuticle and sidewalls. Seal the free edge if the product instructions tell you to do so.
Place your hand flat inside the compatible lamp and run one complete curing cycle. For the current OPI GelColor system, the official application guide specifies a 30 second cure for its base coat in the OPI Star Light. Other brands may use a different time. (opi-us)
A lot of people use a thick base coat to hide nail ridges. Standard gel base can pool near the skin and create an uneven foundation when applied heavily. Use a compatible smoothing product if you need more structure. Gel base coats usually cost between $10 and $25.
4. Cure the First Color Coat Separately
Apply the first gel color coat as thinly as possible. It may look slightly sheer, especially with pale or highly pigmented shades. That is normal. The second coat will provide more coverage.
Cure the first coat for the exact time listed by the manufacturer. OPI GelColor calls for 30 seconds in its Star Light. Gelish commonly lists 30 seconds in its compatible LED lamp or two minutes in a UV lamp. (opi-us)
In my experience, the biggest mistake is repeatedly brushing the polish until the first coat becomes opaque. Extra product can collect near the edges and may wrinkle during curing. Wipe excess polish from the brush before touching the nail. Gel colors generally cost between $10 and $25 per bottle.
5. Add and Cure the Second Thin Coat
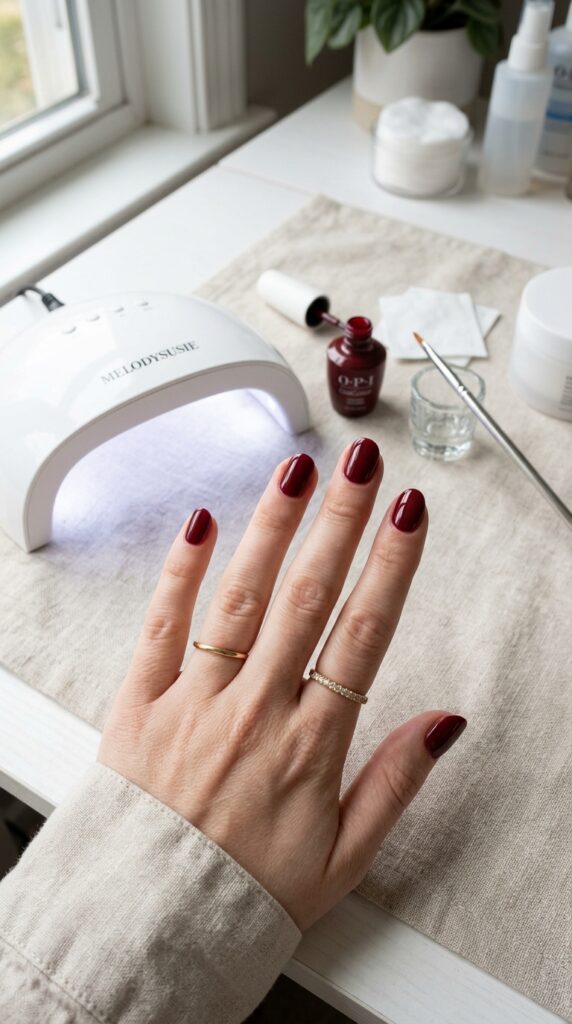
Apply the second coat only after the first has completed its full curing cycle. Use another thin layer to build smooth, even color. Deep shades such as black, navy, and burgundy need especially careful application because heavy pigment can make thick layers harder to cure evenly.
Complete another full cycle using the time specified for your system. Do not invent a longer time simply because the color looks dark. Correct layer thickness and lamp compatibility matter more than adding random minutes.
A common mistake is applying one heavy second coat to cover streaks. This can create wrinkling, denting, or softness beneath the surface. Two controlled coats usually produce cleaner results than one thick layer. A fine brush costing around $5 to $15 can help clean the cuticle line before curing.
6. Apply and Cure the Gel Top Coat
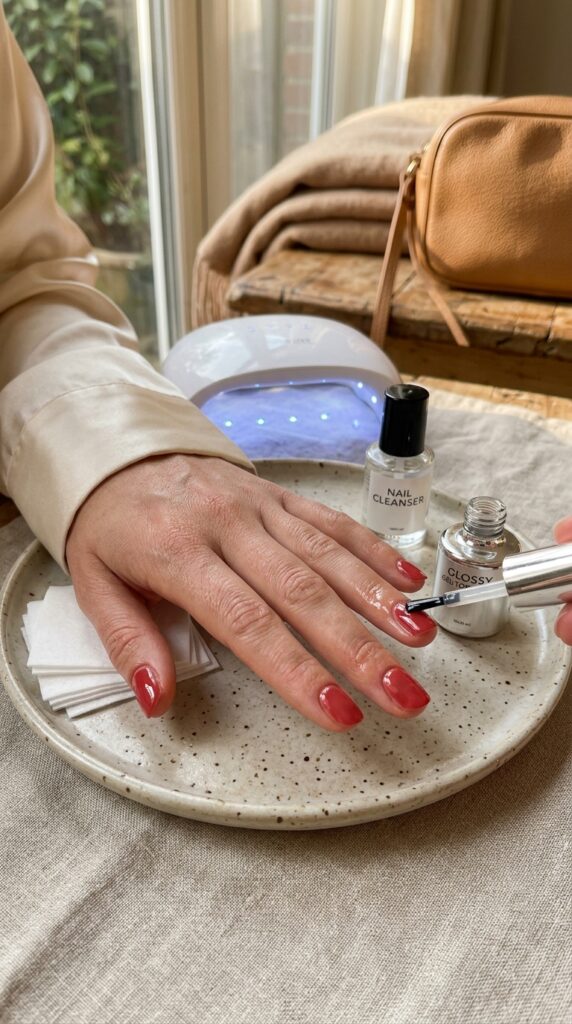
Once the color is complete, apply a thin top coat across the full nail. Seal the free edge to help protect the tips from daily wear. Keep the top coat away from the surrounding skin.
Cure it using the top coat’s specific directions. OPI instructs users to cure its GelColor top coat for 30 seconds in the OPI Star Light. Gelish top coats may require 30 to 45 seconds in a compatible LED lamp or two minutes in a traditional UV lamp, depending on the product. (opi-us)
What I personally love about top coat is how it smooths the color and creates a clean glossy finish. Avoid applying a heavy layer to fill dents or uneven polish. If the color underneath is wrinkled, remove and correct it rather than covering it. Top coats usually cost $10 to $30.
7. Position Your Hand Correctly Inside the Lamp
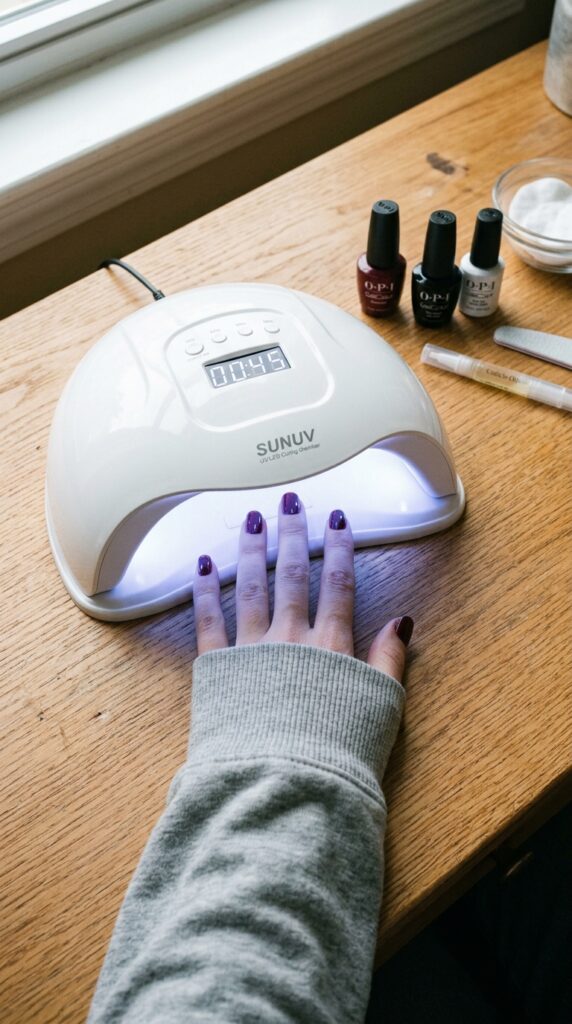
Curing time only works when each nail sits inside the lamp’s active light area. Place four fingers flat instead of curling them upward. Sliding your hand only halfway inside may leave the tips or sidewalls outside the strongest part of the lamp.
Thumbs often tilt sideways when all five fingers are cured together. Cure them separately if your lamp or gel instructions recommend it. This keeps the entire nail surface facing the light.
A lot of people assume that a longer cycle will fix poor hand placement. Extra time may not help when part of the nail is not receiving the correct light. Check where the bulbs or diodes sit before beginning. Compact home lamps usually cost between $25 and $60, while wider professional models may cost $80 or more.
8. Know the Difference Between Tackiness and Uncured Gel
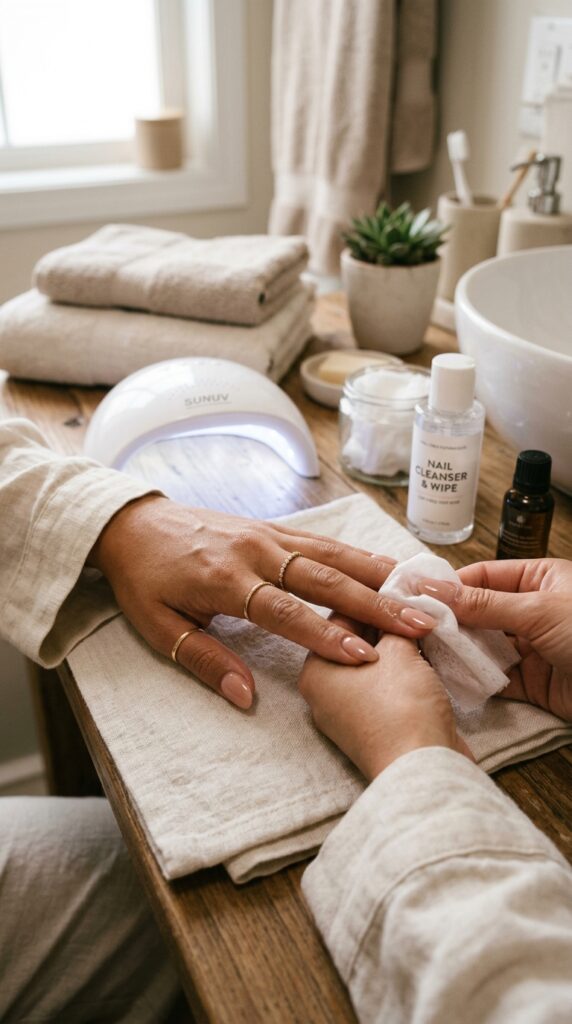
Some gel systems leave a sticky inhibition layer after curing. This surface tack does not always mean the gel underneath is still wet. Certain top coats require cleansing with a lint free wipe and the brand’s recommended solution after the final lamp cycle. OPI includes this cleansing step in its official GelColor process. (opi-us)
Follow the product directions instead of touching every layer with your finger. A properly cured layer may feel tacky but should not wrinkle, shift, dent easily, or wipe away as wet polish.
In my experience, the biggest mistake is adding repeated lamp cycles simply because the surface feels sticky. Check whether the product has a normal inhibition layer first. Nail cleanser and lint free wipes generally cost between $8 and $25.
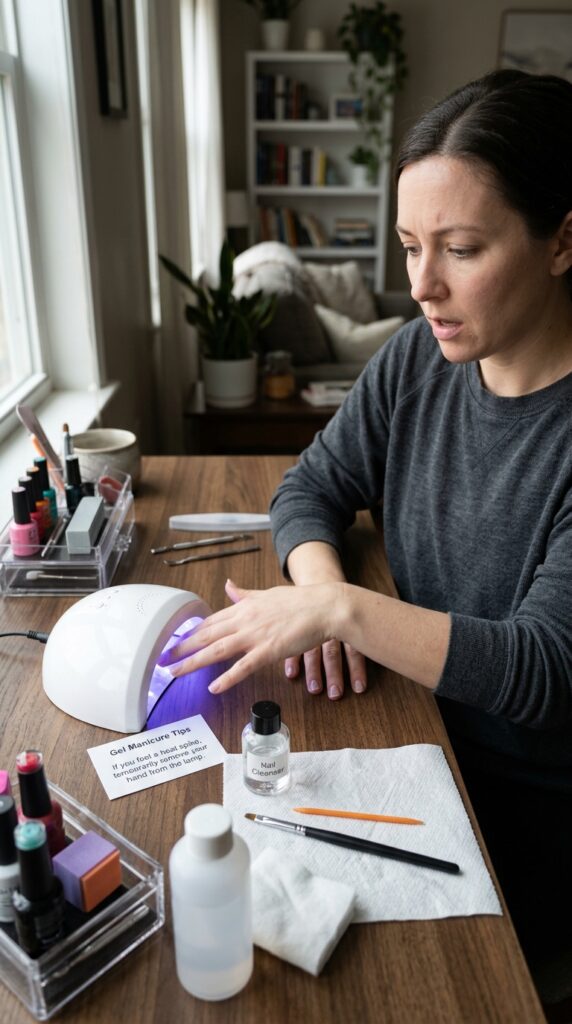
9. Stop if the Gel Burns, Wrinkles, or Touches Skin
A strong burning sensation, wrinkled polish, or gel remaining wet underneath is not something to ignore. Remove your hand from the lamp if the heat becomes painful. Thick product, structural gel, or an unsuitable curing setup may be responsible.
Do not keep repeating the timer in the hope that the manicure will correct itself. Remove the affected product safely and review the layer thickness, lamp, and brand instructions. Also clean uncured gel from the skin before curing. Cosmetic products can cause irritation or allergic reactions, and the FDA advises contacting a healthcare provider if you experience an unexpected rash, redness, or burning reaction. (U.S. Food and Drug Administration)
A cleanup brush and cleanser may cost between $8 and $20. Stop using the product if irritation develops.
10. Calculate the Total Curing Time
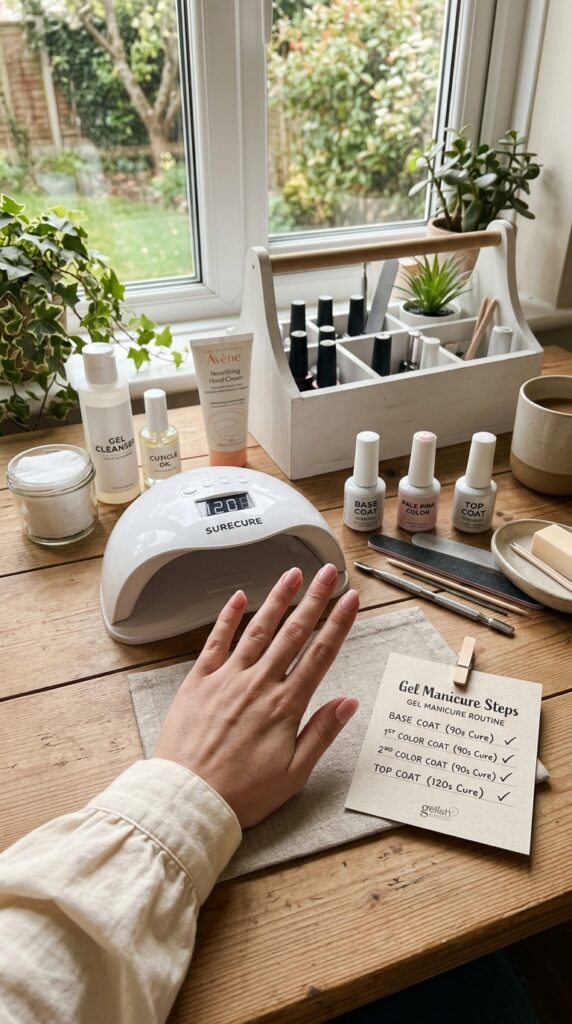
A basic gel manicure normally includes one base coat, two color coats, and one top coat. Each layer receives its own curing cycle. With a system that uses 30 second LED cycles, each hand spends about two minutes under the lamp across four separate sessions.
If a traditional UV lamp requires two minutes for each of those four layers, the total becomes about eight minutes per hand. These are examples based on systems such as OPI and Gelish, not universal times for every gel brand. (opi-us)
I always recommend writing the correct times on a small card and keeping it beside your lamp. This prevents guessing when you change colors or become distracted. Do not confuse total time with one continuous curing session. Each thin layer must be applied and cured separately.
Use the Correct Time for Your Gel System
The answer to how long should nails be under UV light for gel polish depends on the polish and lamp you are using. Many LED systems cure a thin layer in 30 to 60 seconds, while traditional UV lamps may require around two minutes. Those figures are useful references, but they should never replace the manufacturer’s directions.
Begin with the matching lamp, base coat, color, and top coat whenever possible. Apply thin layers, cure each one separately, and position every finger correctly. Do not rely on extra lamp time to correct pooled polish or incompatible products.
You also do not need to buy a large nail collection at once. Start with one coordinated system and one or two colors. A simple setup is easier to learn and troubleshoot than several mixed brands.
Protect your hands with sunscreen or fingerless manicure gloves, and stop if you notice pain, burning, redness, or a rash. Which gel polish and lamp are you currently using? I’d love to hear about your setup.
Frequently Asked Questions
Is 60 seconds enough to cure gel polish?
It can be enough when the polish instructions specify a 60 second LED cycle. Some systems cure in 30 seconds, while others require two minutes under a traditional UV lamp. Always follow the directions for the exact gel and compatible lamp.
Can gel polish be cured for too long?
Extra curing does not reliably fix a thick layer, poor hand placement, or an incompatible lamp. Follow the recommended cycle rather than repeatedly restarting the timer. Remove and correct gel that wrinkles, moves, or remains wet.
Why does my gel polish wrinkle under the lamp?
Wrinkling commonly happens when gel is applied too thickly or does not receive the correct curing conditions. Use thin coats and cure each one separately. Do not apply another layer over wrinkled polish.
Do LED nail lamps produce UV light?
LED nail lamps used for gel curing emit ultraviolet wavelengths, although they often cure compatible products faster than traditional UV lamps. The American Academy of Dermatology recommends broad spectrum SPF 30 or higher sunscreen or dark fingerless manicure gloves for hand protection. (American Academy of Dermatology)
Why is my gel sticky after curing?
Some gel products leave a normal tacky layer after curing. The final top coat may need to be wiped with cleanser and a lint free pad. Gel that dents, wrinkles, or wipes away as wet product may not have cured correctly.